EN
EN
When Should You Replace a Headlight Lens Cover?
A clear lens is more than a cosmetic detail. It protects the lamp from water and road debris while allowing the beam pattern to do its job. For vehicle owners, repair shops, and parts buyers, the practical question is not simply whether a lens looks old. It is whether the damage can be restored safely or whether headlight lens cover replacement is the more dependable choice.
Most modern lamps use a molded plastic cover. Sun exposure, heat cycles, stone impacts, cleaning chemicals, and failed seals can all change its condition. A careful inspection helps separate surface oxidation from damage that compromises visibility or lets moisture reach the housing.
Start With the Type of Damage
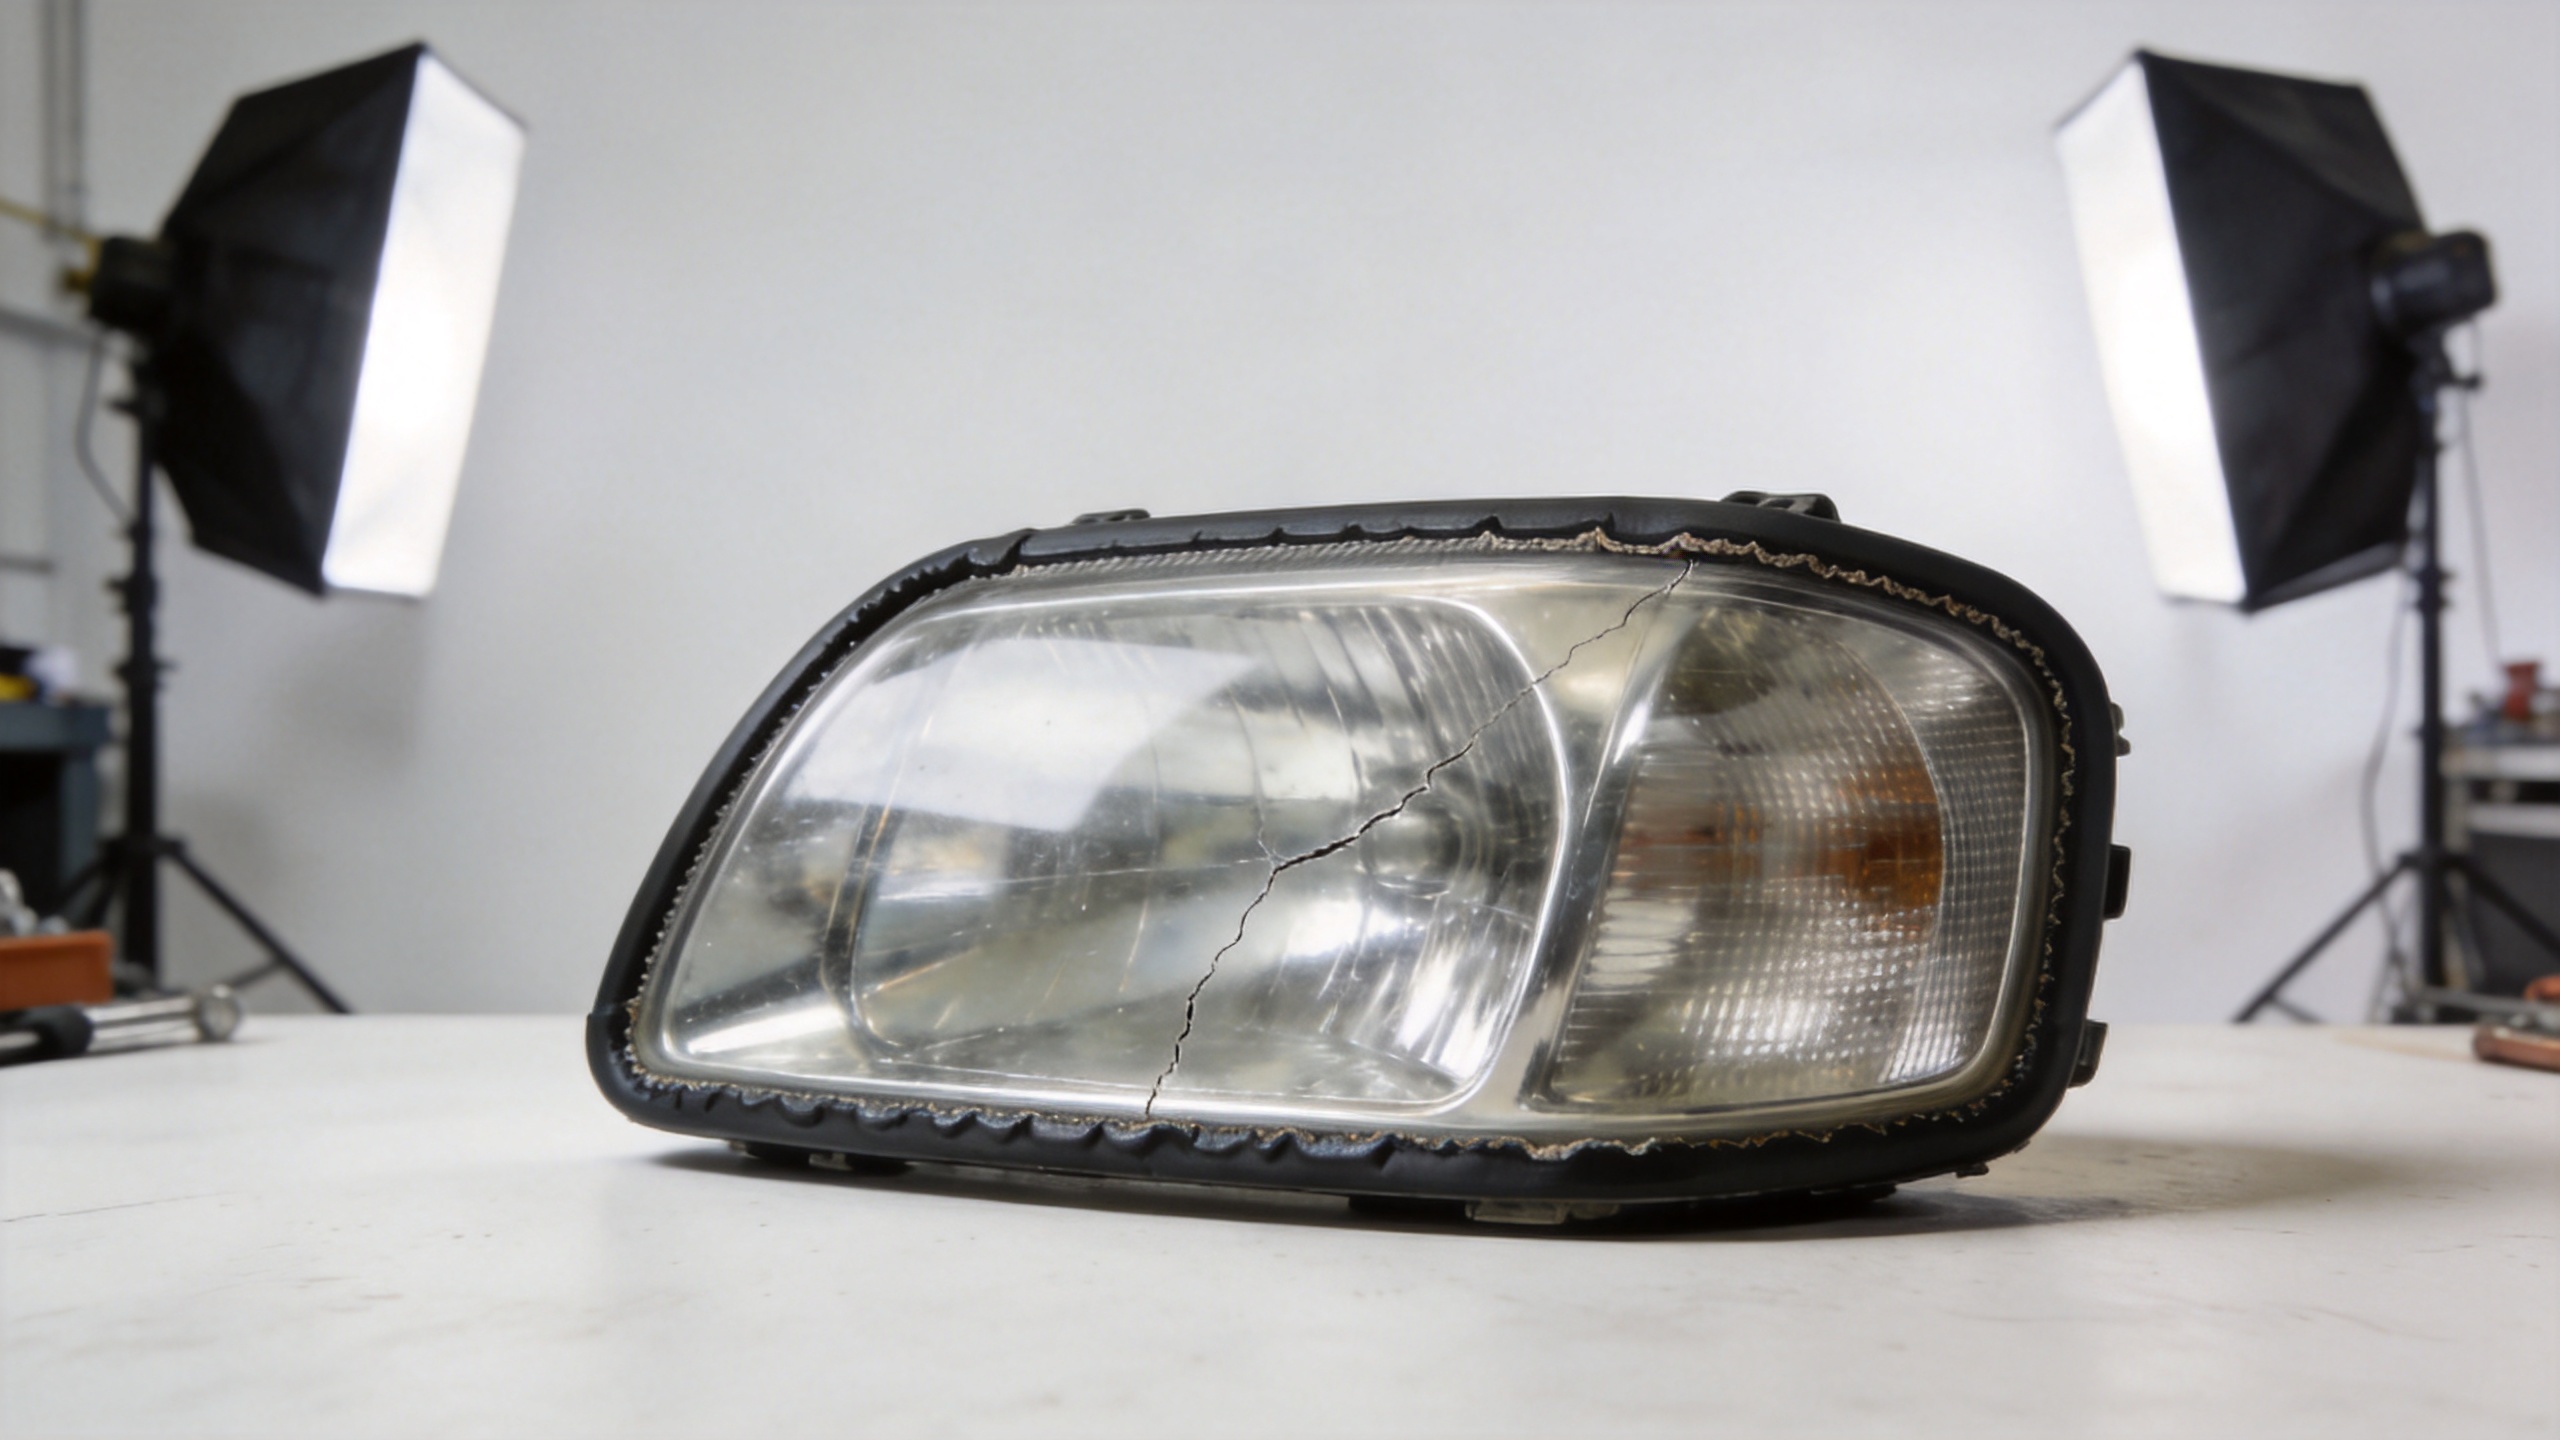
Look at the lens in daylight and with the headlamp switched on. Mild yellowing, a uniform haze, or shallow surface marks may be limited to the outer coating. In those cases, restoration can be worth evaluating first. A headlight plastic lens replacement becomes more sensible when the cover has damage that polishing cannot remove or when the lens no longer protects the assembly.
- Cracks or chips: Even a small crack can spread with vibration and temperature changes. It also creates a path for water and dirt.
- Missing material or deep gouges: Damage that changes the lens surface or reaches through it is not a restoration issue.
- Distortion near the beam area: Warping, crazing, or severe pitting can scatter light and reduce useful illumination.
- Internal clouding: If the haze is inside the lamp, surface polishing will not correct the underlying problem.
Do not judge only by color. A lens can look yellow but remain structurally sound, while a nearly clear lens with a crack at the seam may already need replacement.
Know When Yellowing Can Be Restored
UV exposure gradually oxidizes plastic covers, which is why many lamps turn dull or yellow over time. If the damage is confined to the outside surface, a restoration process followed by UV protection may improve clarity. Before choosing that route, check whether the haze is even and shallow, whether the lens has no cracks, and whether the housing stays dry after rain or washing.
Replacement is the better long-term option when the lens is heavily oxidized, repeatedly turns cloudy after restoration, or has a degraded hard coat that leaves a rough or uneven surface. Repeated sanding may improve appearance temporarily, but it cannot rebuild missing plastic or solve a failed seal. This is the point where headlight lens cover replacement can protect both beam quality and the rest of the lamp.
Persistent Moisture Is a Functional Warning Sign
A brief light mist inside a headlamp can occur as temperatures change. Persistent droplets, standing water, corrosion marks, or a fogged lens that returns after drying are different. They call for an inspection of the cover, housing joint, rear caps, vents, and sealing surface.
When a lens crack or loose perimeter seal is the entry point, replacing and correctly resealing the cover can be a practical repair. The mating surface must be clean, the adhesive or sealant must suit the lamp design, and the finished joint needs to be checked for gaps. Simply fitting a new cover without addressing the cause of moisture can leave the same problem inside the lamp.
Lens Cover or Complete Headlamp Assembly?
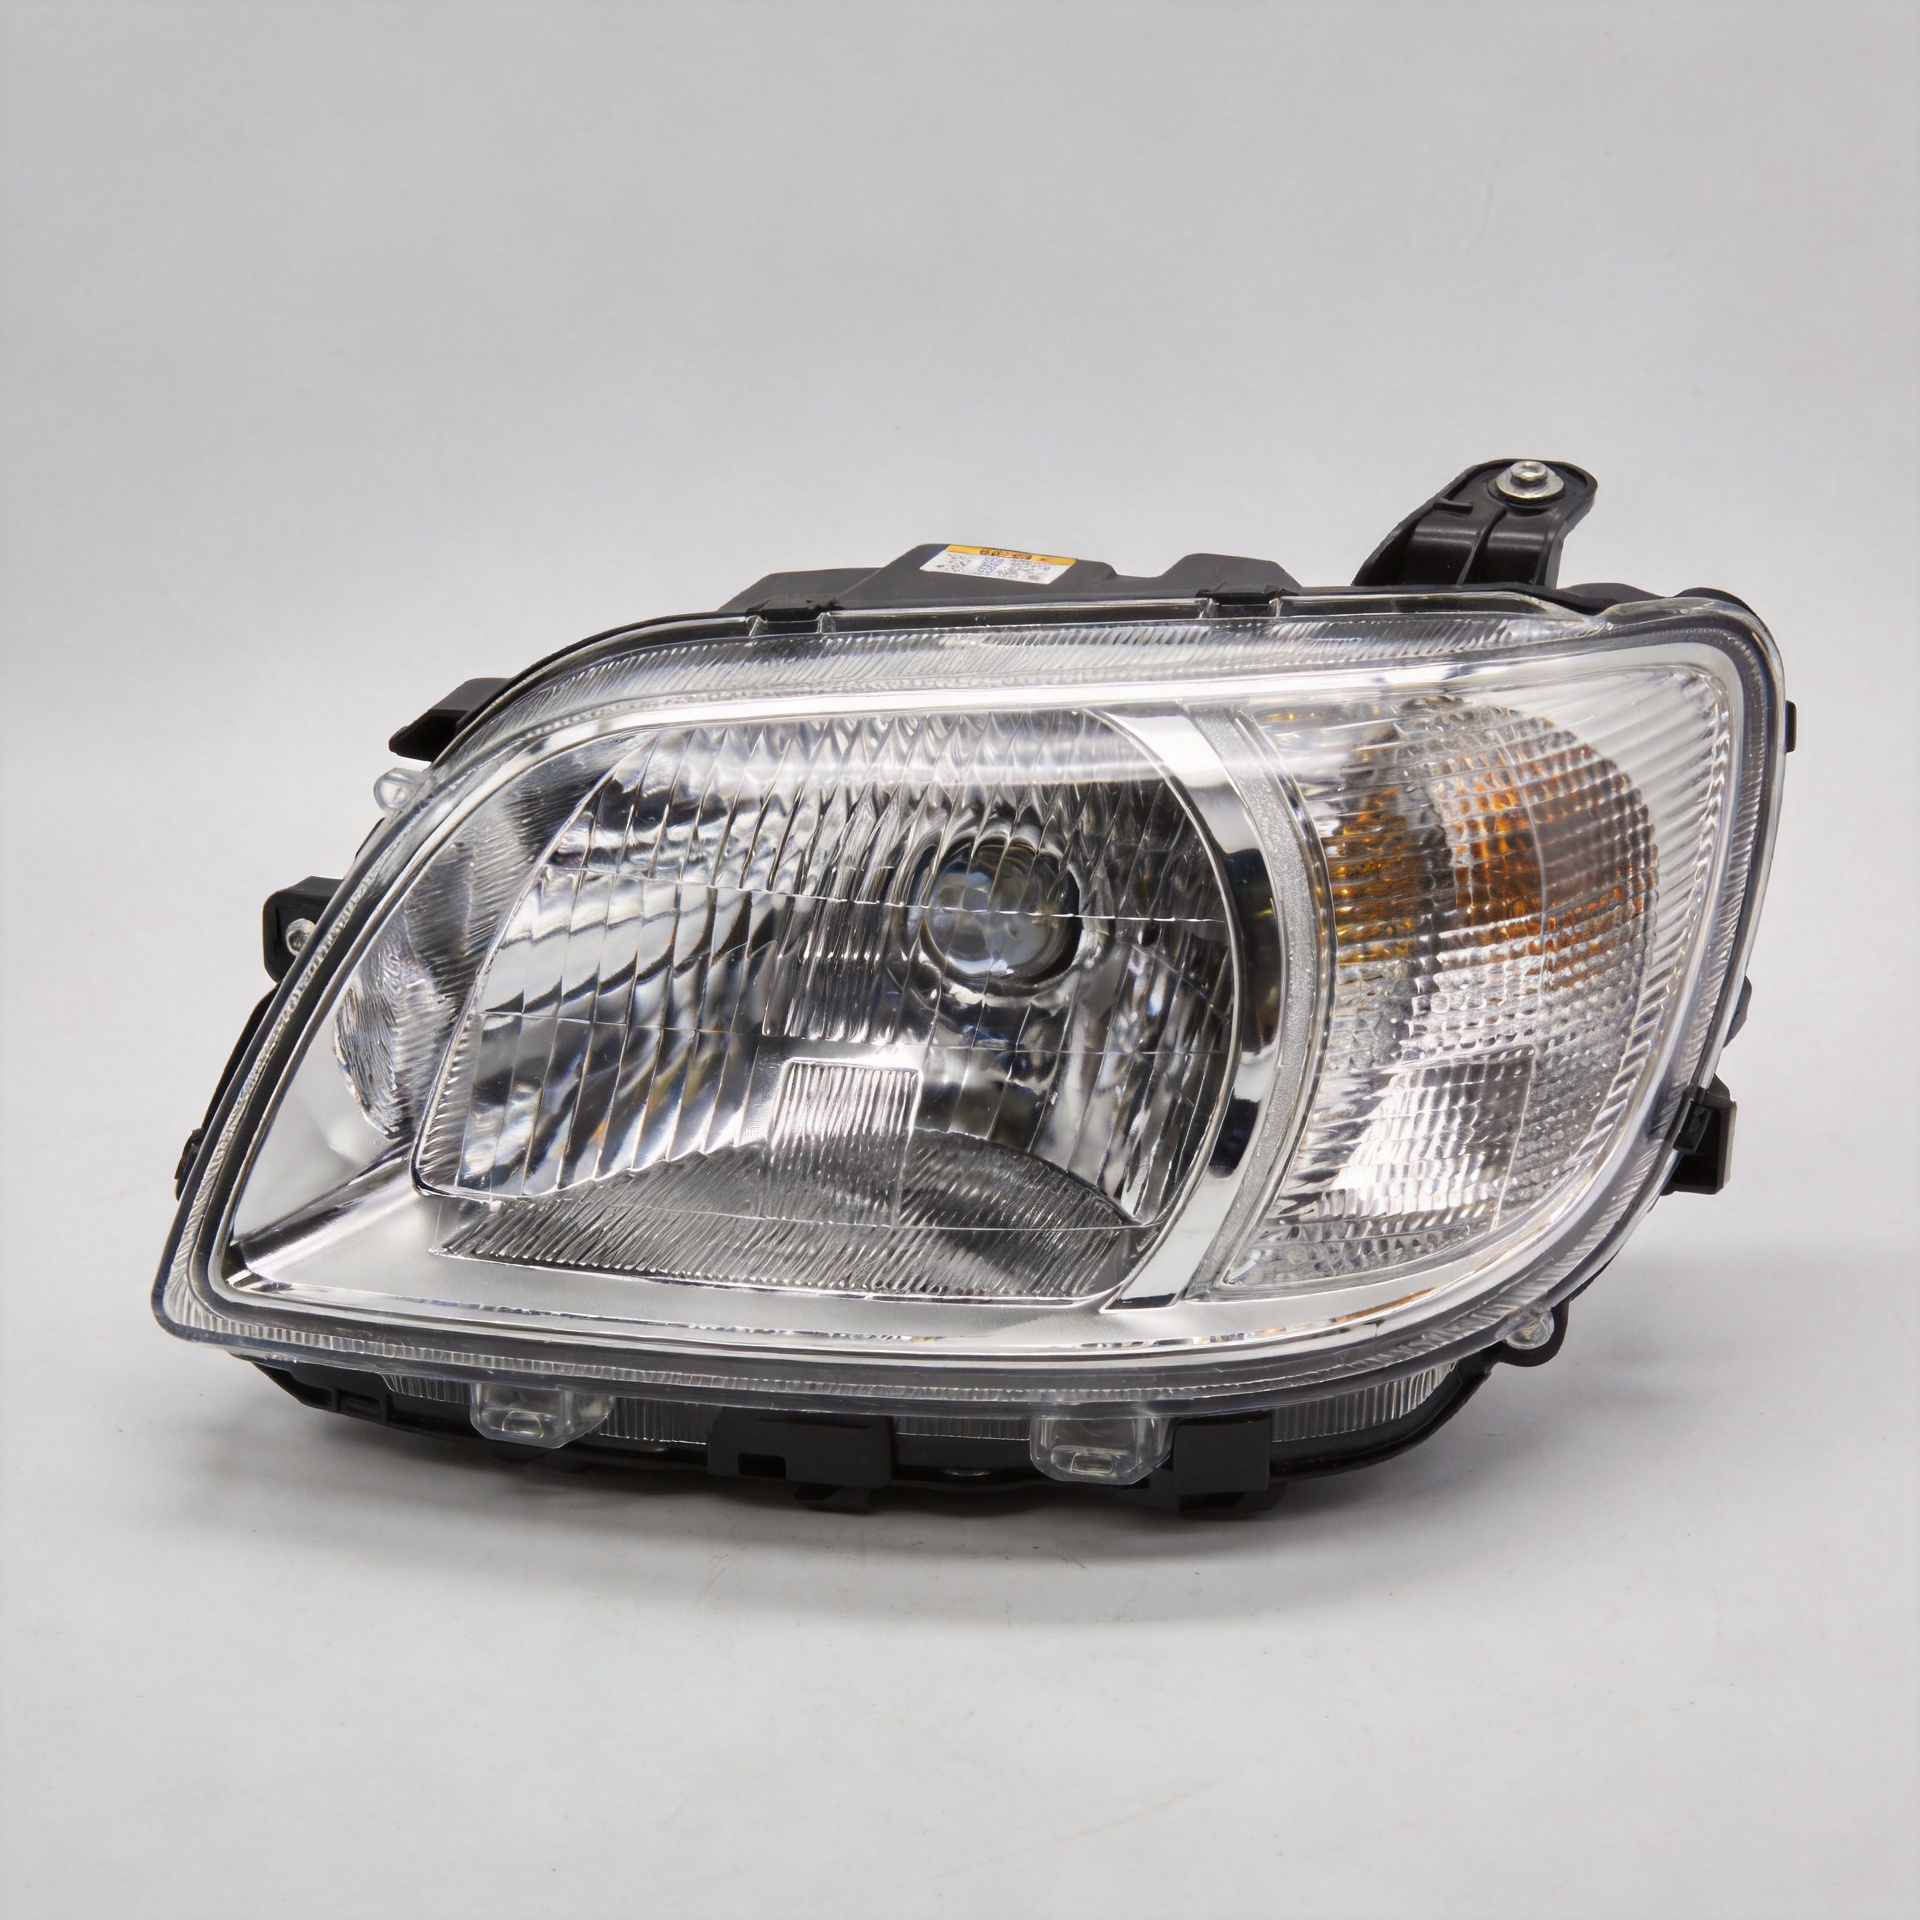
A lens-only repair is usually worth considering when the housing, mounting points, reflector, projector, wiring, and adjustment mechanisms are intact. It can preserve the functional components while renewing the front protective surface. For model-specific service, a compatible Land Rover Velar 2018–2021 headlight cover lens is one example of a replacement part that should be matched carefully to the vehicle and lamp version.
| Condition | Likely next step |
|---|---|
| Surface haze only; no cracks or moisture | Evaluate restoration and UV protection. |
| Cracked, chipped, or deeply pitted cover | Plan a headlight plastic lens replacement. |
| Recurring condensation with a damaged lens seam | Replace the cover and inspect the sealing process. |
| Damaged reflector, broken mounts, electrical faults, or major housing damage | Evaluate a complete assembly replacement. |
Check Compatibility Before Ordering
The phrase headlight glass replacement is often used in searches, but many contemporary headlamp covers are plastic rather than glass. Confirm the material, side of the vehicle, model year, trim, lamp type, mounting profile, and any left- or right-hand-drive differences. Compare the replacement cover with the original part before opening or heating the assembly.
For wholesale buyers and repair teams, compatibility checks also reduce returns and fitting delays. A correct lens should match the original housing edge and should not force the installer to alter the lamp body. If the lamp has integrated electronics or an unusual construction, specialist assessment can be safer than treating it as a universal cover swap.
A Simple Replacement Decision Checklist
- Clean the lens and inspect it under direct light.
- Identify whether haze is on the outside, inside, or both.
- Check for cracks, chips, warped areas, and failed sealing edges.
- Inspect the housing for moisture, corrosion, broken mounts, and electrical issues.
- Verify the exact vehicle and lamp compatibility before selecting a replacement cover.
- Choose lens-only repair only when the rest of the assembly is sound and can be resealed correctly.
Use the Same Terms Carefully When You Compare Parts
Catalog language can be inconsistent, so verify the part against the vehicle rather than relying on a search phrase alone. The notes below help turn common search terms into a useful inspection and ordering routine.
Quick terminology and inspection notes
- Start a headlight lens cover replacement review by matching the vehicle year, side, and lamp style.
- For headlight plastic lens replacement, inspect the cover edge for distortion before comparing prices.
- A search for headlight glass replacement may still return plastic covers, so confirm the actual material.
- Choose headlight lens cover replacement when a crack reaches the seam or permits water entry.
- Consider headlight plastic lens replacement when deep pitting remains after a surface-cleaning test.
- Use headlight glass replacement as a search term only after checking the original lamp construction.
- Before headlight lens cover replacement, check that reflector surfaces and mounting tabs are undamaged.
- A correct headlight plastic lens replacement should follow the original housing contour without modification.
- During headlight glass replacement research, compare the lamp revision as well as the vehicle model year.
- After headlight lens cover replacement, inspect the perimeter seal before returning the lamp to service.
- A planned headlight plastic lens replacement should include cleaning the mating surface and removing old adhesive.
- For a successful headlight glass replacement decision, separate external haze from fogging inside the housing.
- Use headlight lens cover replacement when a restored surface quickly becomes cloudy again because the coating has failed.
- Verify that a headlight plastic lens replacement is designed for the correct left or right lamp position.
- Do not order headlight glass replacement solely from a photograph; compare the fixing profile and lens shape.
- A final headlight lens cover replacement inspection should confirm that no gap remains around the new cover.
- Good headlight plastic lens replacement practice protects the housing from future moisture intrusion.
- Accurate headlight glass replacement terminology helps buyers avoid confusing a lens cover with a complete assembly.
The Bottom Line
Choose headlight lens cover replacement when the cover is cracked, deeply damaged, severely degraded, or contributing to recurring moisture inside an otherwise serviceable lamp. Consider restoration when oxidation is truly surface-level and the structure and seal remain sound. The right decision protects visibility, reduces the chance of water damage, and avoids replacing a full assembly when only the outer cover has failed.