EN
EN
Dirt Bike Headlights: Fitment and Lighting Considerations for Parts Buyers
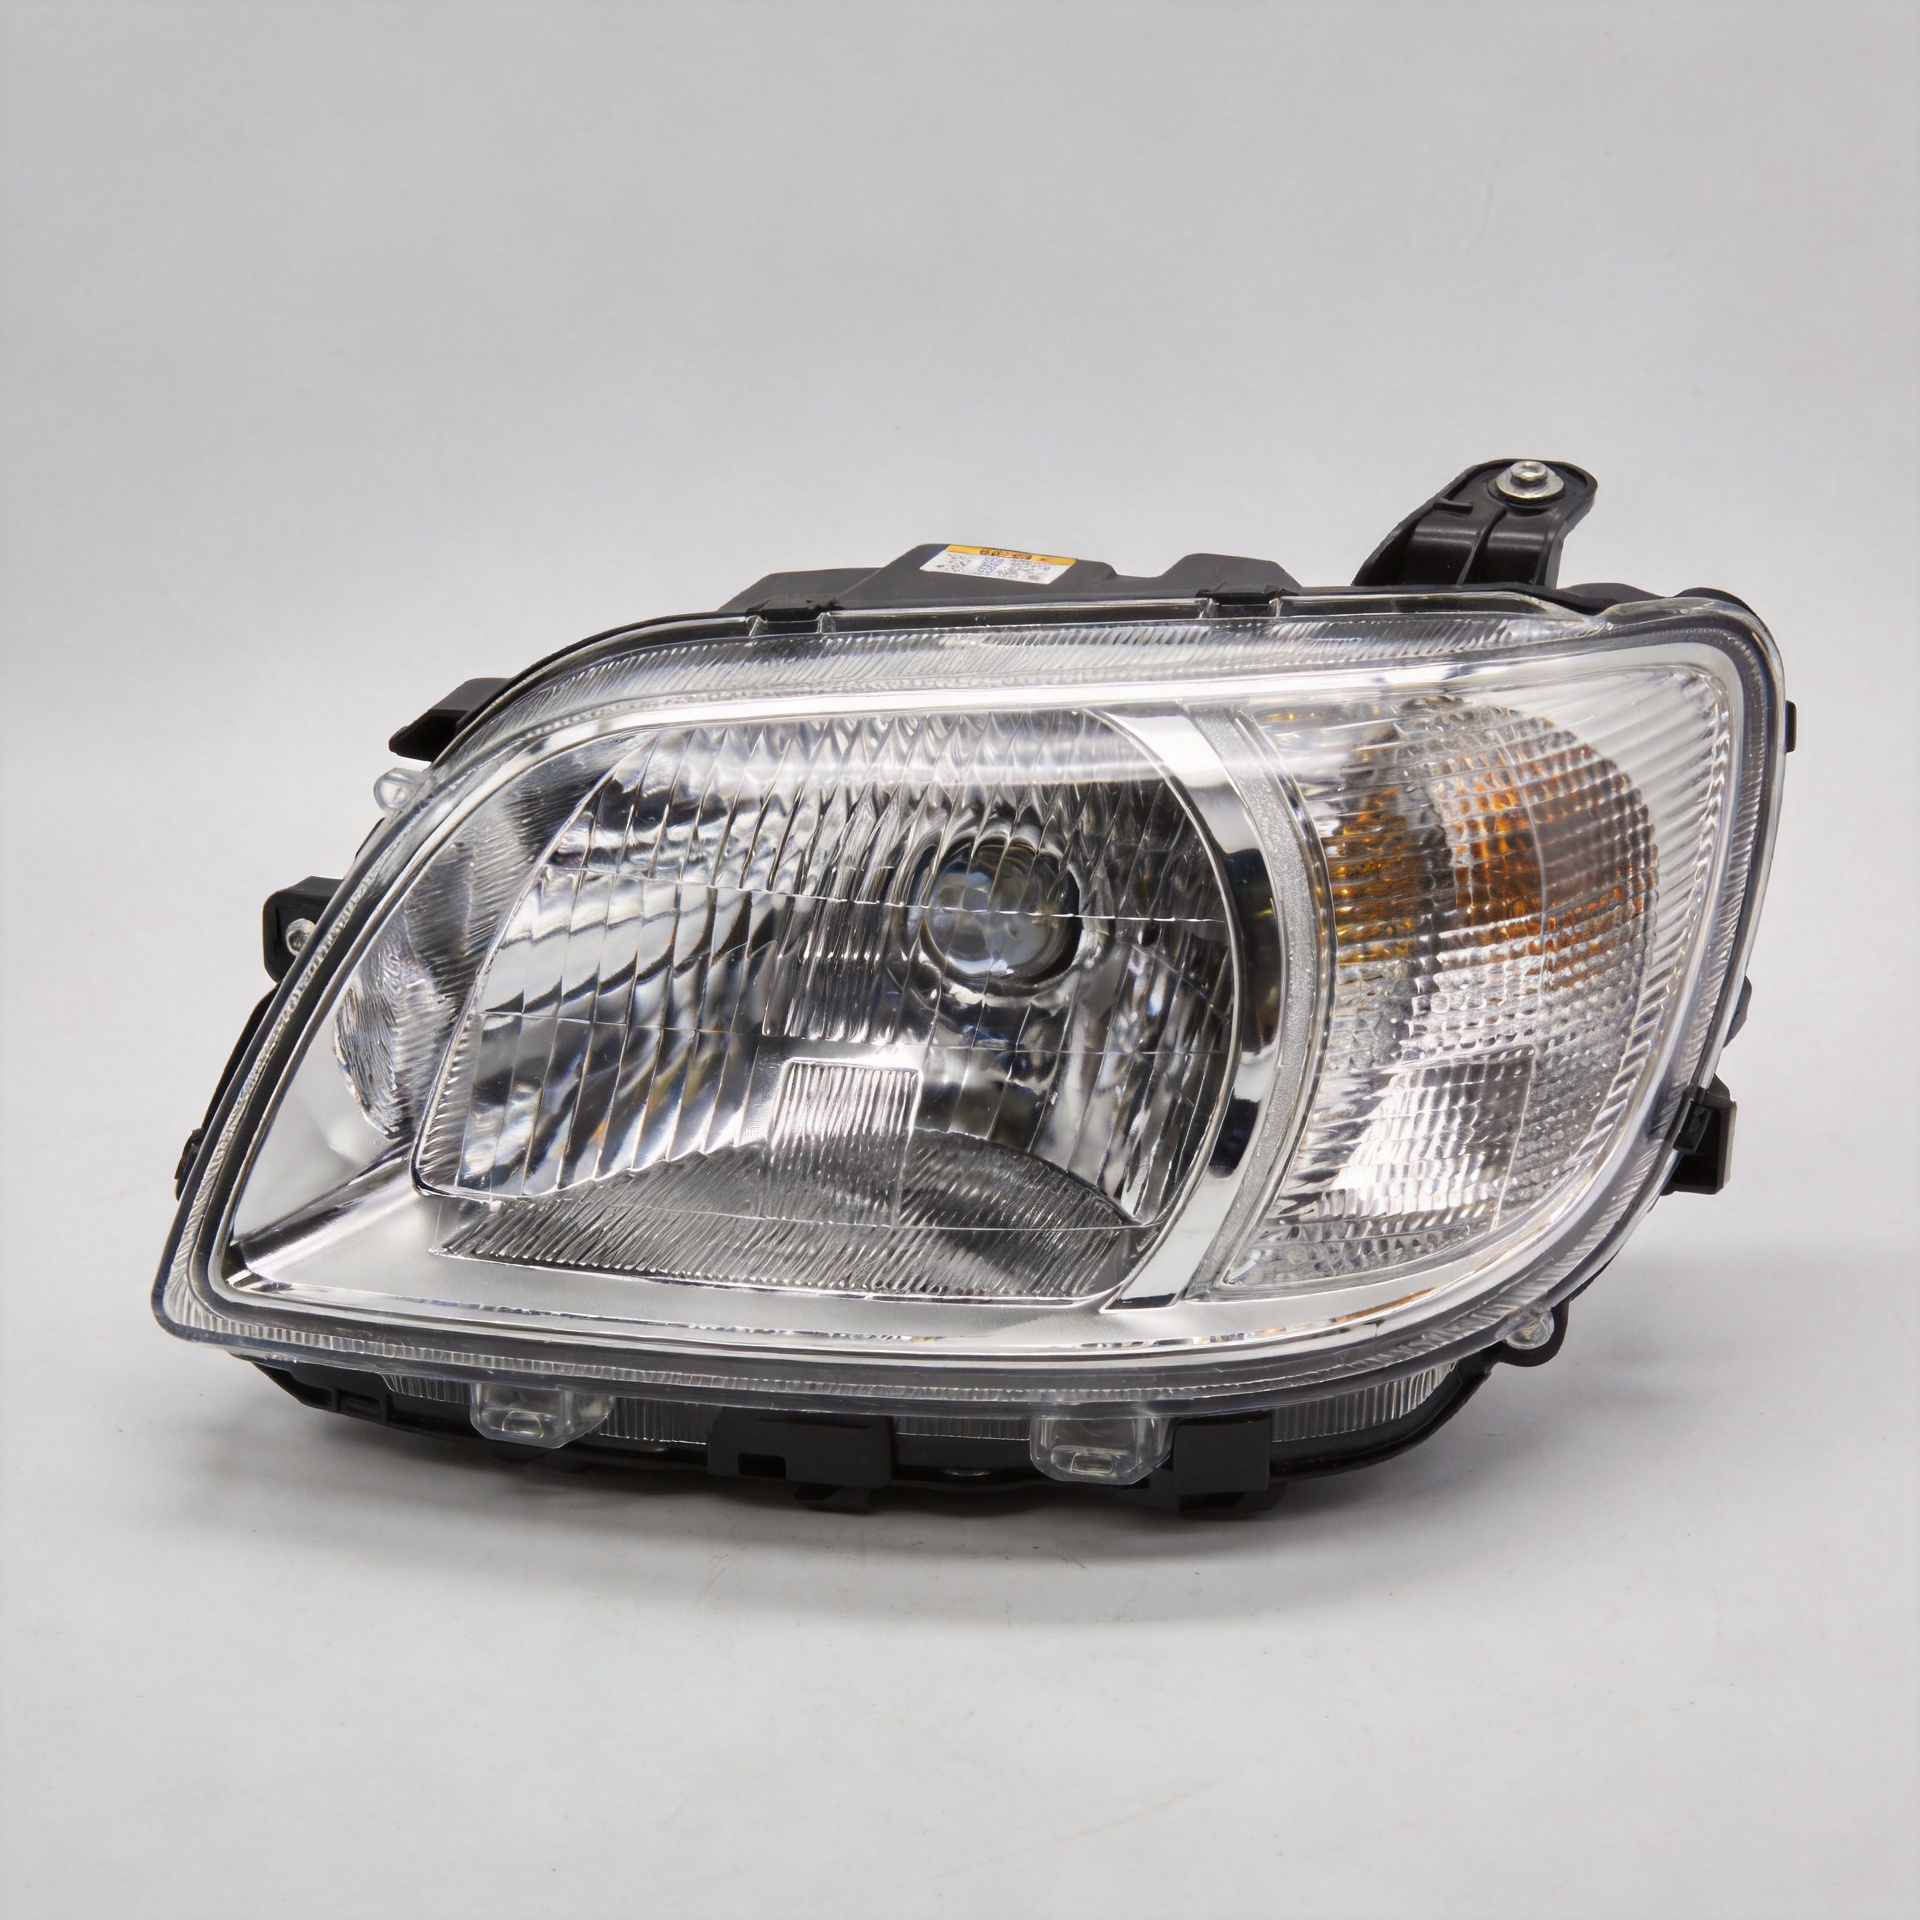
For a distributor, importer, or OEM buyer, a dirt bike headlight is not just a bright component on a catalogue page. It is an assembly that has to fit a real front end, survive vibration and weather, connect safely to the vehicle electrical system, and meet the expectations of the market where it will be sold. That is why a useful dirt bike headlight sourcing decision starts with fitment and beam control before it moves to price.
Buyers often compare lumen figures first. That is understandable, but it can produce poor stock choices. A dirt bike headlight with an unsuitable beam pattern, loose mounting hardware, or an awkward harness can create returns even when its advertised output looks impressive. For off-road and auxiliary-light purchasing, the better question is: will this lighting package work reliably on the intended bikes and riding conditions?
Start with the installation envelope, not the product photo
The first fitment check for any dirt bike headlight is the available installation envelope. Ask for the mounting-point spacing, bracket shape, housing depth, lens clearance, cable-exit direction, and the space required behind the number plate or mask. These details matter because forks, brake hoses, fenders, radiators, and steering travel all compete for room at the front of an off-road motorcycle.
“Universal” should describe a starting point, not a promise of a tool-free installation. A universal bracket may mount to one fork layout yet require spacers, a different clamp diameter, or wire routing changes on another. In a sample review, cycle the steering from lock to lock, compress the front suspension where practical, and check whether the dirt bike headlight or harness can contact moving or hot parts. For buyers building a multi-SKU range, record these results by motorcycle family rather than relying on a general compatibility label.
- Confirm physical dimensions and bracket mounting range.
- Check steering clearance, fork-travel clearance, and fender clearance.
- Identify whether the lamp is a replacement headlamp, an auxiliary driving lamp, or an auxiliary fog lamp.
- Review connector style, polarity, fuse protection, switching method, and harness length.
- Request installation drawings and a repeatable packing list for each dirt bike headlight kit.
Choose the beam pattern for the riding task
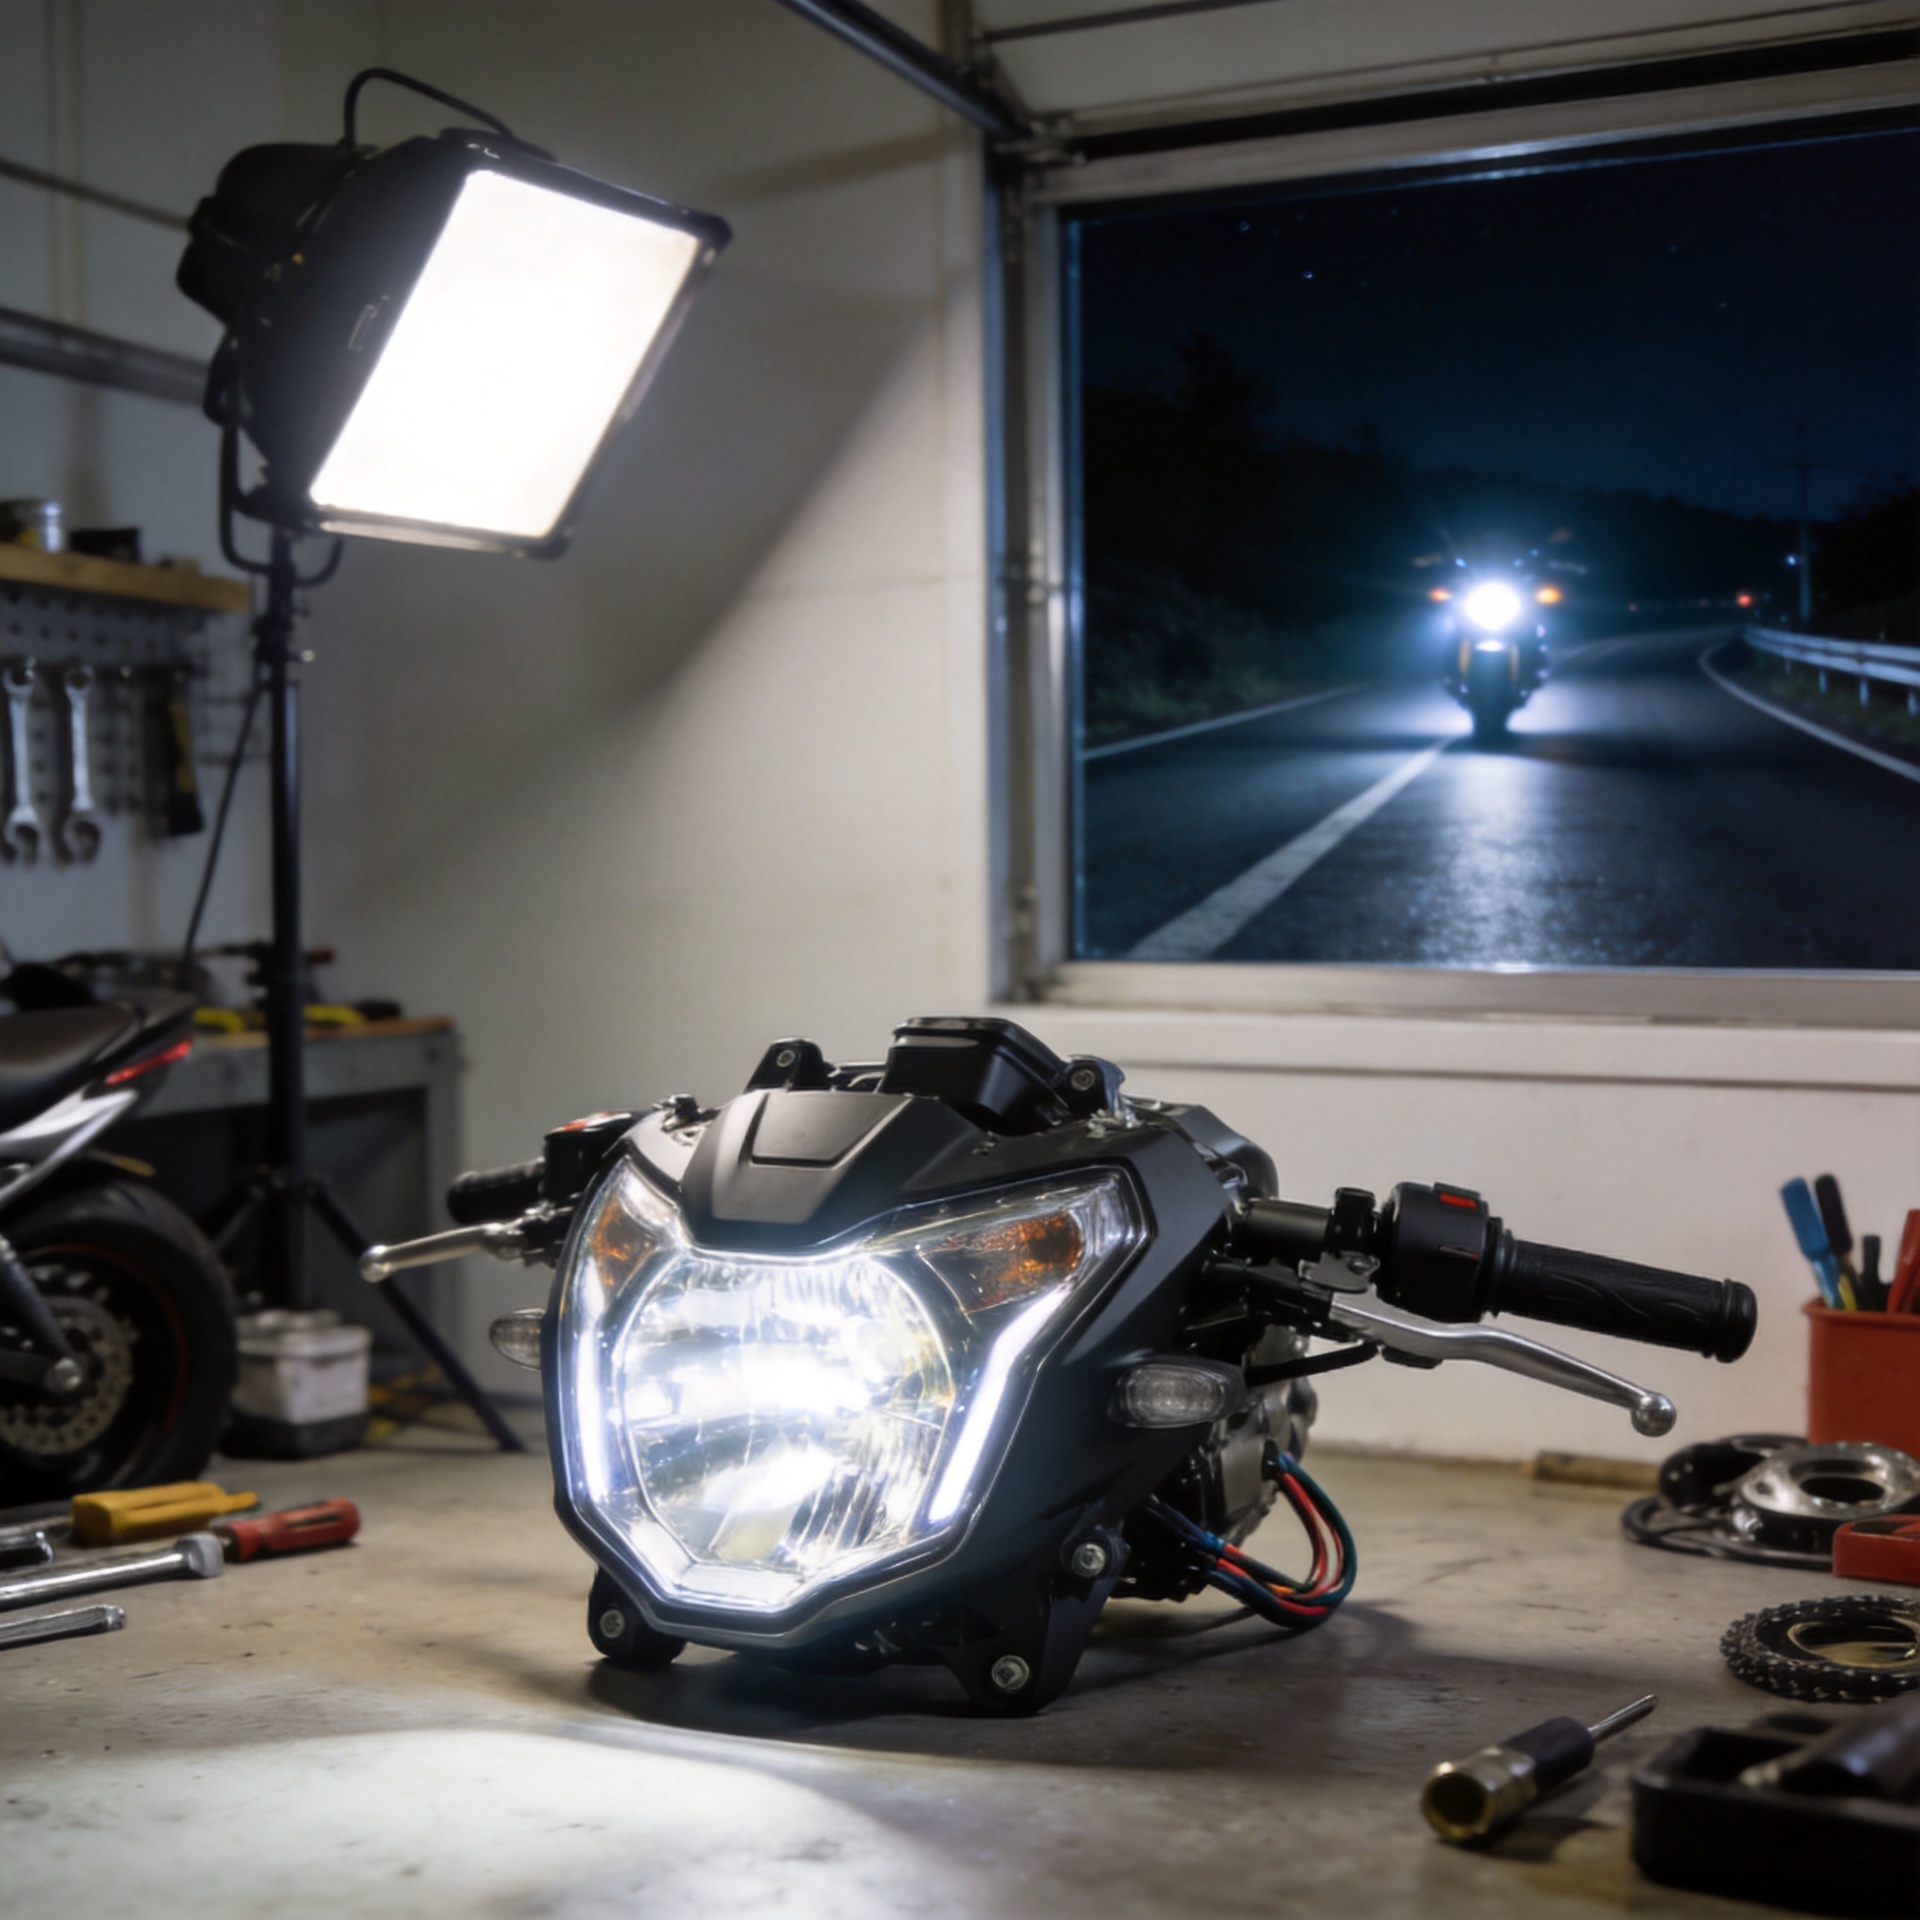
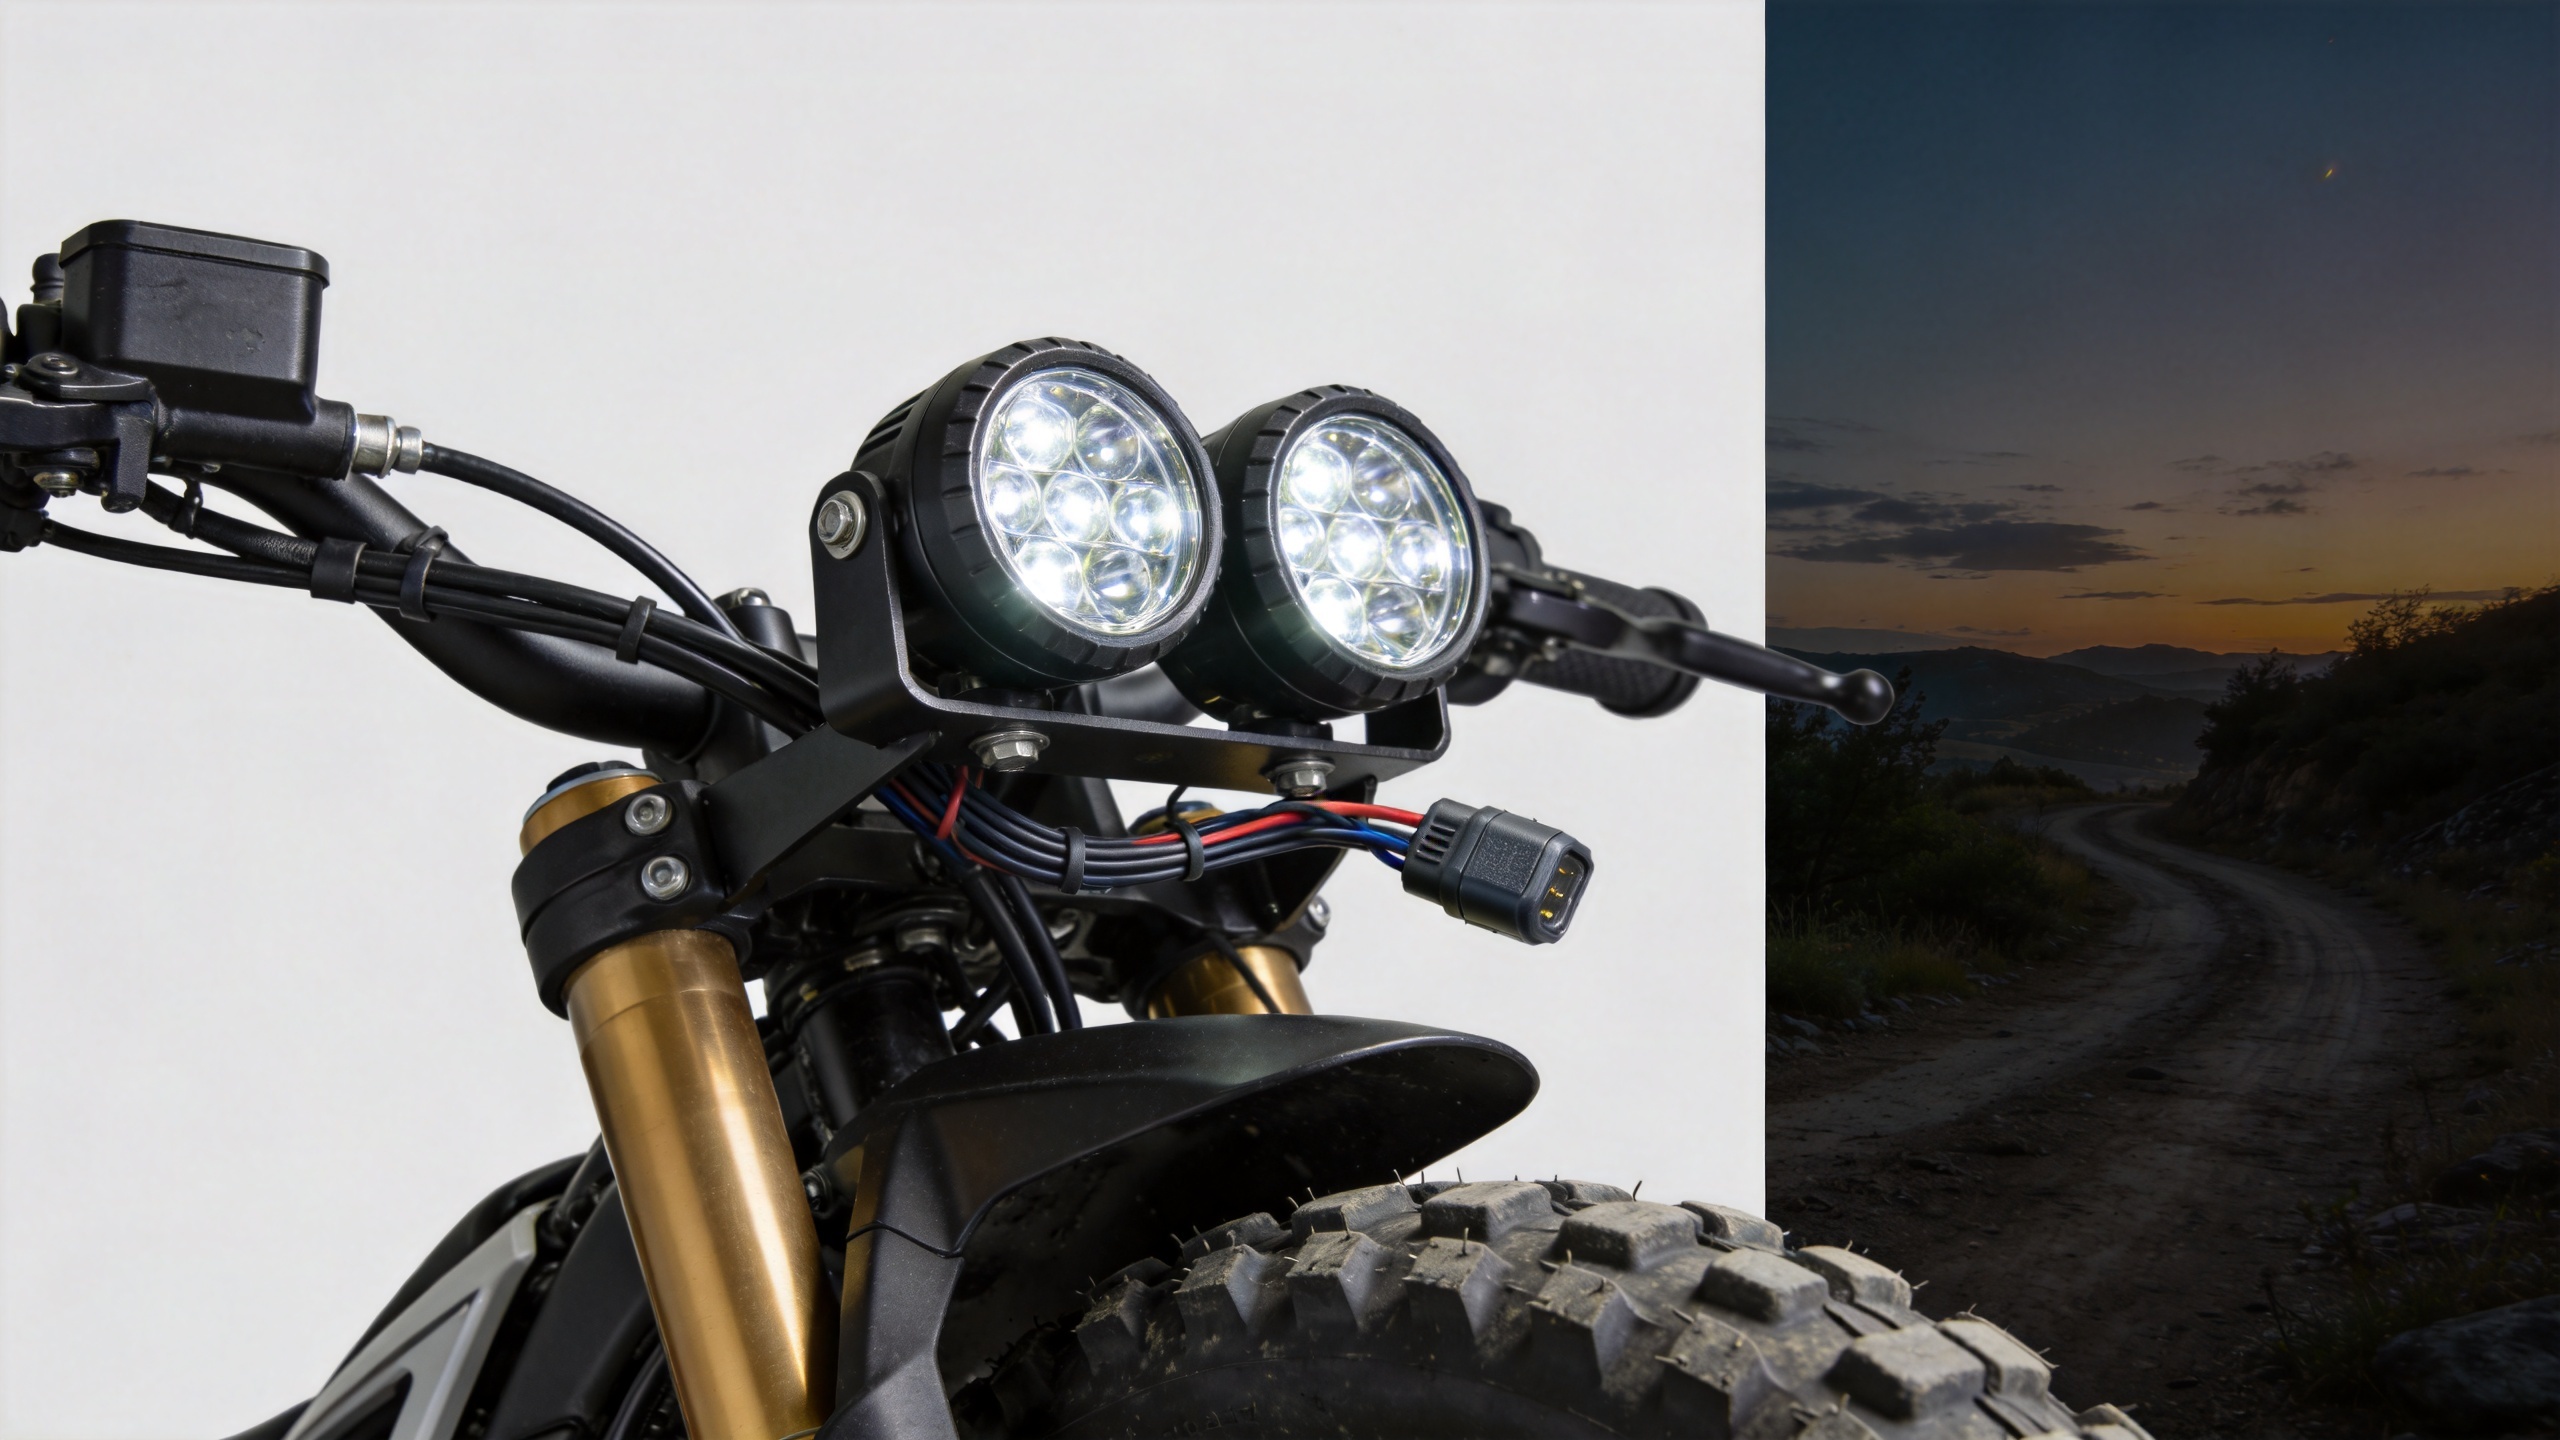
A dirt bike headlight should be assessed by useful illumination, not by a single headline number. Spot, driving, flood, and fog-oriented patterns place light in different areas. A broader pattern can help reveal trail edges and close obstacles at lower speeds; a more focused pattern can improve forward reach when the route and speed justify it. The right combination depends on the primary headlamp, riding speed, terrain, and whether the part is intended solely for off-road use or for a road-going application.
This is also where a motorcycle headlight discussion needs to separate marketing terms from the final installed result. A lamp can look powerful in a workshop but still create uneven foreground light, distracting reflections, or excessive glare when aimed poorly. Mounting height and angle change the outcome. Installing the same auxiliary lamp high on a guard versus low near the fork can alter both coverage and glare risk, so a procurement brief should specify the intended mounting zone and aiming procedure.
For a road-use dirt bike headlight, verify applicable local approval and marking requirements before assigning it to a destination market. UNECE Regulation No. 149 addresses approval of road illumination devices, but the correct approval depends on the lamp function and the relevant market rules. Do not treat an off-road designation, a general LED claim, or a supplier image as proof of road legality. Request the exact documentation that applies to the proposed configuration.
Turn weather resistance into a validation plan
Off-road use adds water spray, dust, mud, repeated shock, and wash-down exposure. An IP rating is a valuable screening point because it describes enclosure resistance to dust and liquid intrusion, but an IP mark alone does not validate the complete dirt bike headlight installation. The buyer should also inspect connector seals, cable glands, strain relief, housing joints, venting design, and the harness path.
For example, the confirmed product record for this sourcing context is a 60W dual-lens motorcycle LED spotlight and auxiliary fog light. Its listing name includes an IP68 designation. That may be relevant for buyers comparing auxiliary-light candidates, yet it should be verified against the selected installation, connectors, and intended environmental exposure rather than expanded into an unsupported durability claim.
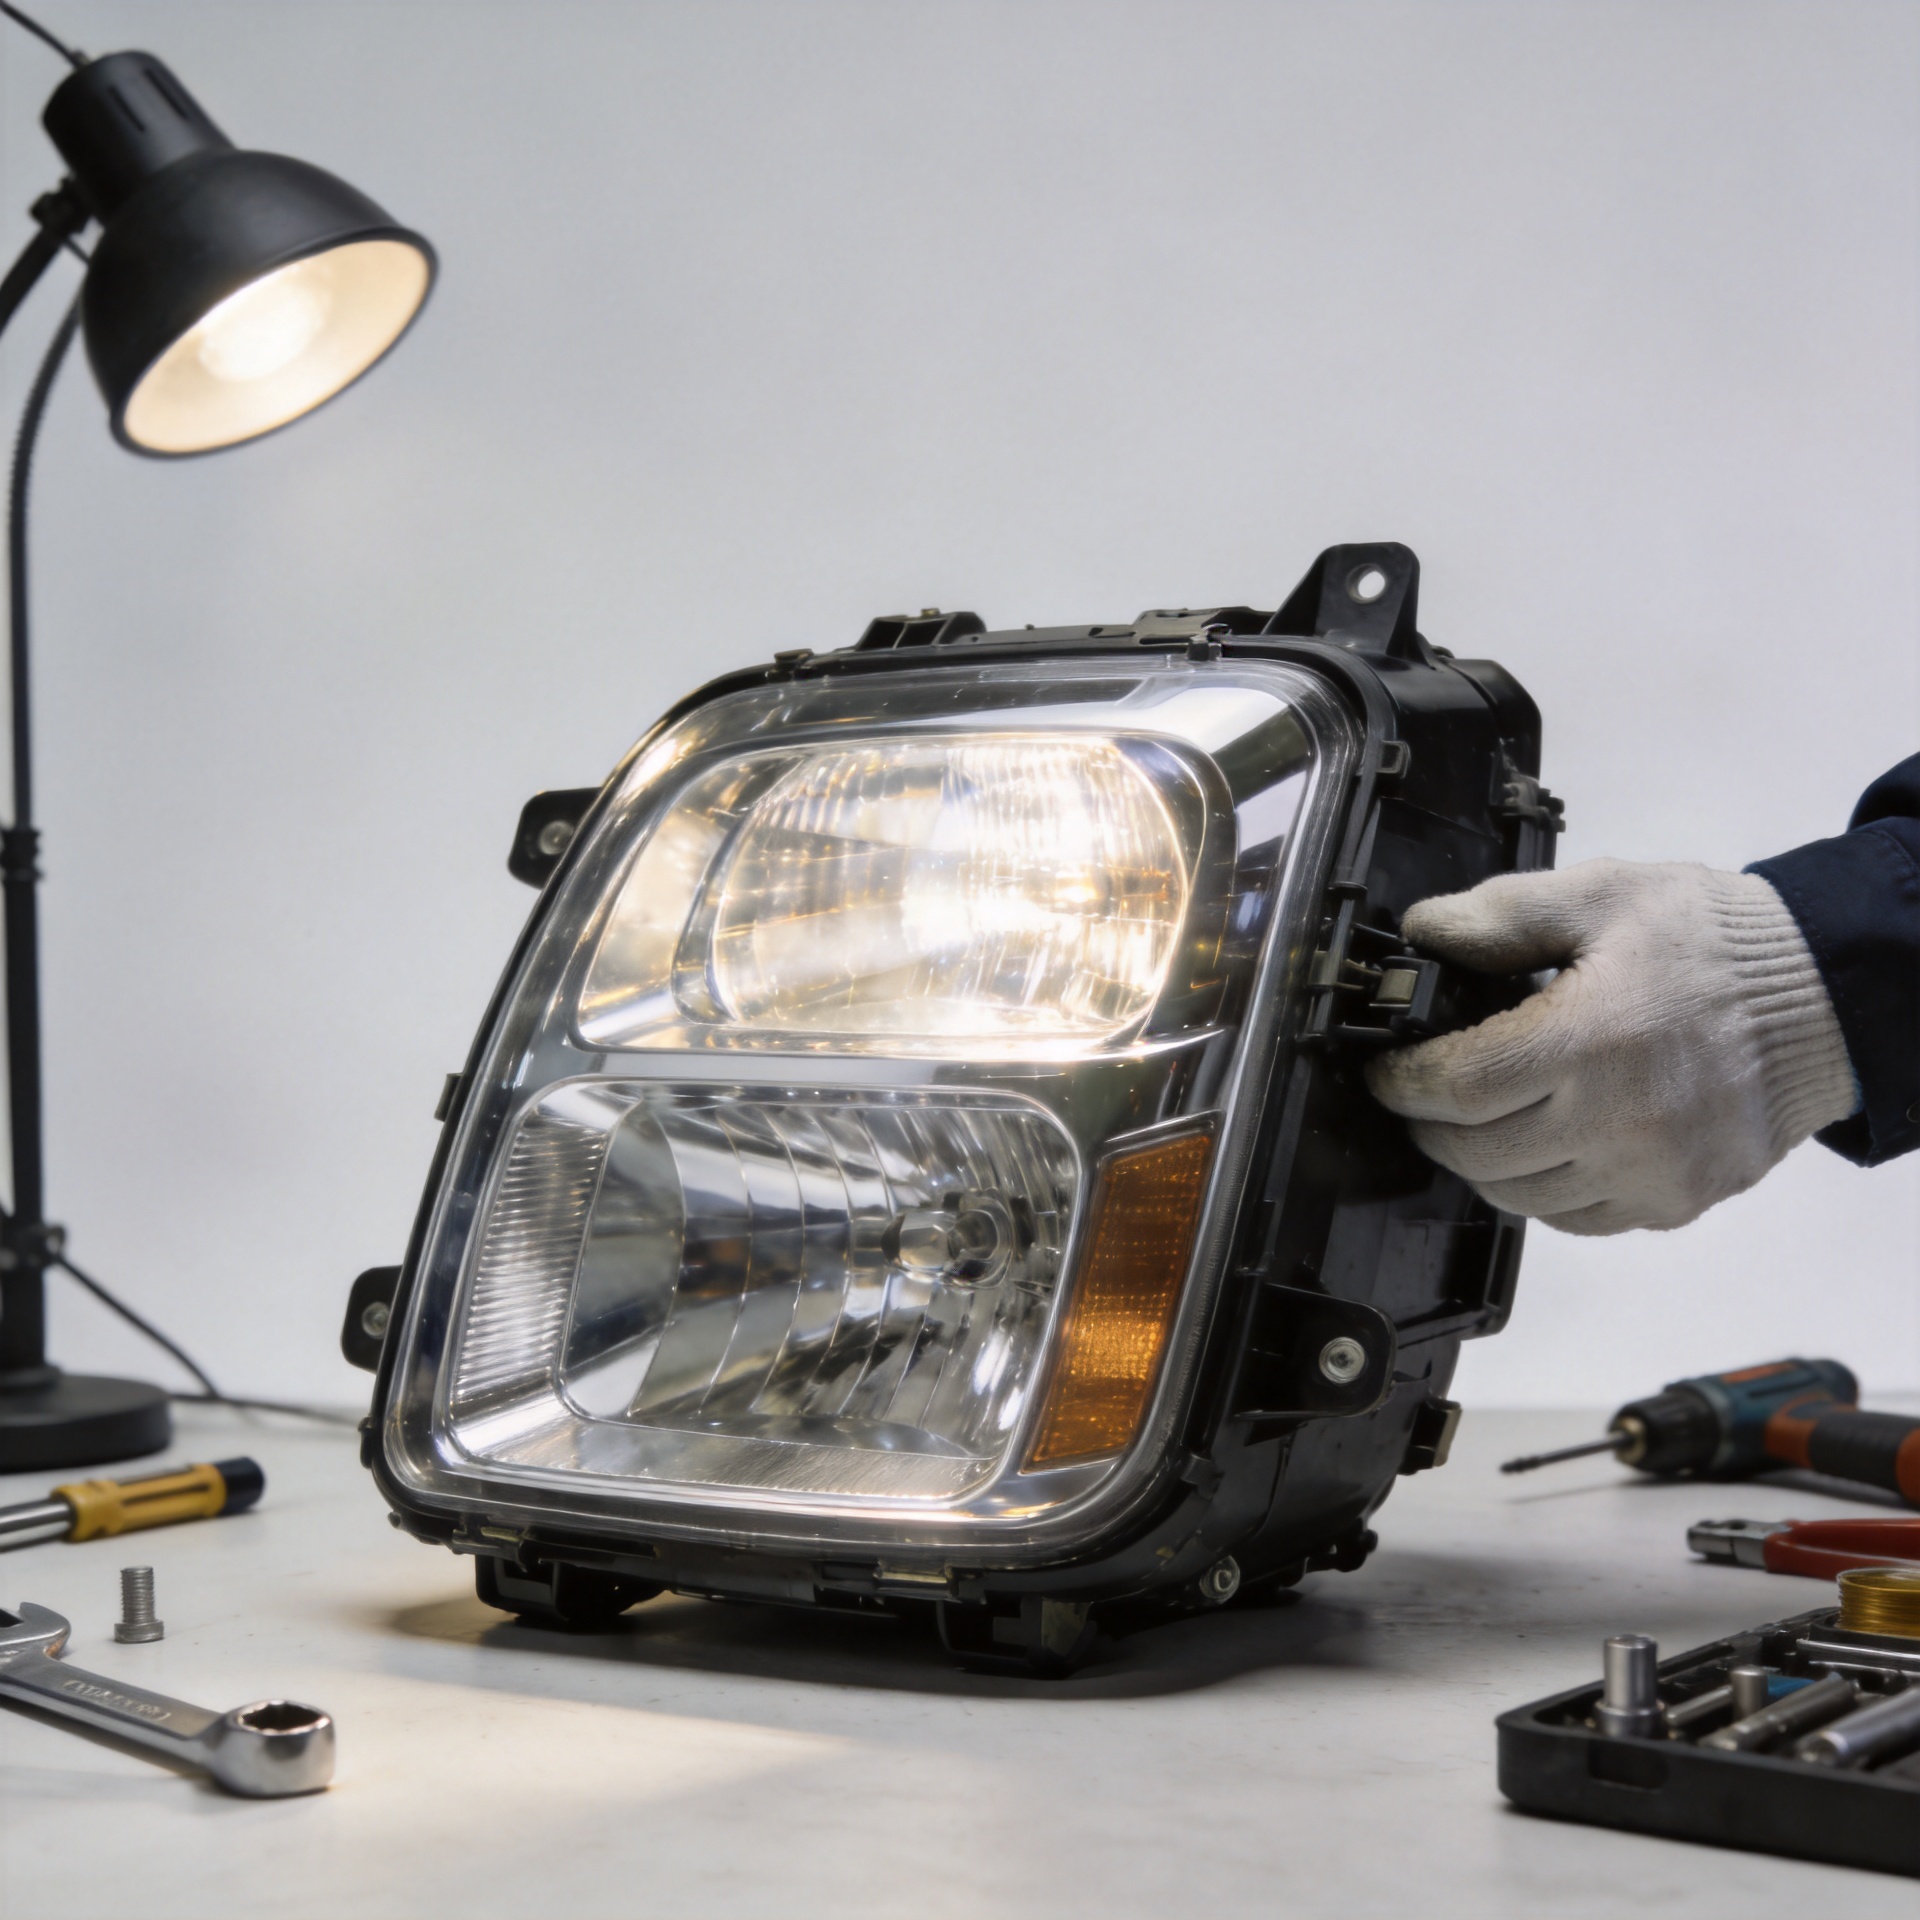
In practice, build sample approval around a short checklist: inspect sealing before and after vibration exposure, check for condensation after temperature changes, verify connector engagement, and confirm that the beam aim stays stable after rough-route testing. A dirt bike headlight that keeps its aim and electrical connection can be more valuable to a buyer than a higher-output unit that requires frequent readjustment.
Evaluate heat, electrical load, and serviceability together
Thermal management and electrical integration should be reviewed as one system. The power specification of a dirt bike headlight does not by itself describe effective light on the trail; LED efficiency, optical design, driver behavior, and heat dissipation all influence real use. Ask how the housing dissipates heat, where the driver is located, and whether the mounting position restricts airflow or exposes the lamp to mud buildup.
On the electrical side, confirm the voltage range, current draw, wire gauge, fuse arrangement, relay requirements, and switch location. A dirt bike headlight kit that includes a suitable harness may simplify installation, but buyers should still check whether the kit matches the stator and battery capacity of the target bike. For an OEM or private-label program, make the plug, lead length, fuse location, and installation instructions part of the approved specification—not an afterthought.
Use a fitment matrix for purchasing decisions
For consideration-stage buying, a comparison matrix makes the trade-offs visible. Instead of treating every dirt bike headlight as interchangeable, score each candidate against the same criteria.
| Evaluation area | Questions for the buyer | Evidence to request |
|---|---|---|
| Mechanical fit | Where does it mount, and what clearance is needed? | Dimensioned drawing, bracket range, installation photos |
| Lighting function | Is the pattern suitable for the intended speed and terrain? | Beam information, aiming guidance, sample evaluation |
| Electrical fit | Will it work with the target bike’s electrical system? | Voltage/current data, wiring diagram, harness specification |
| Environmental resistance | Can the assembly tolerate the intended exposure? | IP information, sealing details, sample checks |
| Compliance | What is permitted in the destination market and use case? | Applicable approval documents and marking details |
| Supply consistency | Can the approved configuration be repeated? | Specification sheet, change-control process, batch inspection plan |
Build a sourcing brief that prevents avoidable returns
A clear purchasing brief gives suppliers and internal teams the same definition of an acceptable dirt bike headlight. Include target vehicle families, mounting constraints, usage conditions, electrical requirements, desired beam role, destination-market compliance needs, packaging expectations, and sample acceptance tests. This approach is especially useful for wholesalers who carry both motorcycle and automotive lighting: a more organized specification can reduce confusion between headlamp, driving-lamp, and fog-lamp applications.
YIAALUX focuses on automotive and motorcycle lighting for buyers including parts wholesalers and vehicle manufacturers. When discussing a custom or catalog dirt bike headlight program, begin with drawings, intended use, and target-market requirements so the conversation stays anchored in verifiable fitment and procurement needs.
Final takeaway
The most suitable dirt bike headlight choice is rarely the one with the boldest brightness claim. It is the option that fits the intended motorcycle, produces the appropriate beam for the riding task, protects the electrical connection, stays secure under vibration, and can be supported with the right documentation. By validating those points before purchase, parts buyers can build a more dependable lighting range and make the motorcycle headlight category easier to sell and support.