EN
EN

What to Know Before Replacing a Motorcycle Headlight Assembly
Replacing a motorcycle headlight assembly can improve nighttime visibility, restore a damaged front end, or support a planned upgrade. But this is not simply a matter of choosing a brighter lamp. A complete assembly brings together the housing, lens, light source, mounting points, beam functions, and electrical connections. Before ordering a motorcycle headlight assembly, take time to confirm how all of those parts will work with your motorcycle.
As a lighting-focused technical adviser, the most common mistake I see is comparing brightness before checking fitment. A motorbike headlight that looks right in a product photo may still have the wrong bracket spacing, connector, depth, or beam pattern for the bike. The safest approach is to inspect the existing unit first and make a short compatibility list.
Start with the reason you are replacing the assembly
Define the problem before you select a motorcycle headlight assembly. Is the original lens cracked, the reflector deteriorated, the housing leaking, or the beam too weak for your usual roads? A replacement intended to restore original function calls for a different decision than an upgrade for a custom build, a touring bike, or a motorcycle that needs better conspicuity in traffic.
This distinction helps you avoid paying for features you cannot use. A motorbike headlight with a daytime running light, halo ring, or extra indicator functions can be useful, but every added function needs a compatible circuit and a legal, practical installation plan. For an OEM-style repair, matching the original function set is usually the simplest route.
Confirm physical fitment before comparing light output
Measure the existing motorcycle headlight assembly and its mounting area. Record the lens diameter or outer dimensions, shell depth, bracket type, mounting-hole spacing, fork or fairing clearance, and the room available behind the housing for connectors. If the assembly mounts in a bucket, also check whether the new unit needs a separate retaining ring or a different trim ring.
“Universal” does not mean direct-fit. Universal assemblies can require electrical changes and custom mounting hardware. On motorcycles with fairings, instrument brackets, windscreens, or tightly routed cables, a deeper motorbike headlight can interfere with steering movement. Turn the bars lock to lock and note what is close to the original housing before committing to a replacement.
Map the electrical functions and connector arrangement
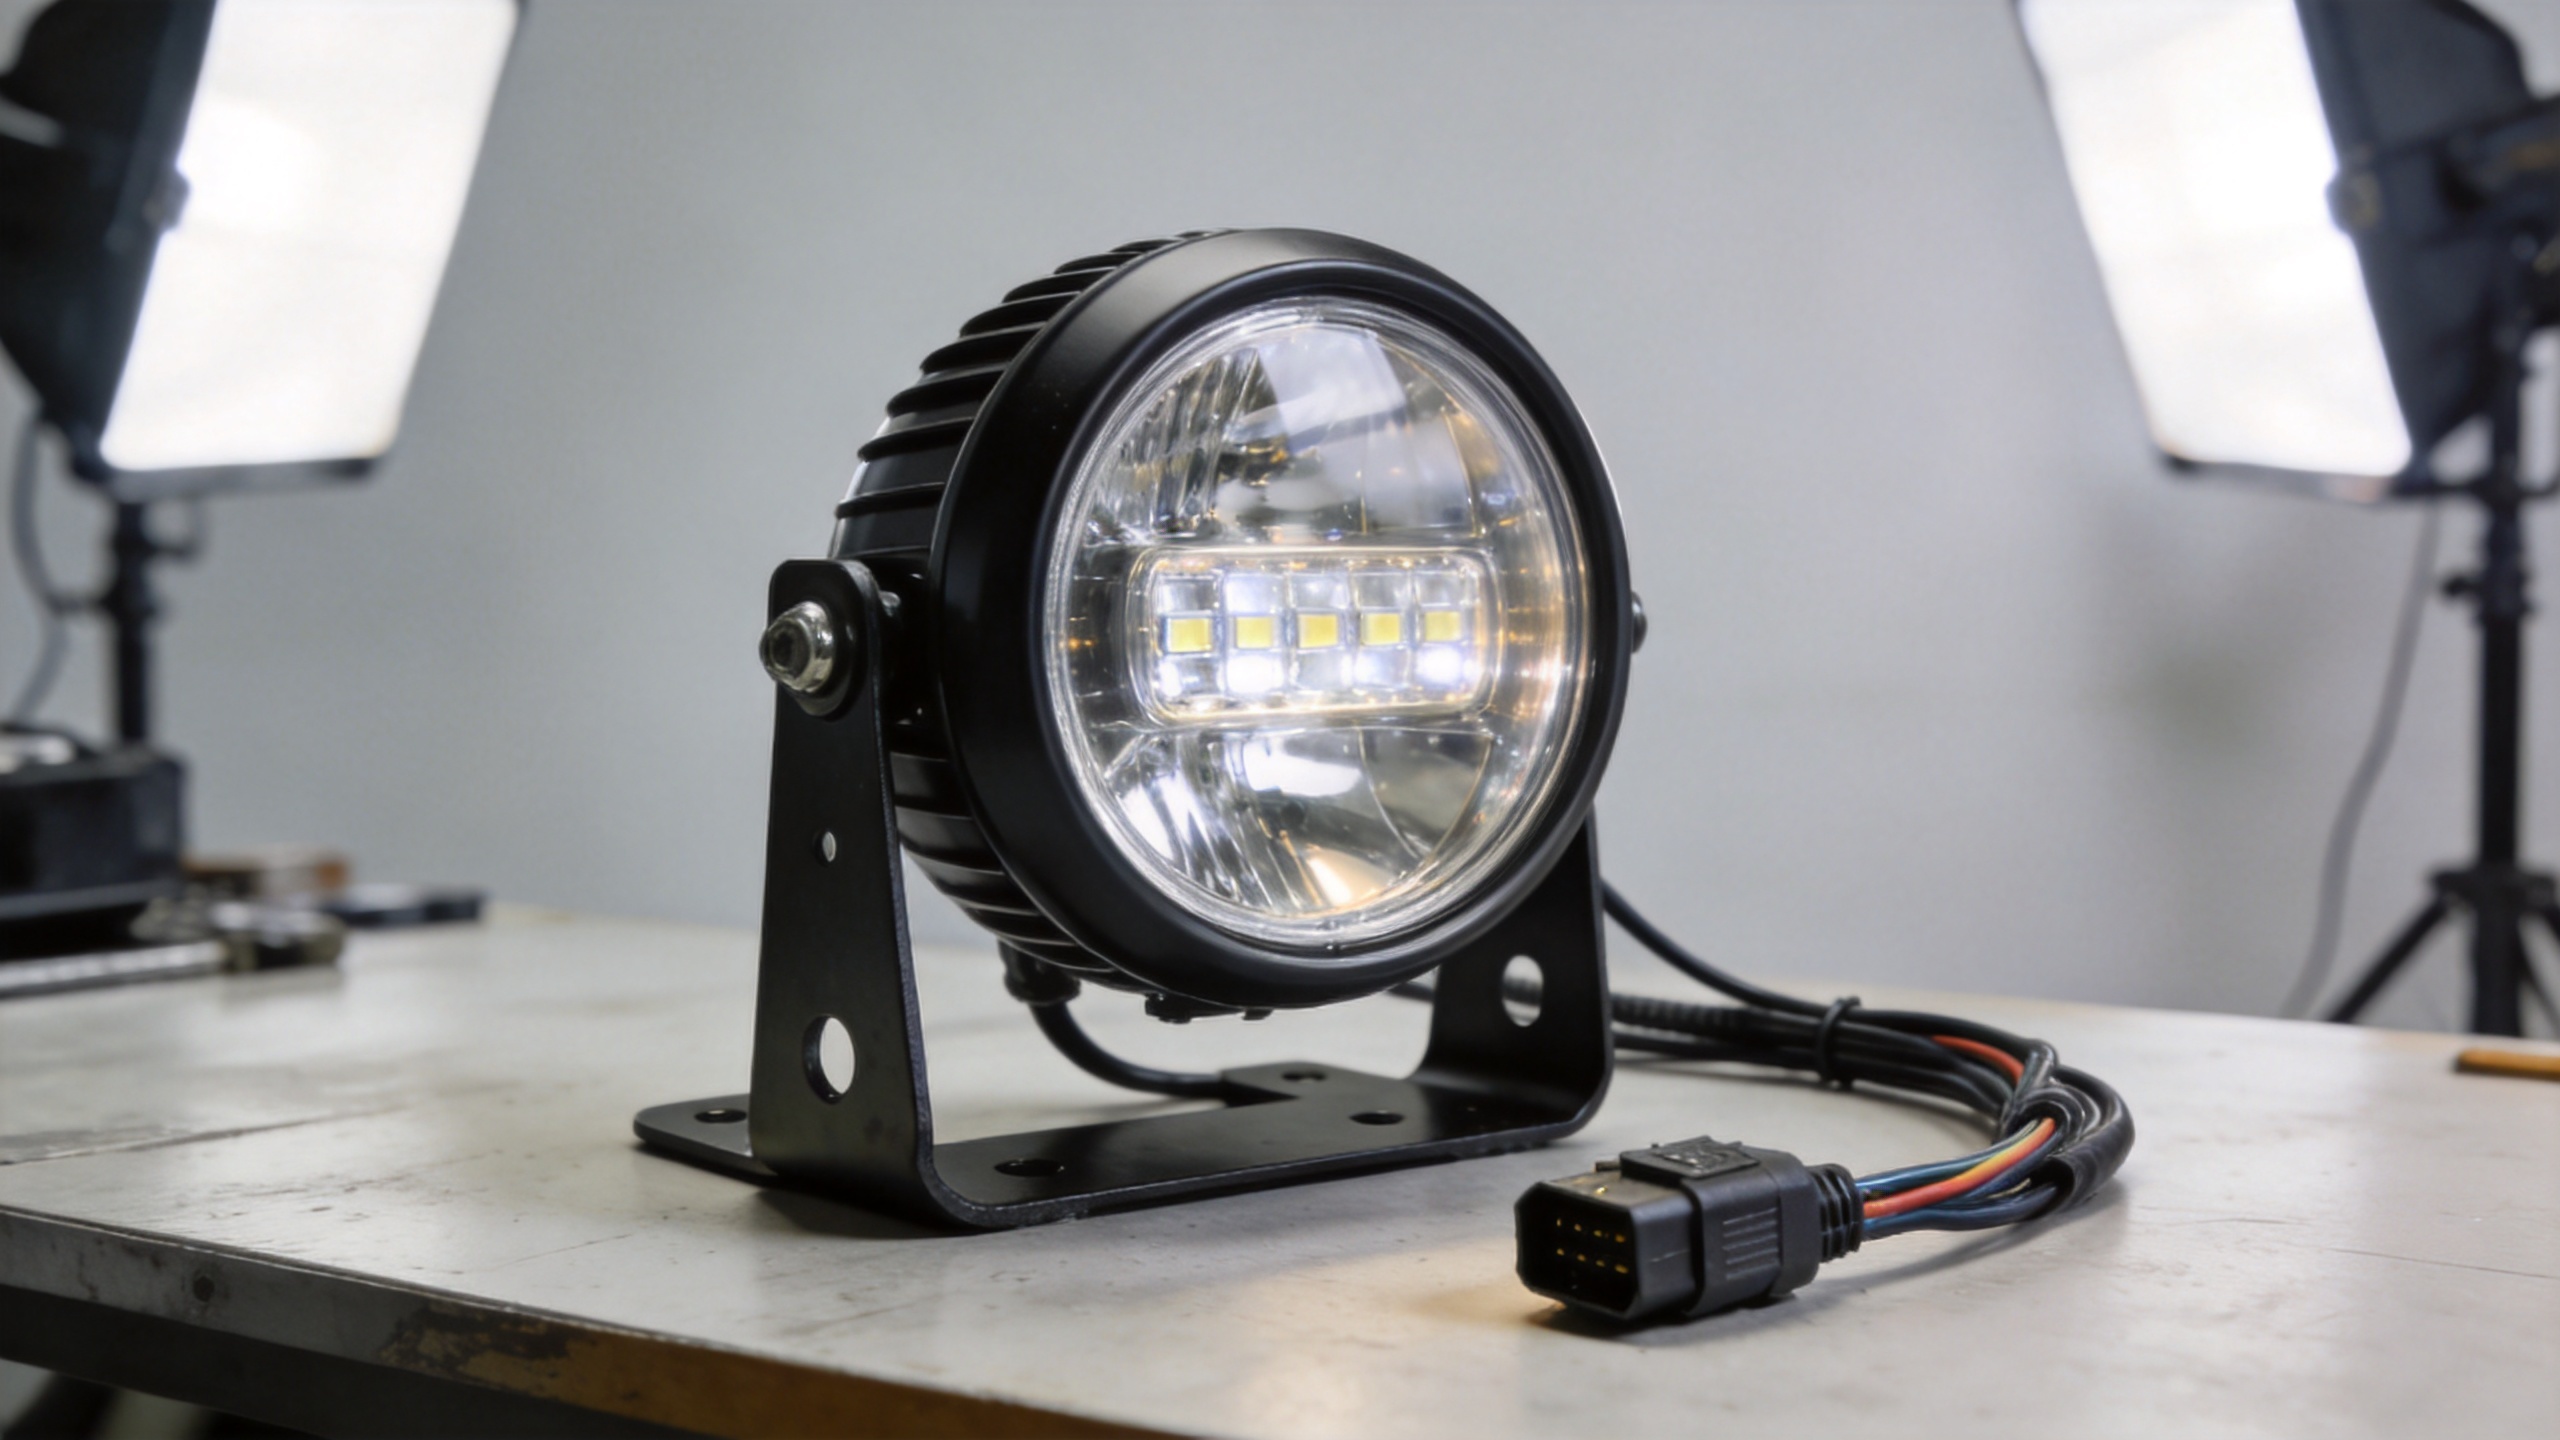
Next, identify every wire and connector used by the current motorcycle headlight assembly. At a minimum, confirm the low beam, high beam, and ground. Depending on the motorcycle and the new unit, you may also need a DRL, position light, halo, turn-signal, or separate control connection. Connector shape alone is not enough; confirm the circuit function and polarity against the motorcycle wiring information.
A plug adapter can simplify an installation when it correctly matches the required functions. It does not automatically solve a power-capacity, polarity, or switching issue. Check the connector condition, wire insulation, strain relief, fuse arrangement, and space for the harness behind the motorbike headlight. If you are uncertain about the electrical work, have a qualified motorcycle technician inspect the plan before power is applied.
Choose a beam pattern for the roads you actually ride
The useful performance of a motorcycle headlight assembly comes from beam control, not a headline lumen number alone. A well-managed low beam puts light where the rider needs it while limiting glare for other road users. High beam should extend useful distance without leaving large dark areas near the road edges.
Many riders begin by focusing on maximum brightness, then discover that beam shape matters more on real roads. For frequent city riding, a controlled low beam and good near-field coverage may matter most. For rural night travel, you may value greater reach and clearer edge definition. In rain or fog, color temperature and reflections can change what feels comfortable. Consider the riding environment, not just the specification sheet, when choosing a motorbike headlight.
Check housing durability, sealing, and heat management
A motorcycle headlight assembly sits at the front of the bike, where it faces vibration, rain, road spray, heat, and sunlight. Inspect the housing material, lens quality, gasket design, venting, bracket stiffness, and cable exit points. A water-resistance rating is useful context, but it is not the whole story: a poorly seated rear cover or an unprotected connector can still allow moisture into the system.
Heat also deserves attention, especially with LED designs. Confirm that the assembly has adequate clearance for its rear heat sink or cooling fan and that nearby wiring will not be pressed against hot components. If you mainly ride in wet conditions, prioritize connector sealing and proper routing so water cannot collect around the motorbike headlight wiring.
Plan for beam aim and local compliance
After installation, aiming is part of replacing a motorcycle headlight assembly, not an optional finishing touch. A lamp aimed too high can create glare; one aimed too low can reduce the time available to see road hazards. Install the unit securely, set the motorcycle on level ground, and follow the motorcycle maker’s aiming procedure or have the beam checked by a professional.
Lighting rules differ by market and by how the motorcycle will be used. Verify the applicable requirements for beam function, color, marking, and auxiliary features in the place where the bike will operate. This is especially important for distributors, workshops, and OEM buyers serving different regions. Do not assume that a feature advertised for one market is automatically approved for use in another.
Inspect the supporting parts at the same time
A replacement motorcycle headlight assembly may reveal worn supporting parts that were hidden by the old unit. Review brackets, rubber isolators, retaining rings, screws, connectors, fuses, and switchgear. Reusing corroded fasteners or a loose bracket can shorten the life of an otherwise suitable assembly. It is also a good time to inspect charging-system behavior if the original light failed unexpectedly.
For a vehicle-specific example, buyers working with BMW F800GS, F700GS, or F650GS applications can review this BMW motorcycle LED driving headlight option alongside the motorcycle’s actual mounting and electrical requirements. The product link is a starting point for fitment discussion, not a substitute for verifying the bike and local requirements.
A practical pre-purchase checklist
- Photograph the original motorcycle headlight assembly, connectors, mounts, and nearby clearance points.
- Confirm motorcycle model, model year, and whether the unit is bike-specific or truly adaptable.
- Measure housing dimensions, mounting-hole spacing, shell depth, and steering clearance.
- List every required lighting function: low beam, high beam, ground, DRL, position light, or signal integration.
- Check connector type, polarity, harness routing, fuse protection, and weather sealing.
- Choose a beam pattern for your road and weather conditions rather than brightness alone.
- Verify local road-use requirements and plan a final beam-aim check.
Make the replacement a system decision
A suitable motorcycle headlight assembly fits mechanically, works safely with the electrical system, produces a useful beam, and can be aimed and used appropriately in its intended market. Taking those checks before purchase reduces installation delays and helps avoid a replacement that looks good but performs poorly on the road.
If you are sourcing assemblies for resale or an OEM project, request clear fitment information, function diagrams, mounting details, and product documentation early. That preparation makes it easier to compare a motorbike headlight on total compatibility—not just on appearance or a single brightness figure.