EN

Vespa Sprint 50, 125 and 150 Headlight Compatibility Guide
Replacing a motorbike front light on a Vespa Sprint can look straightforward: the scooters share the Sprint name, the front profile is familiar, and many listings group 50, 125, and 150 together. Compatibility is more specific than that. Before ordering a replacement or an LED upgrade, confirm the model year, the lamp-housing shape, mounting points, connector arrangement, and local road-use requirements.
As a motorcycle-lighting adviser, I see one recurring mistake: buyers compare brightness first and fitment second. A headlight that does not seat correctly, connect correctly, or aim correctly is not a useful upgrade. This guide puts the fitment check ahead of the shopping decision, so you can assess a motorbike front light for Sprint 50, 125, and 150 models with more confidence.
Why Sprint 50, 125, and 150 fitment needs a separate check
Engine displacement alone does not determine headlight compatibility. A Sprint 50, 125, or 150 can share styling with another version while differing by production year, market specification, wiring revision, or original lighting configuration. Parts listings commonly state a particular year range rather than every Sprint ever made. Treat that range as the start of verification, not a guarantee.
For an LED motorbike front light, the question is not simply “Will it turn on?” You also need to know whether the housing matches the front cowl, whether the connector reaches without strain, whether the mounting tabs align, and whether the resulting beam can be aimed correctly. These checks matter even more when sourcing replacement assemblies for inventory or a customer order.
Step 1: identify the exact scooter before comparing lights
Start with the vehicle identification details and the original headlight assembly. Record the Sprint model, engine size, production year, market, and any previous front-end repair or modification. Then compare the current lamp from the rear as well as the front. A previous owner may have installed an aftermarket unit, so the visible lens alone is not reliable evidence of the original configuration.
- Model and year: check the registration or VIN documentation and the supplier’s stated fitment period.
- Housing profile: compare lens outline, rear depth, locating tabs, and screw positions with the offered assembly.
- Existing wiring: photograph plugs, wire routing, and connector positions before disconnecting anything.
- Market specification: confirm whether the offered unit is intended for the same traffic-side and lighting regulation context.
This is a practical place to slow down. A listing that names “Sprint 50/125/150” may be relevant, but the seller should still be able to confirm the applicable production range and the physical interface.
Step 2: compare the mechanical interface
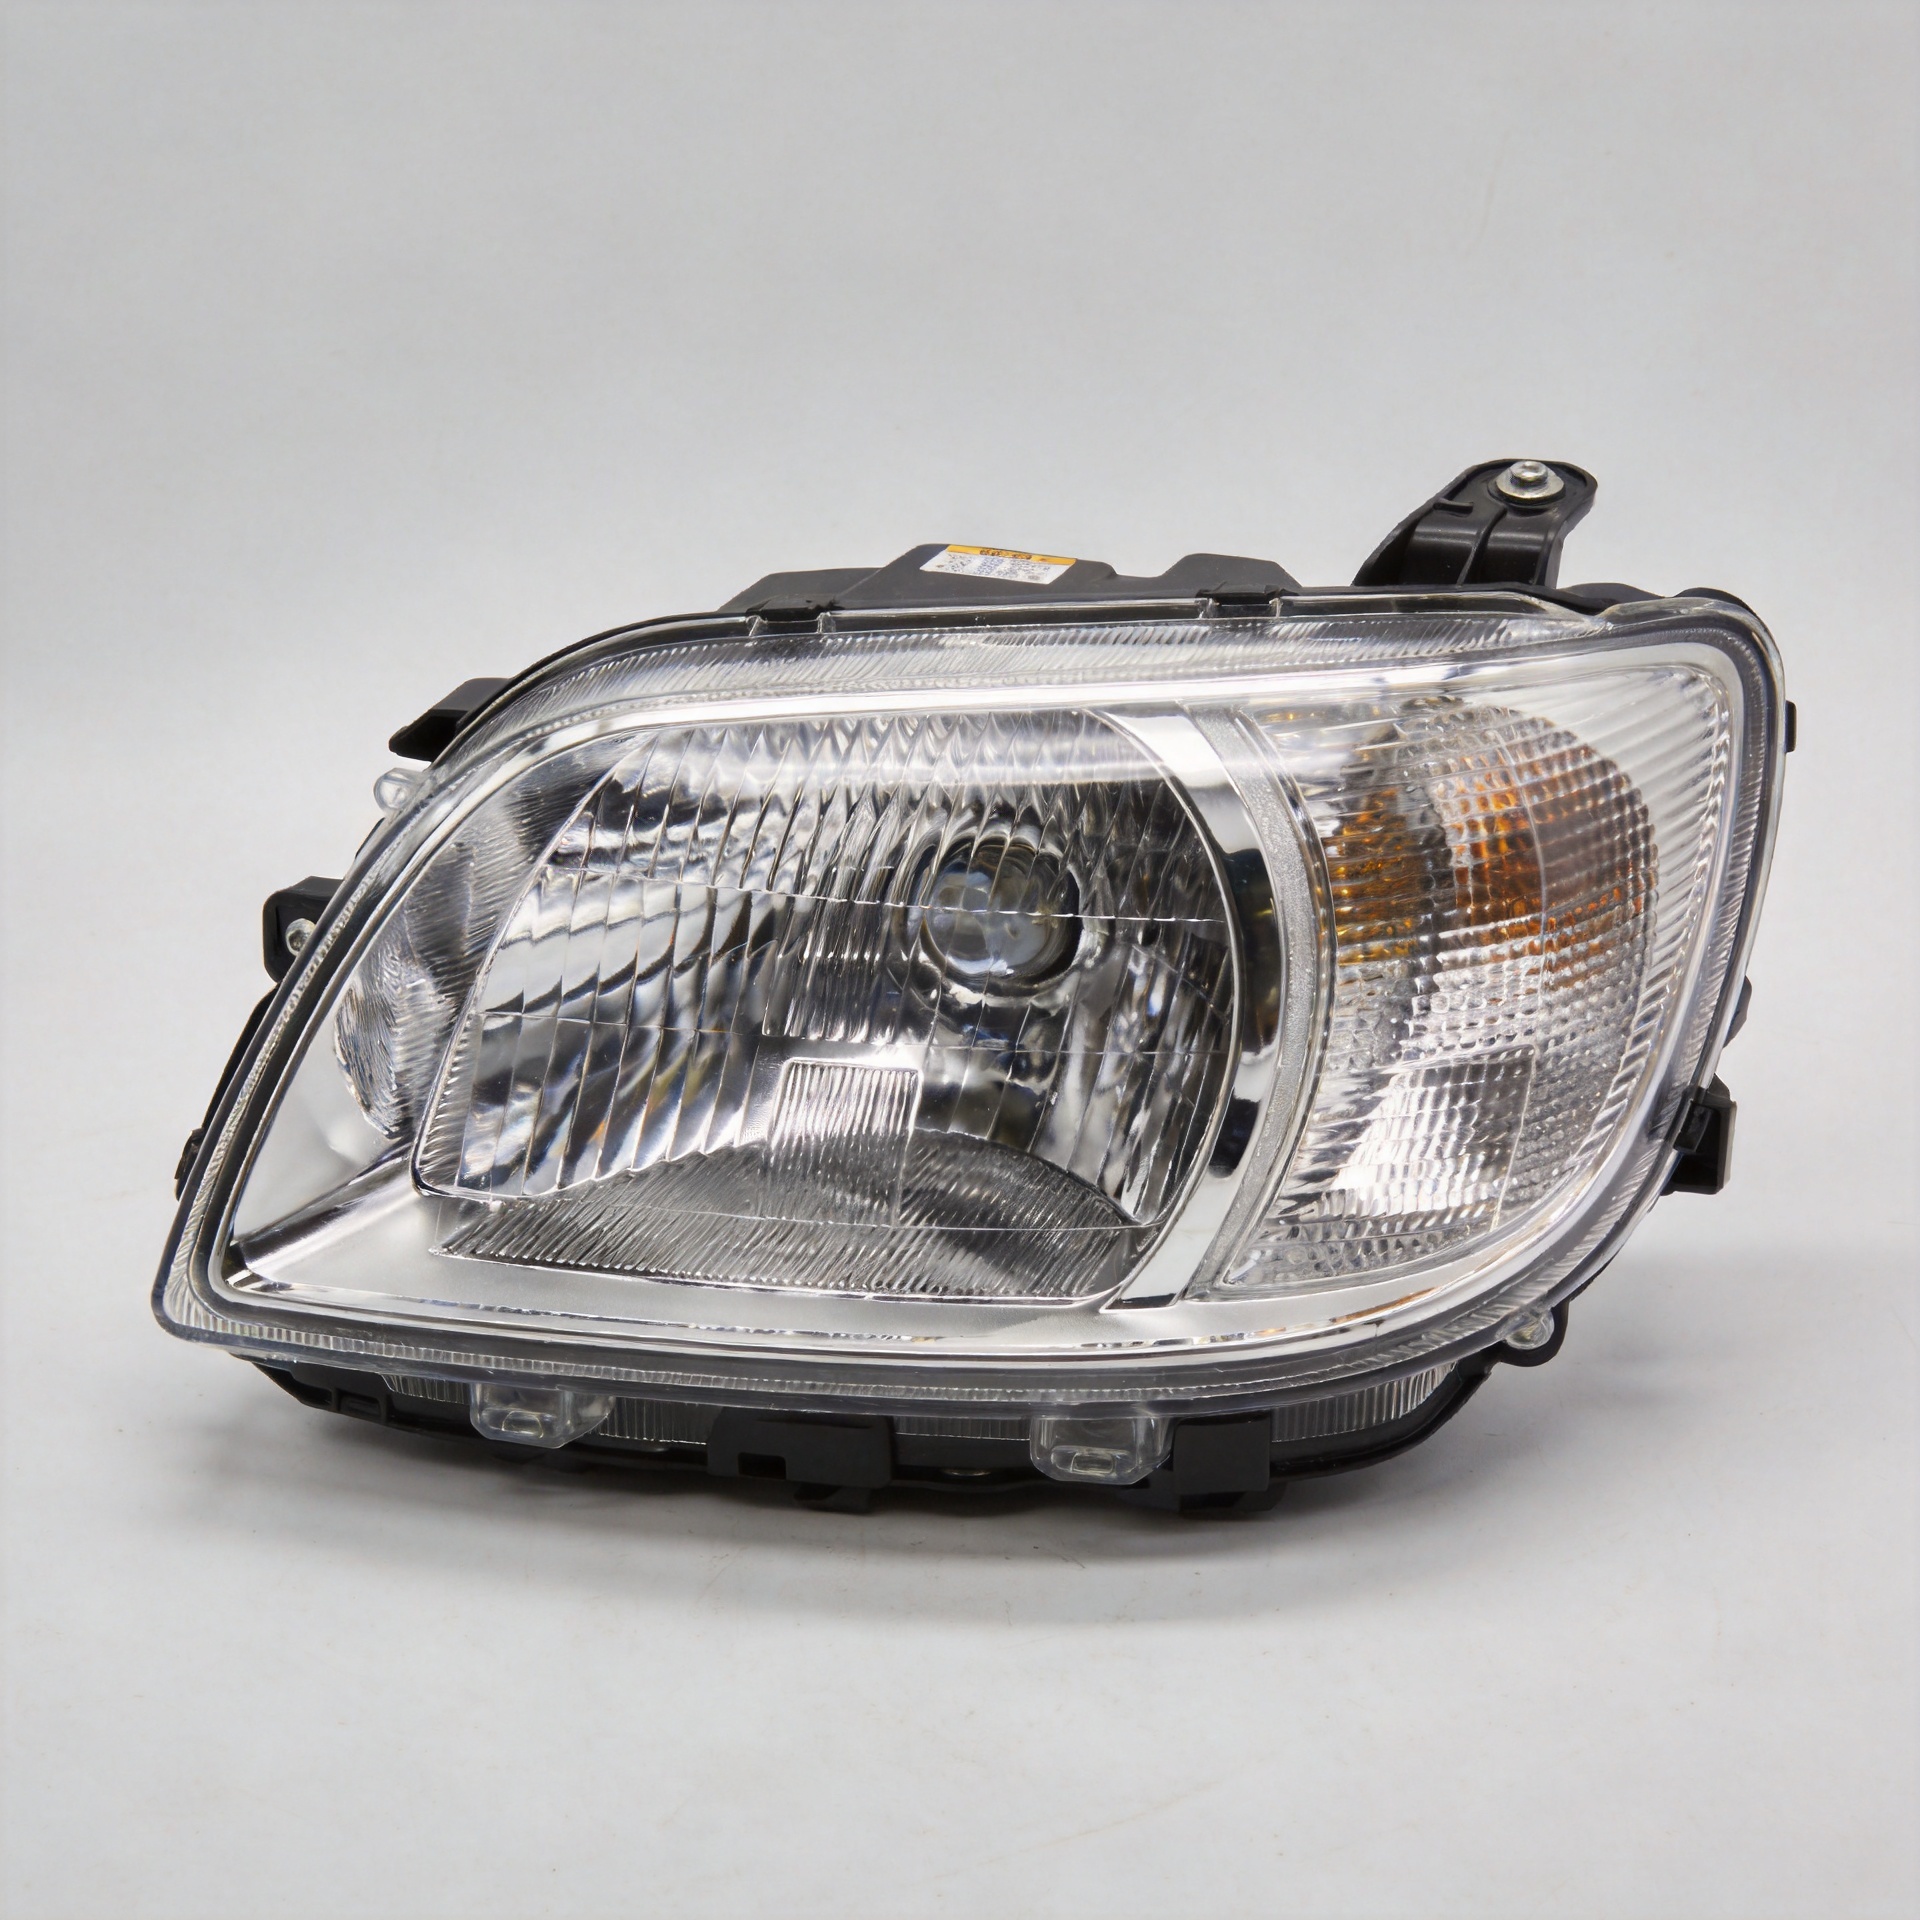
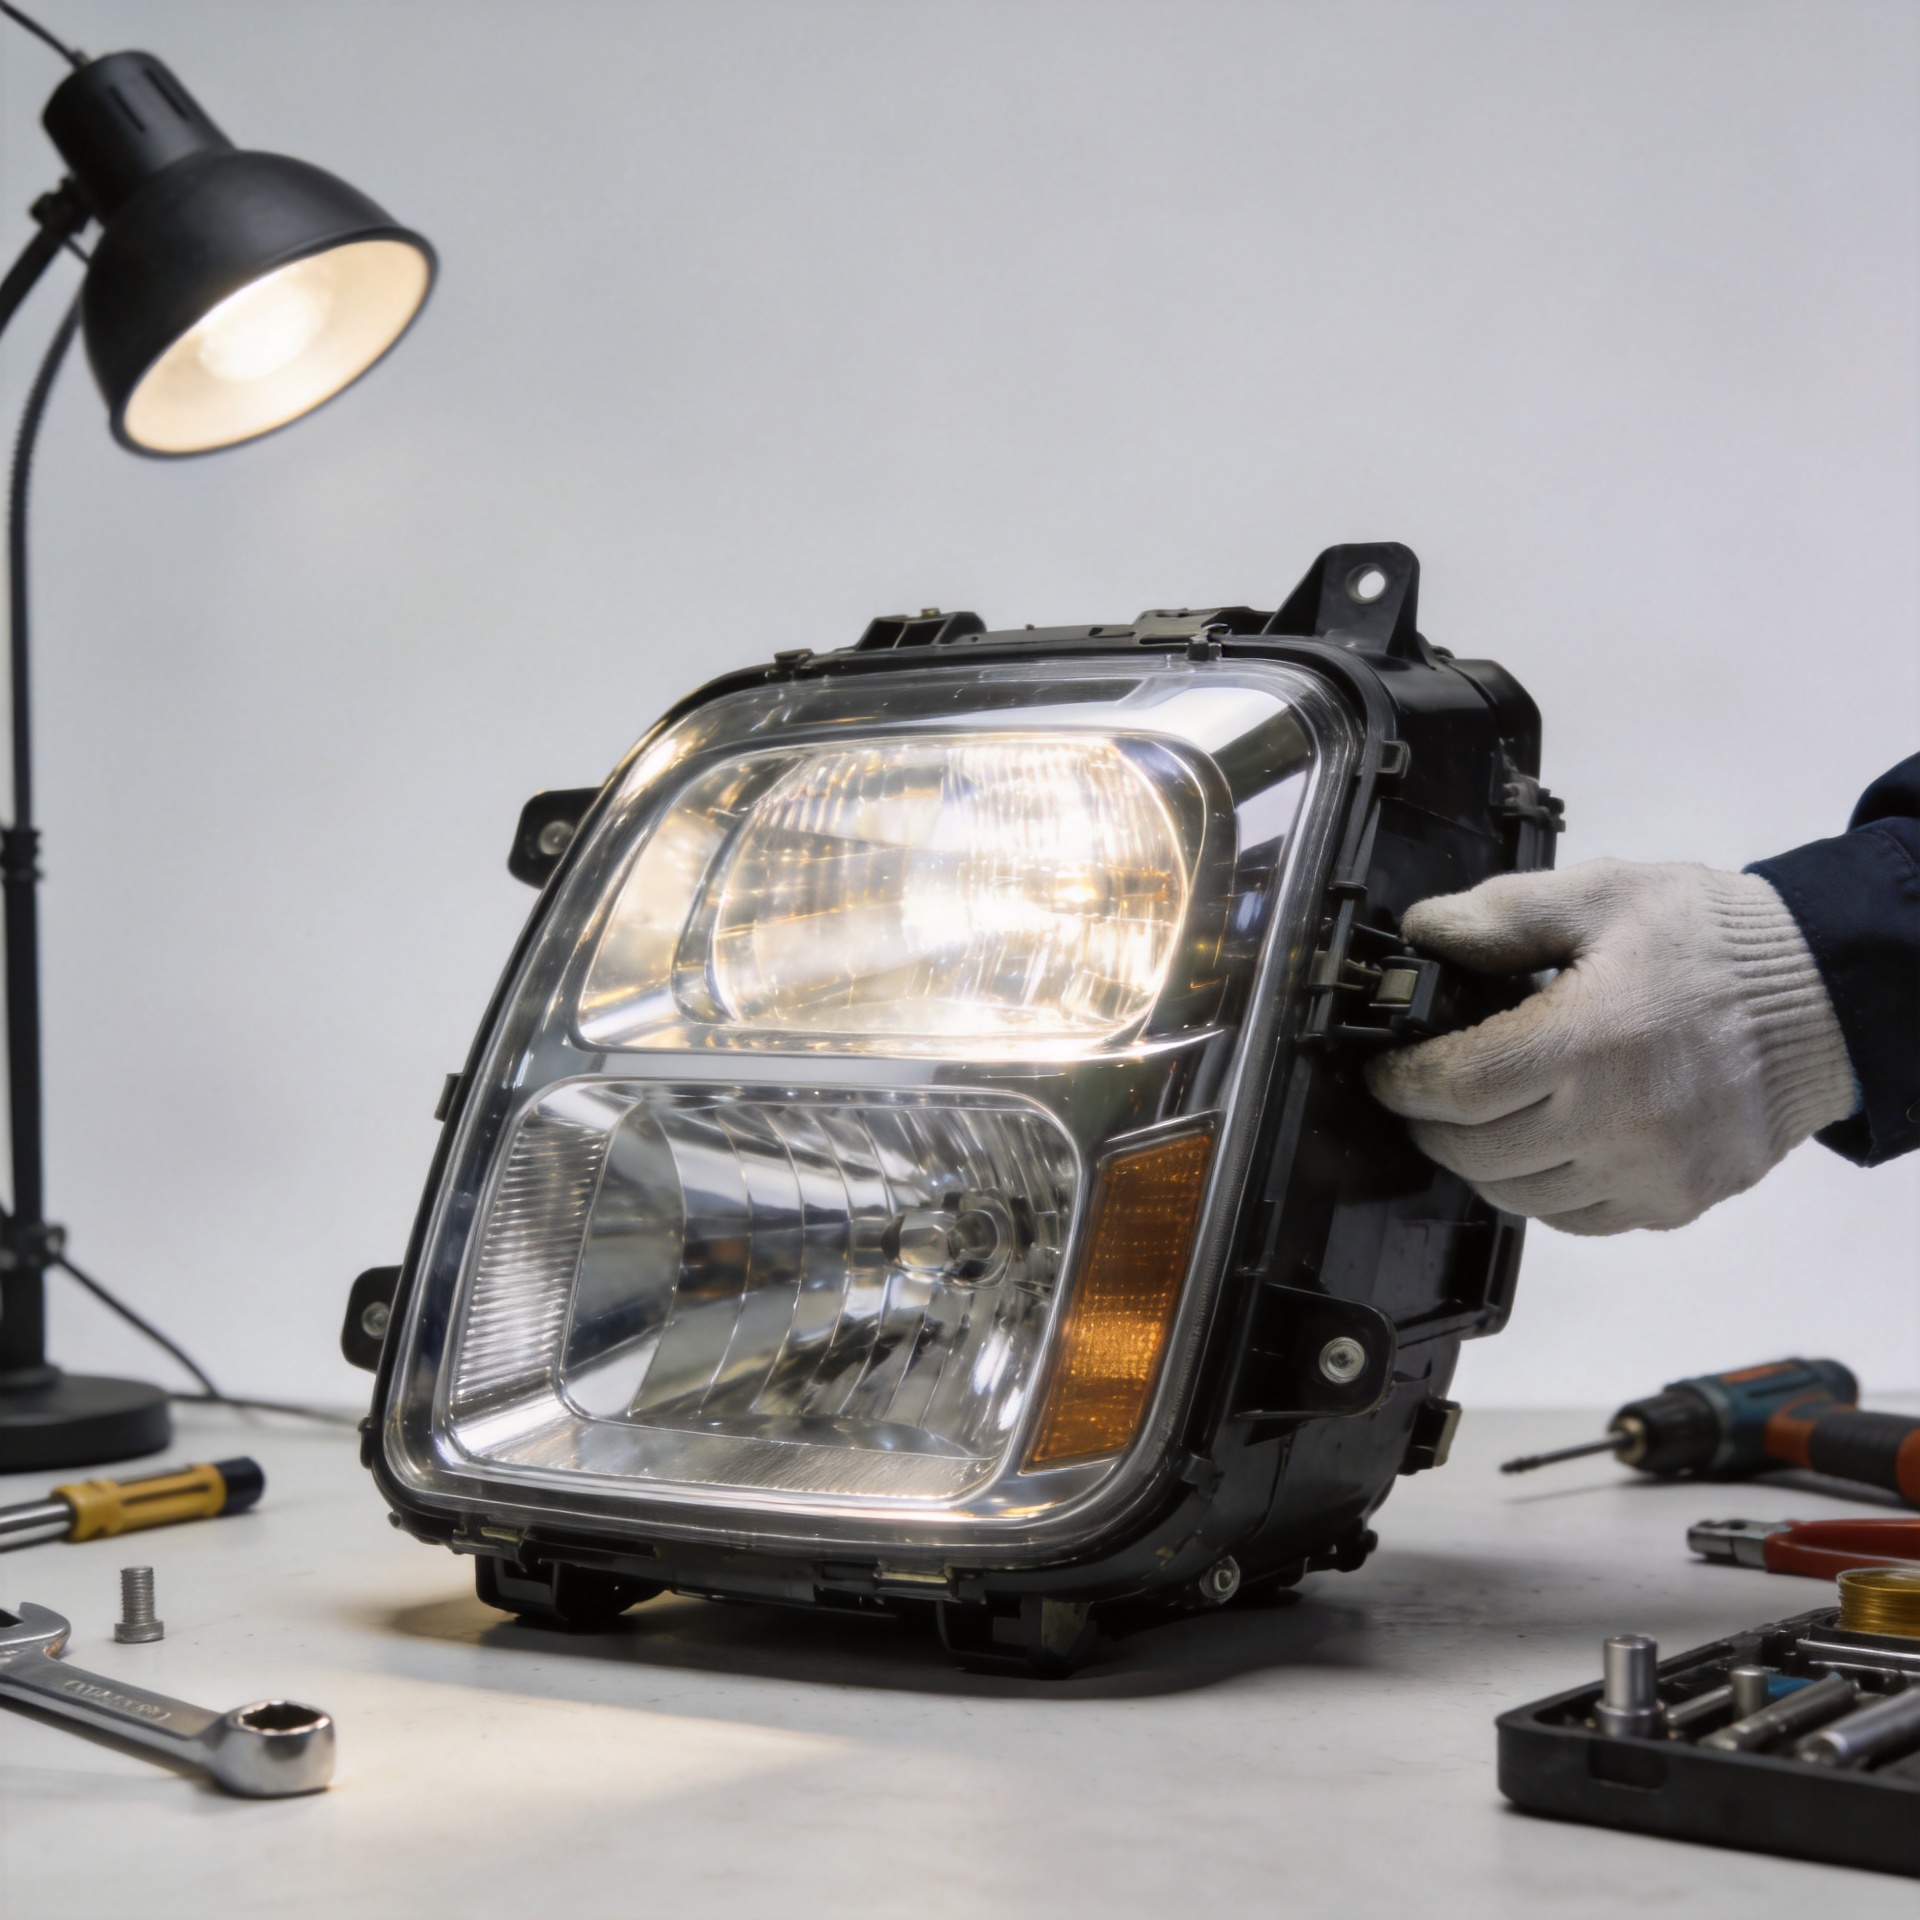
Mechanical fit is the first non-negotiable test for a replacement motorbike front light. Inspect the rear of the original assembly and compare it with product photos, drawings, or a supplier’s confirmation. Focus on mounting ears, locating pins, the perimeter that contacts the front panel, and clearance behind the lens.
Do not force an assembly into the cowl. A light that appears close but requires pressure can transfer stress to the lens, tabs, or surrounding trim. It may also sit at the wrong angle, which becomes a beam-aim problem after installation. If you are purchasing for resale, request clear rear-view photos and fitment confirmation for the relevant Sprint year before placing a bulk order.
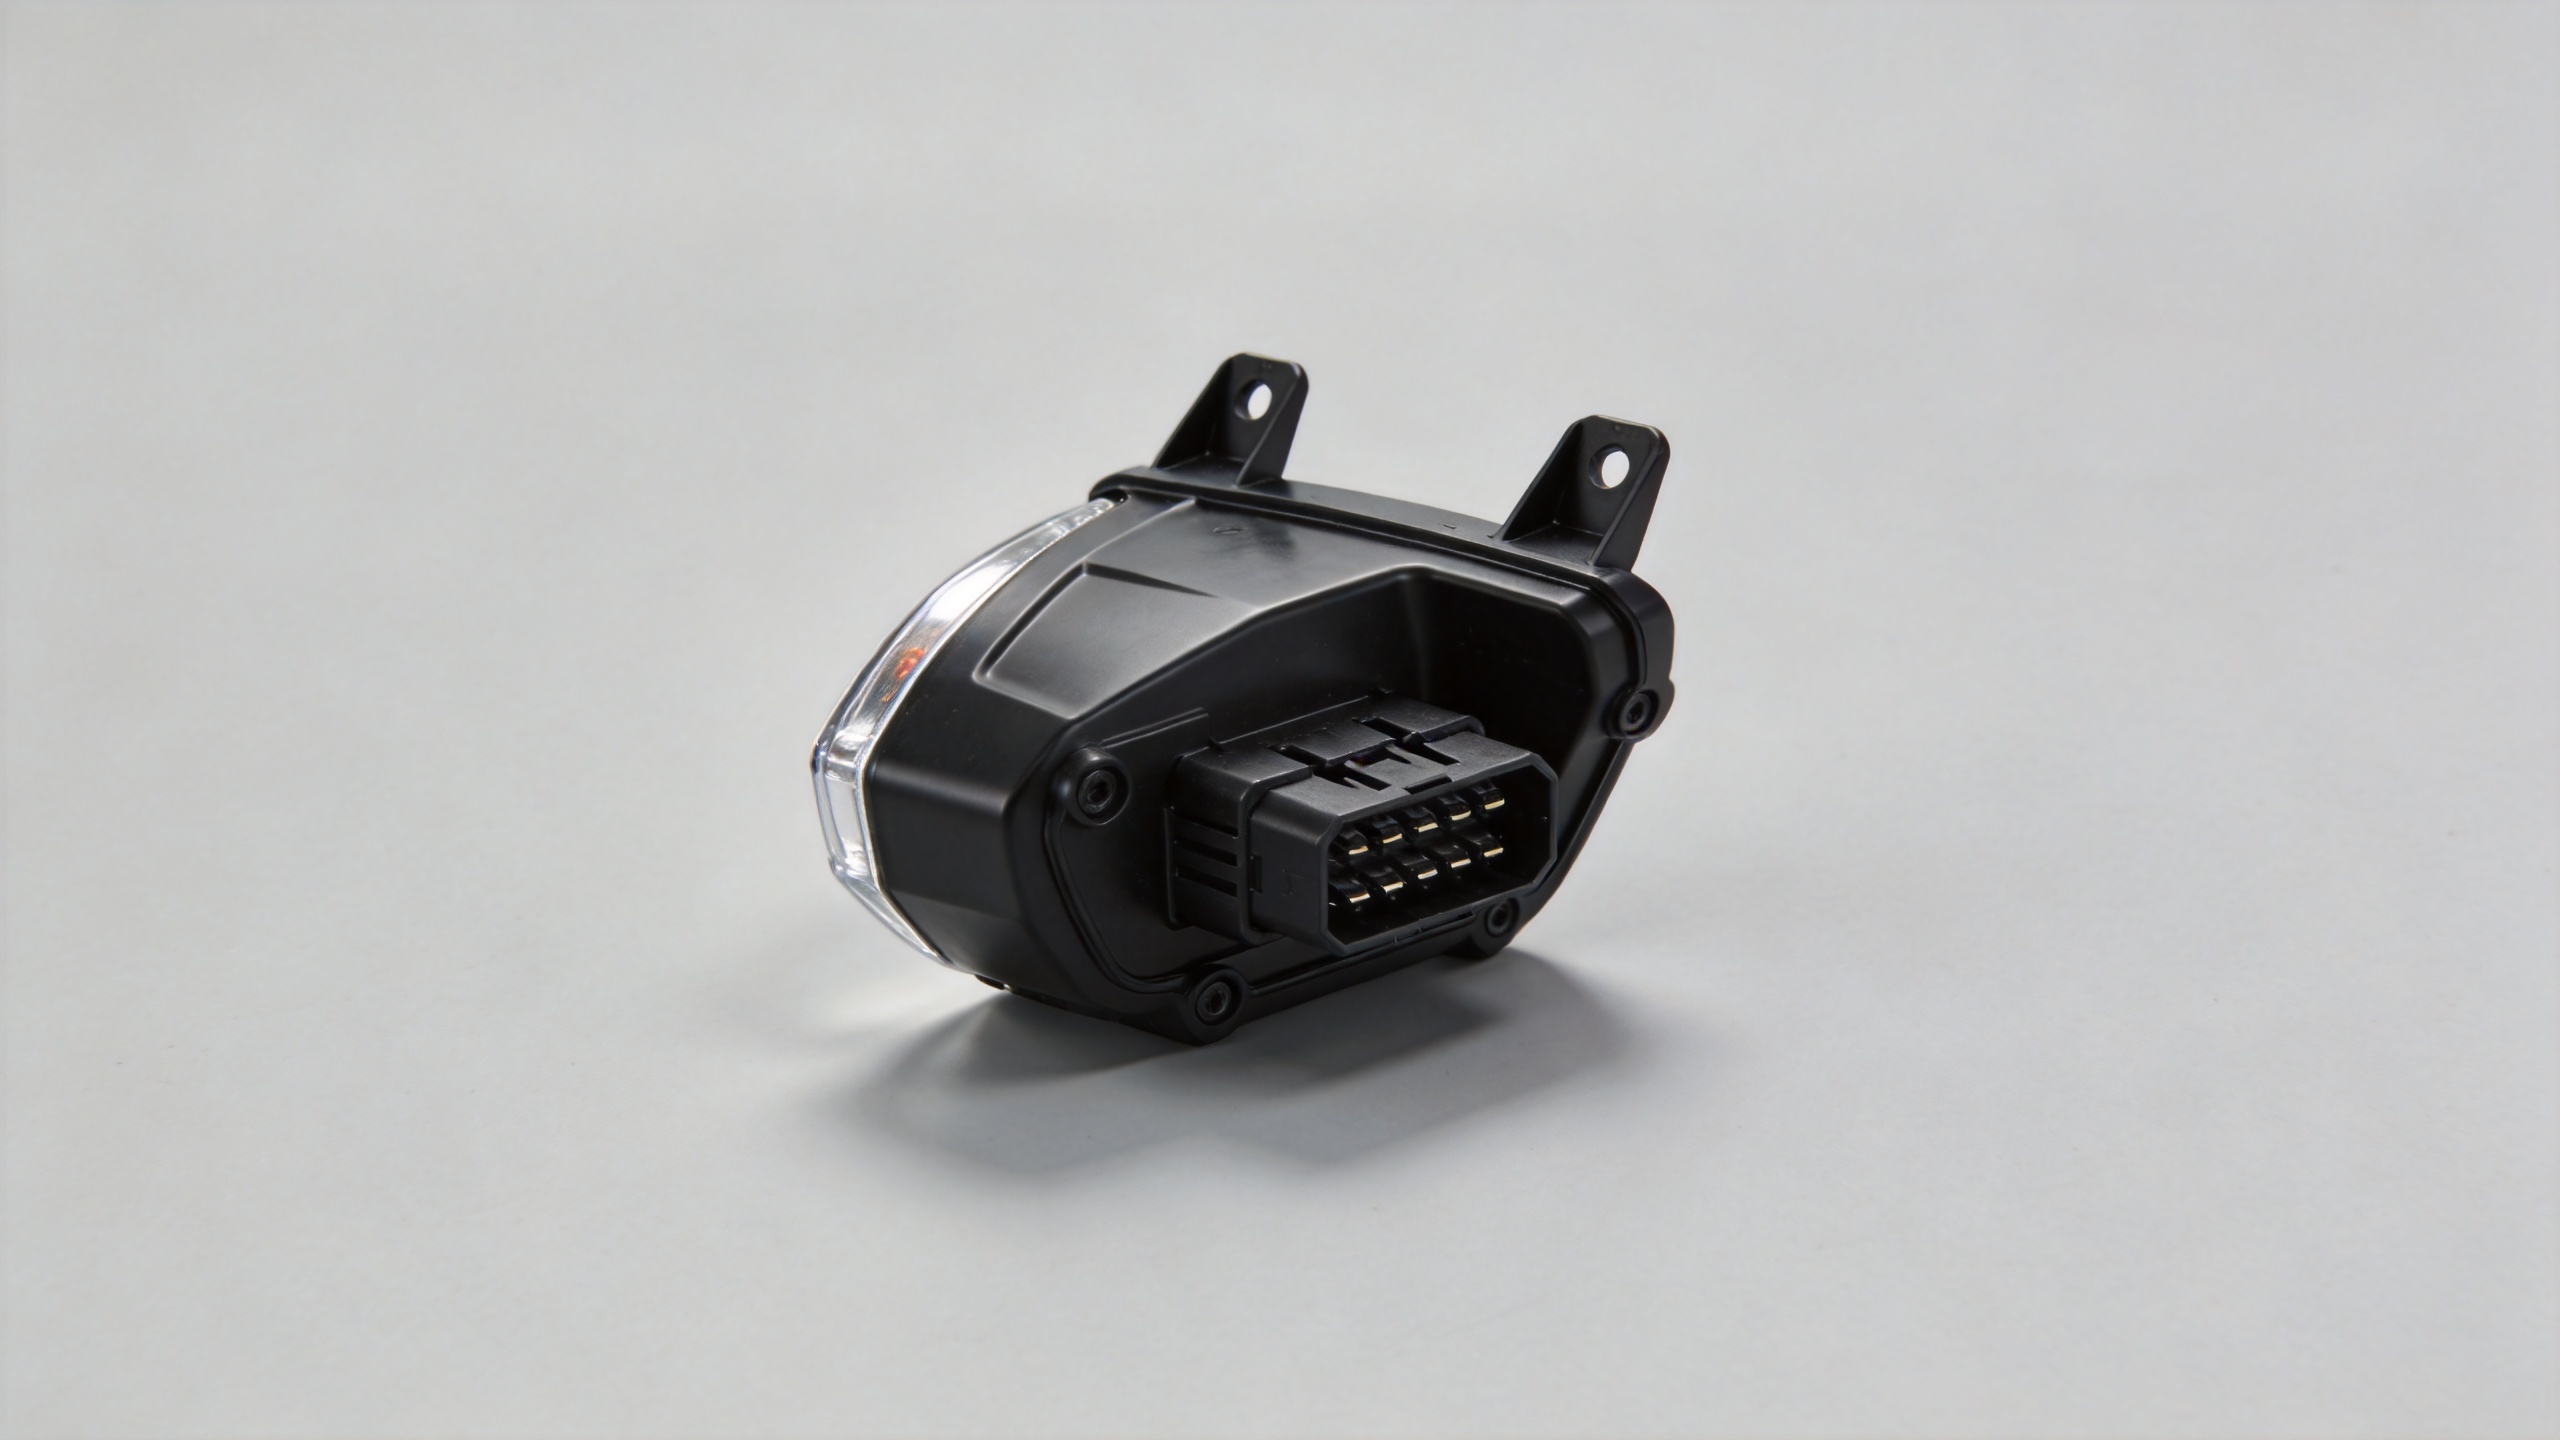
One available option is the SPHL-101 LED 101 Front Headlight for Vespa Sprint 50 125 150 Motorcycle Lighting System. As with any replacement assembly, match it to the scooter’s year, housing, and connection layout before purchase rather than relying on the name alone.
Step 3: verify connectors and electrical compatibility
Next, inspect the connector type, terminal count, plug orientation, and cable length. The safest process is to compare the original assembly against the supplier’s connector photo or wiring information. Do not assume two lamps use the same plug simply because both are LED or because both are described as a Sprint motorbike front light.
Check whether the unit supports the functions your scooter uses, such as low beam, high beam, daytime running light, position light, or turn-signal integration where applicable. Also inspect seals and cable exits. A connector that fits but leaves a seal displaced can create a reliability issue in wet riding conditions.
It is tempting to solve a mismatch with a quick adapter. Sometimes an appropriate, professionally specified adapter is valid; however, an improvised splice can introduce poor contacts, water ingress, or diagnostic problems. For a road-going scooter, keep wiring changes traceable and have the finished installation checked if you are not certain about the electrical system.
Step 4: choose LED output for usable beam control, not just a brighter claim
A headlight led for motorcycle upgrade should be evaluated by beam pattern and control as well as light output. More light is not automatically better if the cutoff is uncontrolled or the beam is aimed too high. In real riding, a stable pattern that illuminates the lane and road edges predictably is more useful than a bright hotspot that creates glare.
This is where the decision often changes: lumen figures are only one input. The more relevant question is whether the optics, mounting position, and aim work together on your Sprint. If the scooter is mainly used in urban traffic, glare control and close-range clarity may matter most. For darker rural routes, you may prioritize forward reach, but the beam must still be correctly aimed and compliant with applicable rules.
Step 5: install, aim, and inspect before regular use
After confirming a physical and electrical match, install the motorbike front light without pinching wires or over-tightening mounting points. Refit panels carefully, then test every intended lighting function before riding. Use a level surface and a wall to check that the beam is centered and not directed excessively upward. A workshop can complete the final aim check when required.
Finally, inspect the installation after the first rides. Look for loosened fasteners, condensation inside the lamp, rubbing wire insulation, or a changed beam position. These simple checks help distinguish a correctly fitted headlight assembly from one that merely powers on.
Quick pre-order compatibility checklist
- Confirm Sprint 50, 125, or 150 model and production year.
- Compare the original housing outline, tabs, fasteners, and rear clearance.
- Match connector shape, terminal count, and cable routing.
- Confirm every required lighting function.
- Ask for supplier confirmation of the stated fitment range.
- Plan for correct beam aiming and check local requirements before road use.
Motorbike front light fitment questions buyers ask
Is a motorbike front light interchangeable across all Sprint engine sizes?
Not automatically. A motorbike front light should be compared by model year and physical assembly details, not engine size alone. When a supplier lists a motorbike front light for more than one engine size, ask which years and connector versions were checked.
What photographs should I send before ordering a motorbike front light?
Send a front view, a rear view of the motorbike front light, the mounting tabs, and the vehicle-side connector. These images make it easier to compare a motorbike front light with the original component before shipment.
Can a headlight led for motorcycle unit be installed without testing?
No. A headlight led for motorcycle assembly should be tested for every available function before panels are refitted. A headlight led for motorcycle upgrade also needs a beam-aim check after installation.
What should a workshop check on a motorbike front light?
A workshop should check motorbike front light mounting, connector engagement, cable clearance, sealing, and beam aim. That inspection helps confirm that the motorbike front light is secure rather than merely illuminated.
What should a parts buyer record for a motorbike front light order?
For each motorbike front light order, record the scooter year, market specification, original assembly photos, connector view, and supplier confirmation. This record makes a repeat motorbike front light purchase easier to manage.
Does a headlight led for motorcycle replacement need road-use verification?
Yes. A headlight led for motorcycle replacement may affect beam pattern and applicable requirements. Confirm local rules and perform a final aim check before routine road use of a headlight led for motorcycle assembly.
Use this rule for every motorbike front light purchase: verify first, install carefully, aim the beam, and inspect again. A well-matched motorbike front light is a safer basis for a replacement decision than a broad fitment label alone.
Final takeaway
The right Vespa Sprint motorbike front light is the one that matches the exact scooter configuration and produces a controlled, correctly aimed beam. Use the displacement label as a starting point, then verify year, housing, connectors, functions, and installation conditions. That approach makes an LED replacement decision clearer for individual riders, workshops, and motorcycle-parts buyers alike.