EN
EN

Motorcycle Fog Light Mounting: Clamp and Bracket Selection Guide
A fog light clamp for bike is a small part with a large effect on installation quality. A bright auxiliary lamp cannot perform as intended if the mount shifts under vibration, contacts bodywork at full steering lock, or leaves no safe route for the wiring harness. For distributors, workshops, and motorcycle builders, the right choice starts with fit verification rather than a “universal” label.
As a motorcycle lighting technical advisor, I recommend treating the clamp, bracket, lamp body, and wiring route as one mounting system. This guide explains what to measure, where to position the lamp, and how to compare common hardware before ordering or fitting a bike LED fog lamp.
Start with the mounting location, not the clamp
A fog light clamp for bike may mount to a crash bar, fork tube, handlebar crossbar, fairing support, or a dedicated model-specific bracket. Each location creates different loads and clearance limits. Crash bars are often convenient for auxiliary lights, but their tube diameter and surface finish vary. Fork-mounted positions move with suspension and steering, so they need extra attention to hose clearance and cable movement. A fairing-support position can keep the lamp higher, yet may have limited access for tools and wiring.
Before selecting hardware, turn the handlebars from lock to lock and compress the suspension if practical. Check that the proposed lamp position cannot hit the fender, fairing, radiator guard, brake lines, or luggage. This simple step addresses a gap in many universal-mount listings: a clamp can fit the tube but still be wrong for the motorcycle.
Measure tube diameter and clamp contact correctly
Measure the actual outside diameter of the mounting tube with calipers, including any coating that affects fit. Do not estimate by looking at a crash bar or assume that all adventure-bike bars use the same size. Some light-mount systems use adapting inserts for diameters such as 22 mm, 25.4 mm, 26 mm, and 27 mm. The important point is not the specific numbers; it is matching the clamp’s supported range and insert to the measured tube.
A well-matched fog light clamp for bike should close evenly around the tube without needing excessive bolt force. If the clamp is too large, a correctly shaped rubber insert may help only when the manufacturer lists it for that clamp. Stacking tape, improvised shims, or soft material can let the lamp rotate as the motorcycle vibrates. If the clamp is too small, forcing it closed may damage the finish, distort the bracket, or load the fasteners unevenly.
Choose the bracket shape for lamp weight and beam aim
Clamp diameter is only one decision. The bracket arm determines how far the lamp sits from the mounting tube and how easily the beam can be aimed. A short, rigid arm usually gives better resistance to vibration than a long offset arm. A longer arm can solve clearance problems, but it adds leverage, so material thickness, bend geometry, and fastener quality become more important.
| Mounting option | Best when | Key check |
|---|---|---|
| Crash-bar clamp | A strong round tube is available and the lamp needs a lower, wider position. | Tube diameter, engine/fairing clearance, and road-spray exposure. |
| Fork-tube clamp | A compact bike LED fog lamp needs to follow steering direction. | Full suspension travel, brake-line movement, and fork symmetry. |
| Model-specific bracket | The motorcycle has dedicated mounting points or restricted space. | Confirm the model year and accessory compatibility. |
| Fairing/support bracket | A higher beam position is needed without adding a large crash bar. | Panel clearance, access to fasteners, and vibration at the support point. |
Allow space for wiring, adjustment, and service
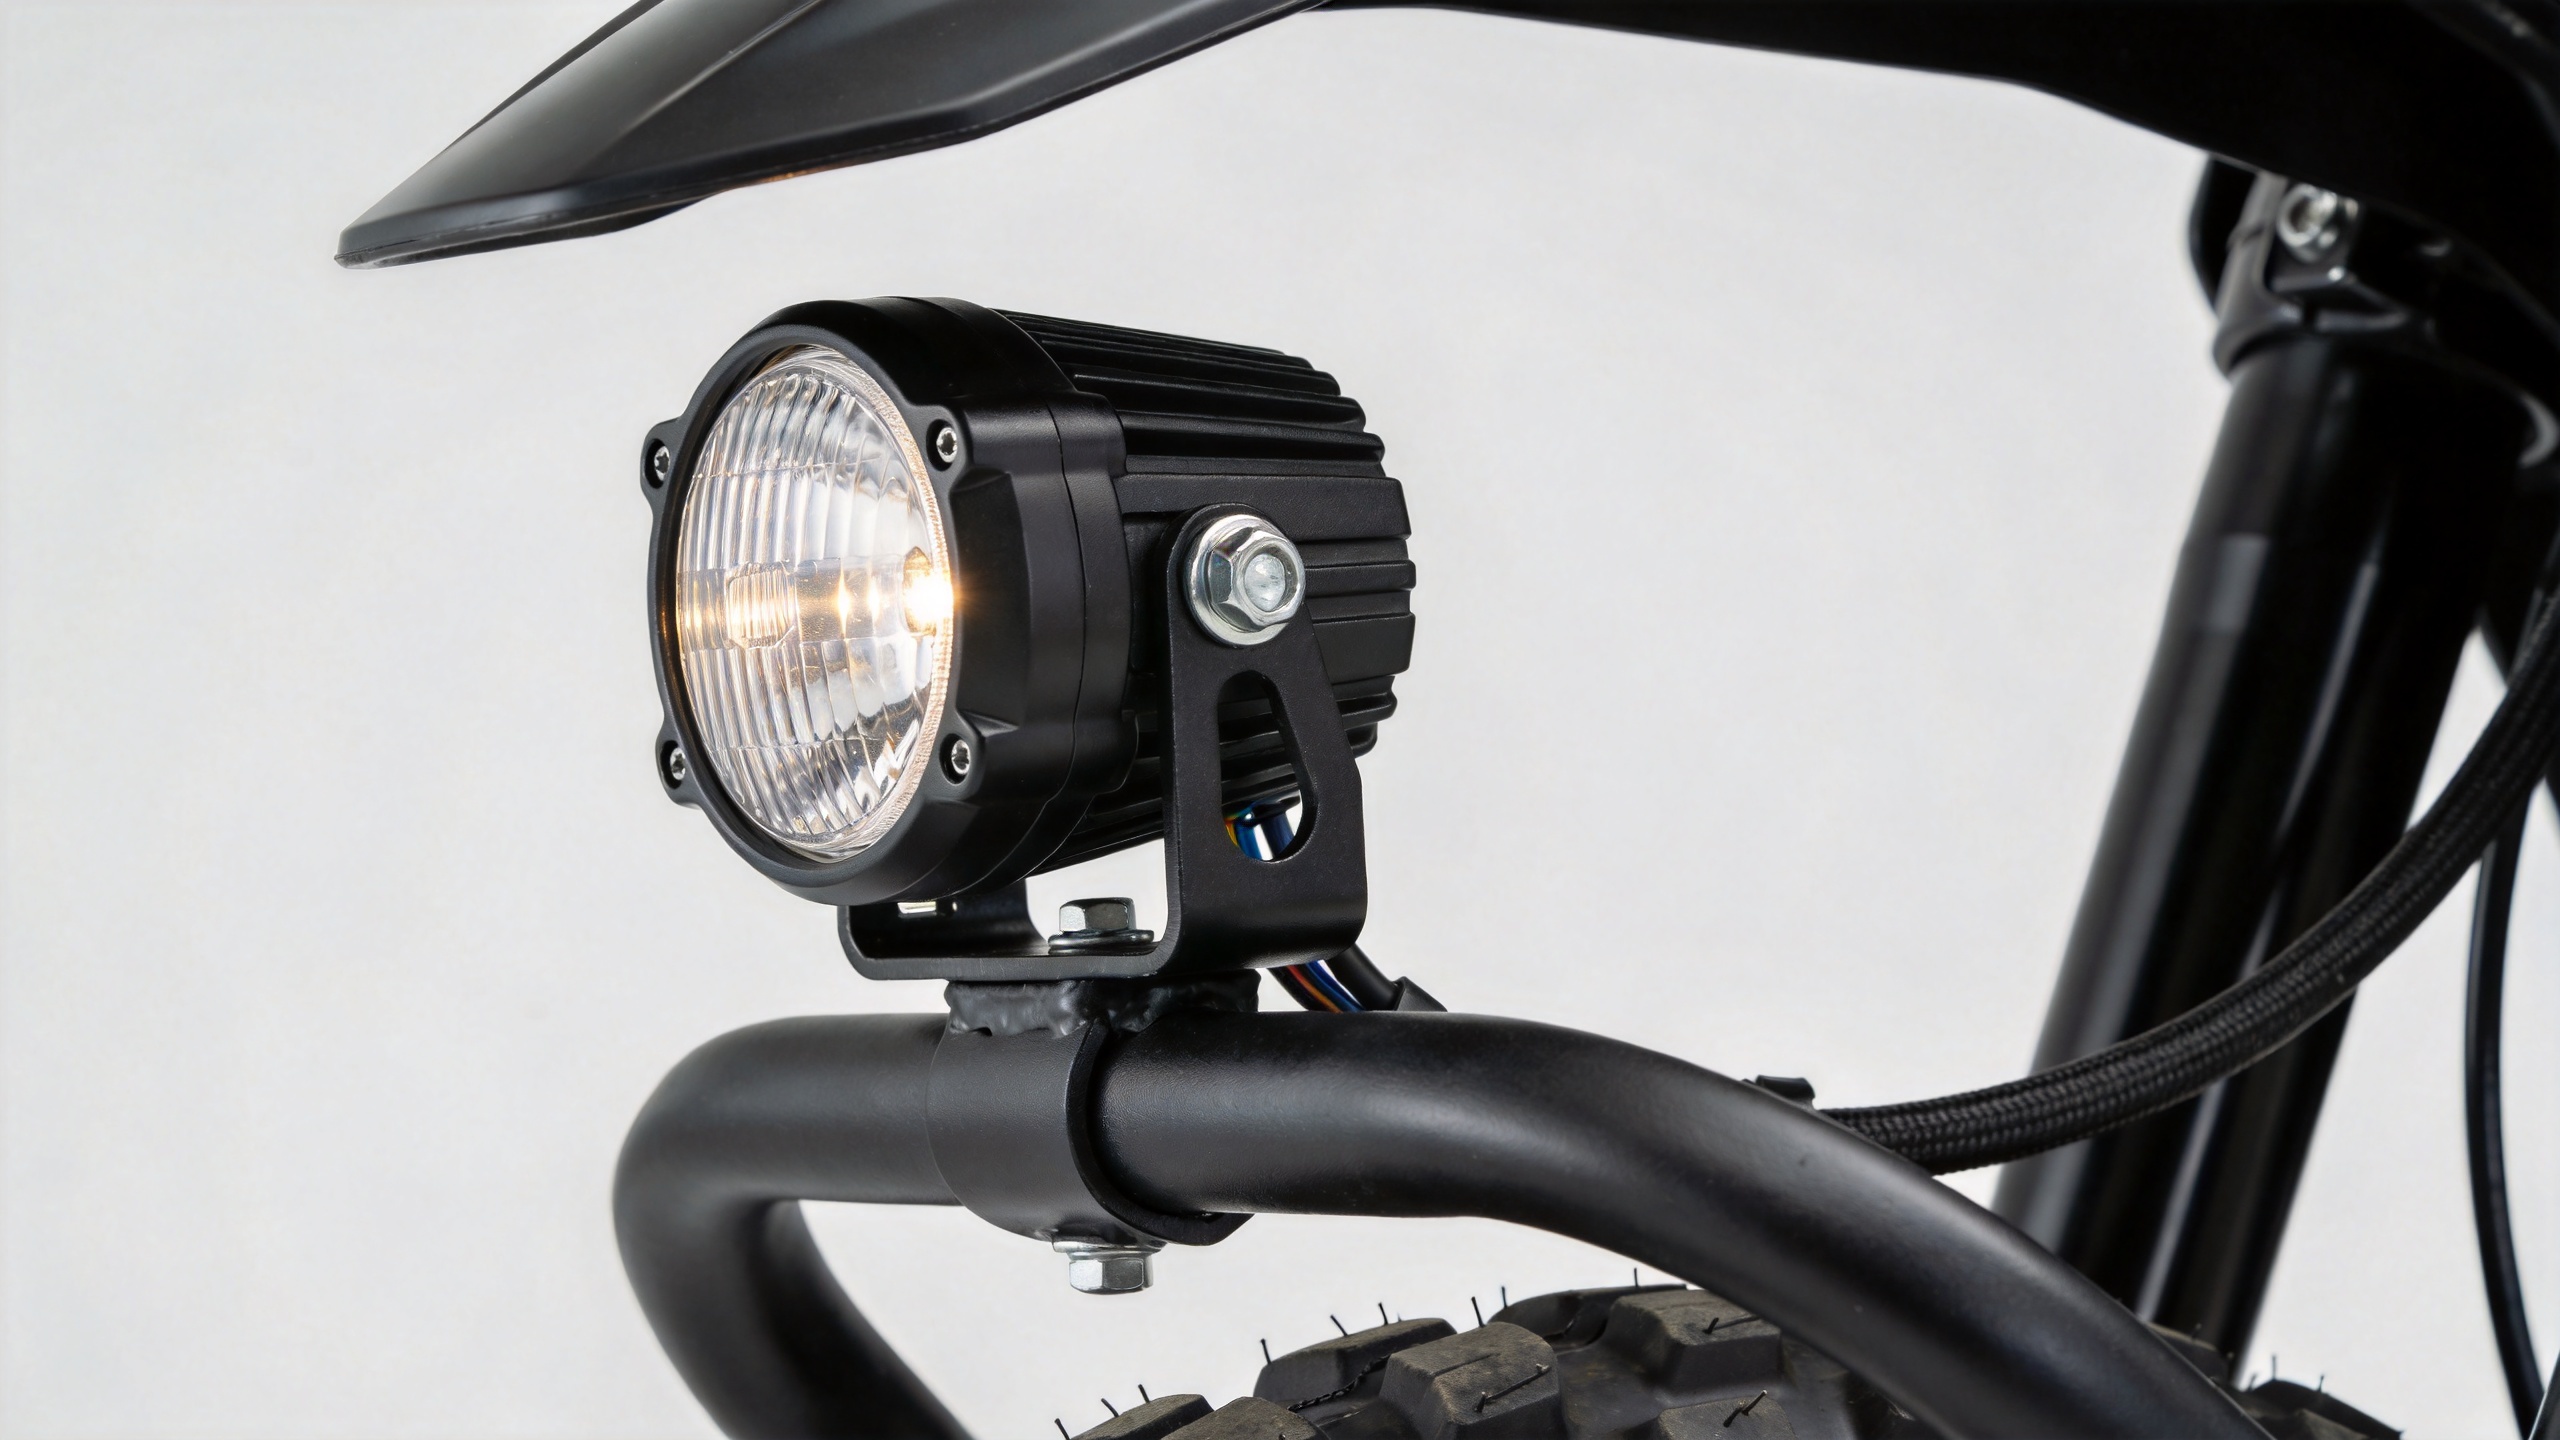
A practical installation must leave room behind the lamp for its connector, strain relief, and beam-angle adjustment. Plan the harness route before tightening the fog light clamp for bike. Keep wires away from sharp edges, hot exhaust components, moving suspension parts, and steering pivots. Use a protected route with enough slack for full steering movement, but not so much slack that the harness can rub or snag.
For a product example, the 2025 Newest External Motorcycle 3.7" 100W Auxiliary Fog Lights High Low Beam LED Lights for Motorcycle should be evaluated against the actual available space and the selected mount. The product title identifies the lamp category; the vehicle-specific bracket, tube measurement, and cable route still determine whether the installation is suitable.
Compare materials and fasteners for real riding conditions
For a fog light clamp for bike used on touring, commuter, or off-road motorcycles, look beyond the finish. The bracket must withstand repeated vibration, weather exposure, and the leverage created by the lamp. Corrosion-resistant hardware and a finish appropriate for wet conditions are useful, but the clamp’s contact area and bracket stiffness are equally important. A broad, well-fitted contact surface is generally more stable than a narrow clamp forced onto the wrong tube size.
Use the bracket manufacturer’s tightening guidance rather than simply applying maximum force. Where specified, thread locker helps protect against loosening from vibration. After the first ride, recheck clamp bolts, lamp aim, and the harness for rubbing. This is especially important when fitting a heavier bike LED fog lamp or using an offset bracket.
A purchasing checklist for clamps and brackets
- Measure the mounting tube’s outside diameter and record the measurement.
- Identify the exact mounting position and test full steering, suspension, and panel clearance.
- Match the clamp range and any approved insert to the measured tube.
- Choose bracket reach based on lamp size, connector space, and required beam aim.
- Check fastener access, corrosion resistance, and a protected wiring path.
- Confirm the lamp, mount, and motorcycle do not create an obstruction or conflict with applicable local lighting rules.
Make the mount part of the lighting decision
The right fog light clamp for bike is not necessarily the most generic one. It is the one that matches the motorcycle’s real tube size, mounting position, lamp load, adjustment needs, and wiring space. For B2B buyers, asking suppliers for clamp dimensions, supported tube ranges, bracket drawings, and installation-clearance guidance makes comparison more reliable than evaluating lamp output alone.
When the mount is selected as part of the complete auxiliary-light system, a bike LED fog lamp is easier to aim, less likely to move in service, and simpler to maintain. Measure first, compare the mounting geometry, and verify movement clearance before the final tightening.