EN
How to Select Auxiliary Driving Lights for ATV and 4x4 Applications
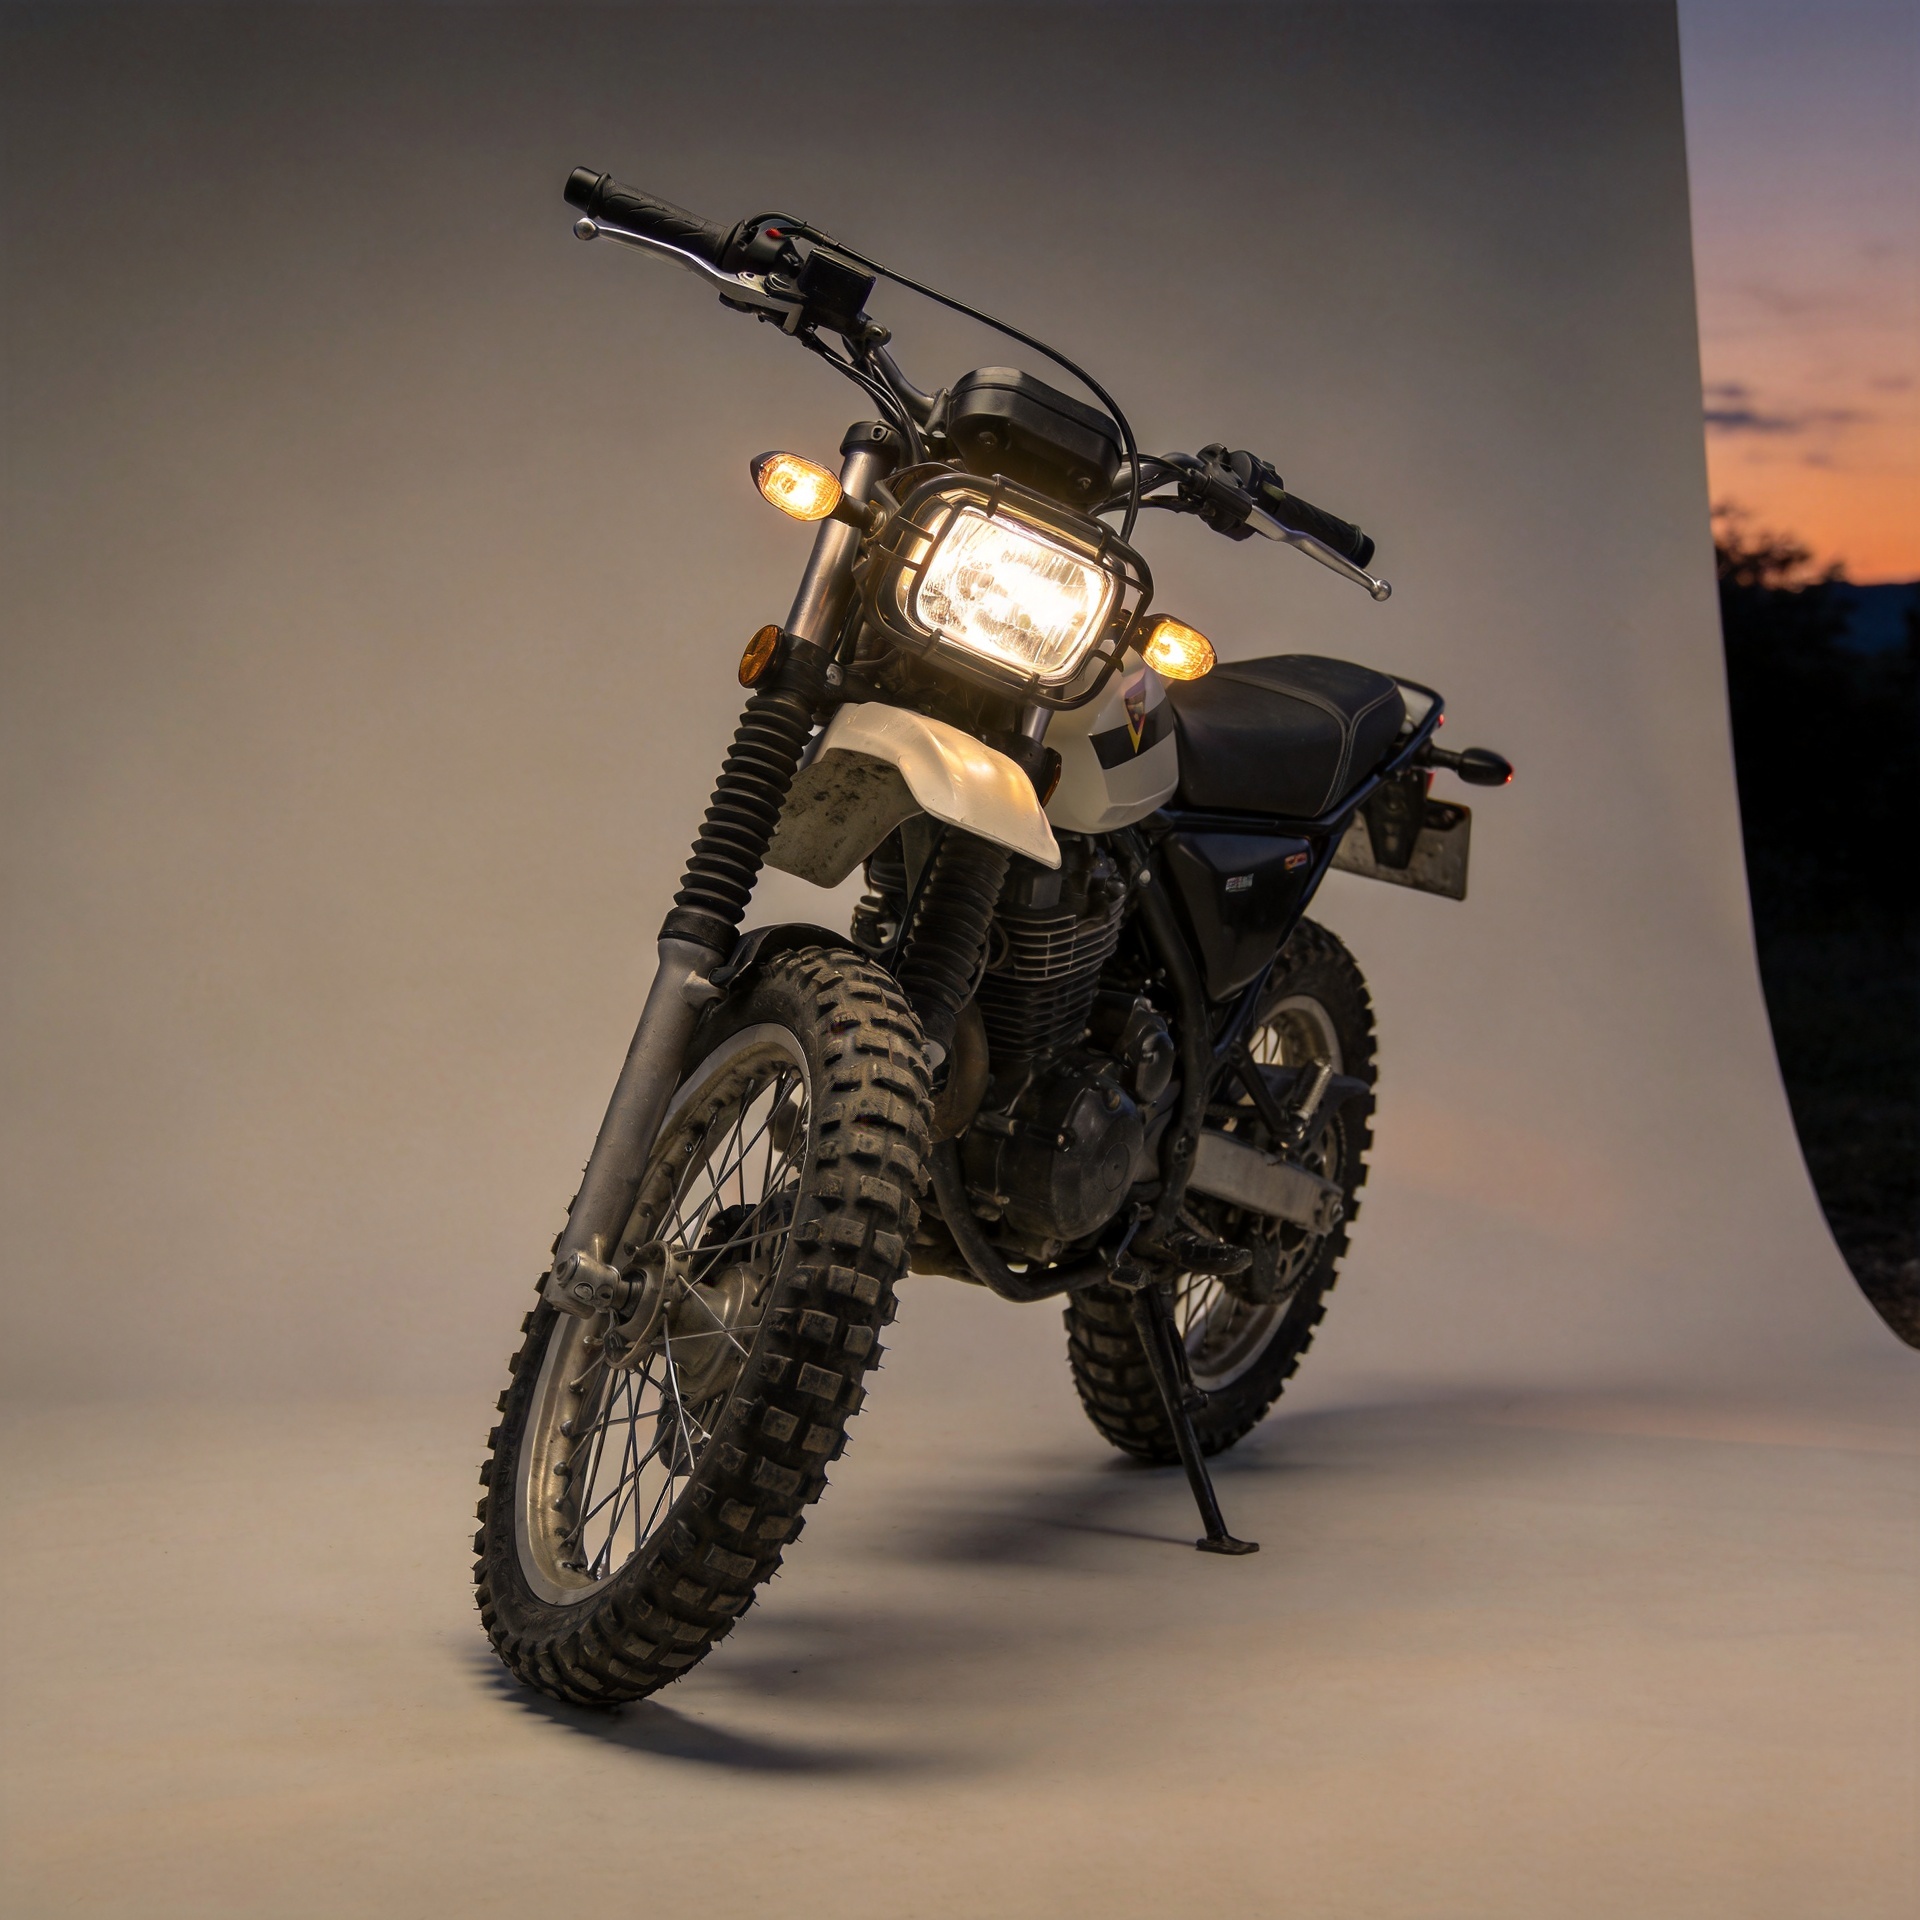
Choosing motorcycle aux lights for an ATV or 4x4 is not simply a matter of buying the highest-wattage pair. On a dark trail, a rutted access road, or a wet rural route, useful light comes from the right beam pattern, mounting position, wiring protection, and glare control working together. For distributors, vehicle builders, and riders, the practical question is: which lighting layout matches the speed, terrain, and weather the vehicle actually sees?
As an OEM lighting selection exercise, start with the operating environment before comparing a specification sheet. A broad low-speed trail and a fast gravel road need different coverage. Likewise, a lamp that looks impressive on a wall may create distracting reflections in rain or unwanted glare for approaching traffic once it is installed too high.
Start With the Route, Speed, and Visibility Problem
The most reliable way to select motorcycle aux lights is to define what the original headlamp does not cover. ATV riders commonly need more width at low speed to see ruts, branches, and trail edges. A 4x4 used on open tracks may need more forward reach to identify terrain changes earlier. Mixed-use vehicles often benefit from a balanced combination rather than one extreme beam.
- Slow technical trails: prioritize a wide, even near-field pattern that reveals shoulders and obstacles.
- Faster dirt roads or open terrain: add a longer-reaching driving or spot pattern, but keep the beam controlled.
- Fog, rain, or dust: prioritize usable foreground contrast and a beam that can be aimed down rather than maximum apparent brightness.
- Road sections: check local vehicle-lighting requirements and aim the lamps so they do not dazzle other road users.
There is a useful correction to the “more lumens automatically means better visibility” idea: raw brightness is only a starting point. Beam shape, cutoff control, and how evenly light is placed on the ground determine whether added output improves confidence or simply increases glare.
Compare Spot, Flood, and Combination Beam Patterns
For ATV and 4x4 use, beam pattern usually matters more than a single headline number. A spot beam concentrates light farther ahead; it is most useful when speed and sight distance are the priority. A flood or wide beam spreads light across the near field and trail margins; it is more useful for slower maneuvering. Combination layouts split the task between the two.
| Beam type | Best fit | Watch for |
|---|---|---|
| Spot / driving | Open tracks, higher-speed off-road travel, long straight approaches | Weak side coverage and excessive glare if aimed too high |
| Flood / wide | Technical trails, work areas, low-speed turns, shoulder awareness | Limited long-range reach at speed |
| Combination | Mixed terrain and vehicles that alternate between trails and access roads | More installation and aiming work to keep both beams useful |
Think of the pattern like a flashlight with different modes: a broad mode helps you read the area around your feet, while a narrow mode helps you inspect something farther away. Auxiliary headlights motorcycle buyers can use the same logic for ATV and 4x4 setups, but should judge the pattern at the intended mounting height rather than in a bench demonstration.
Choose Color and Weather Performance Deliberately
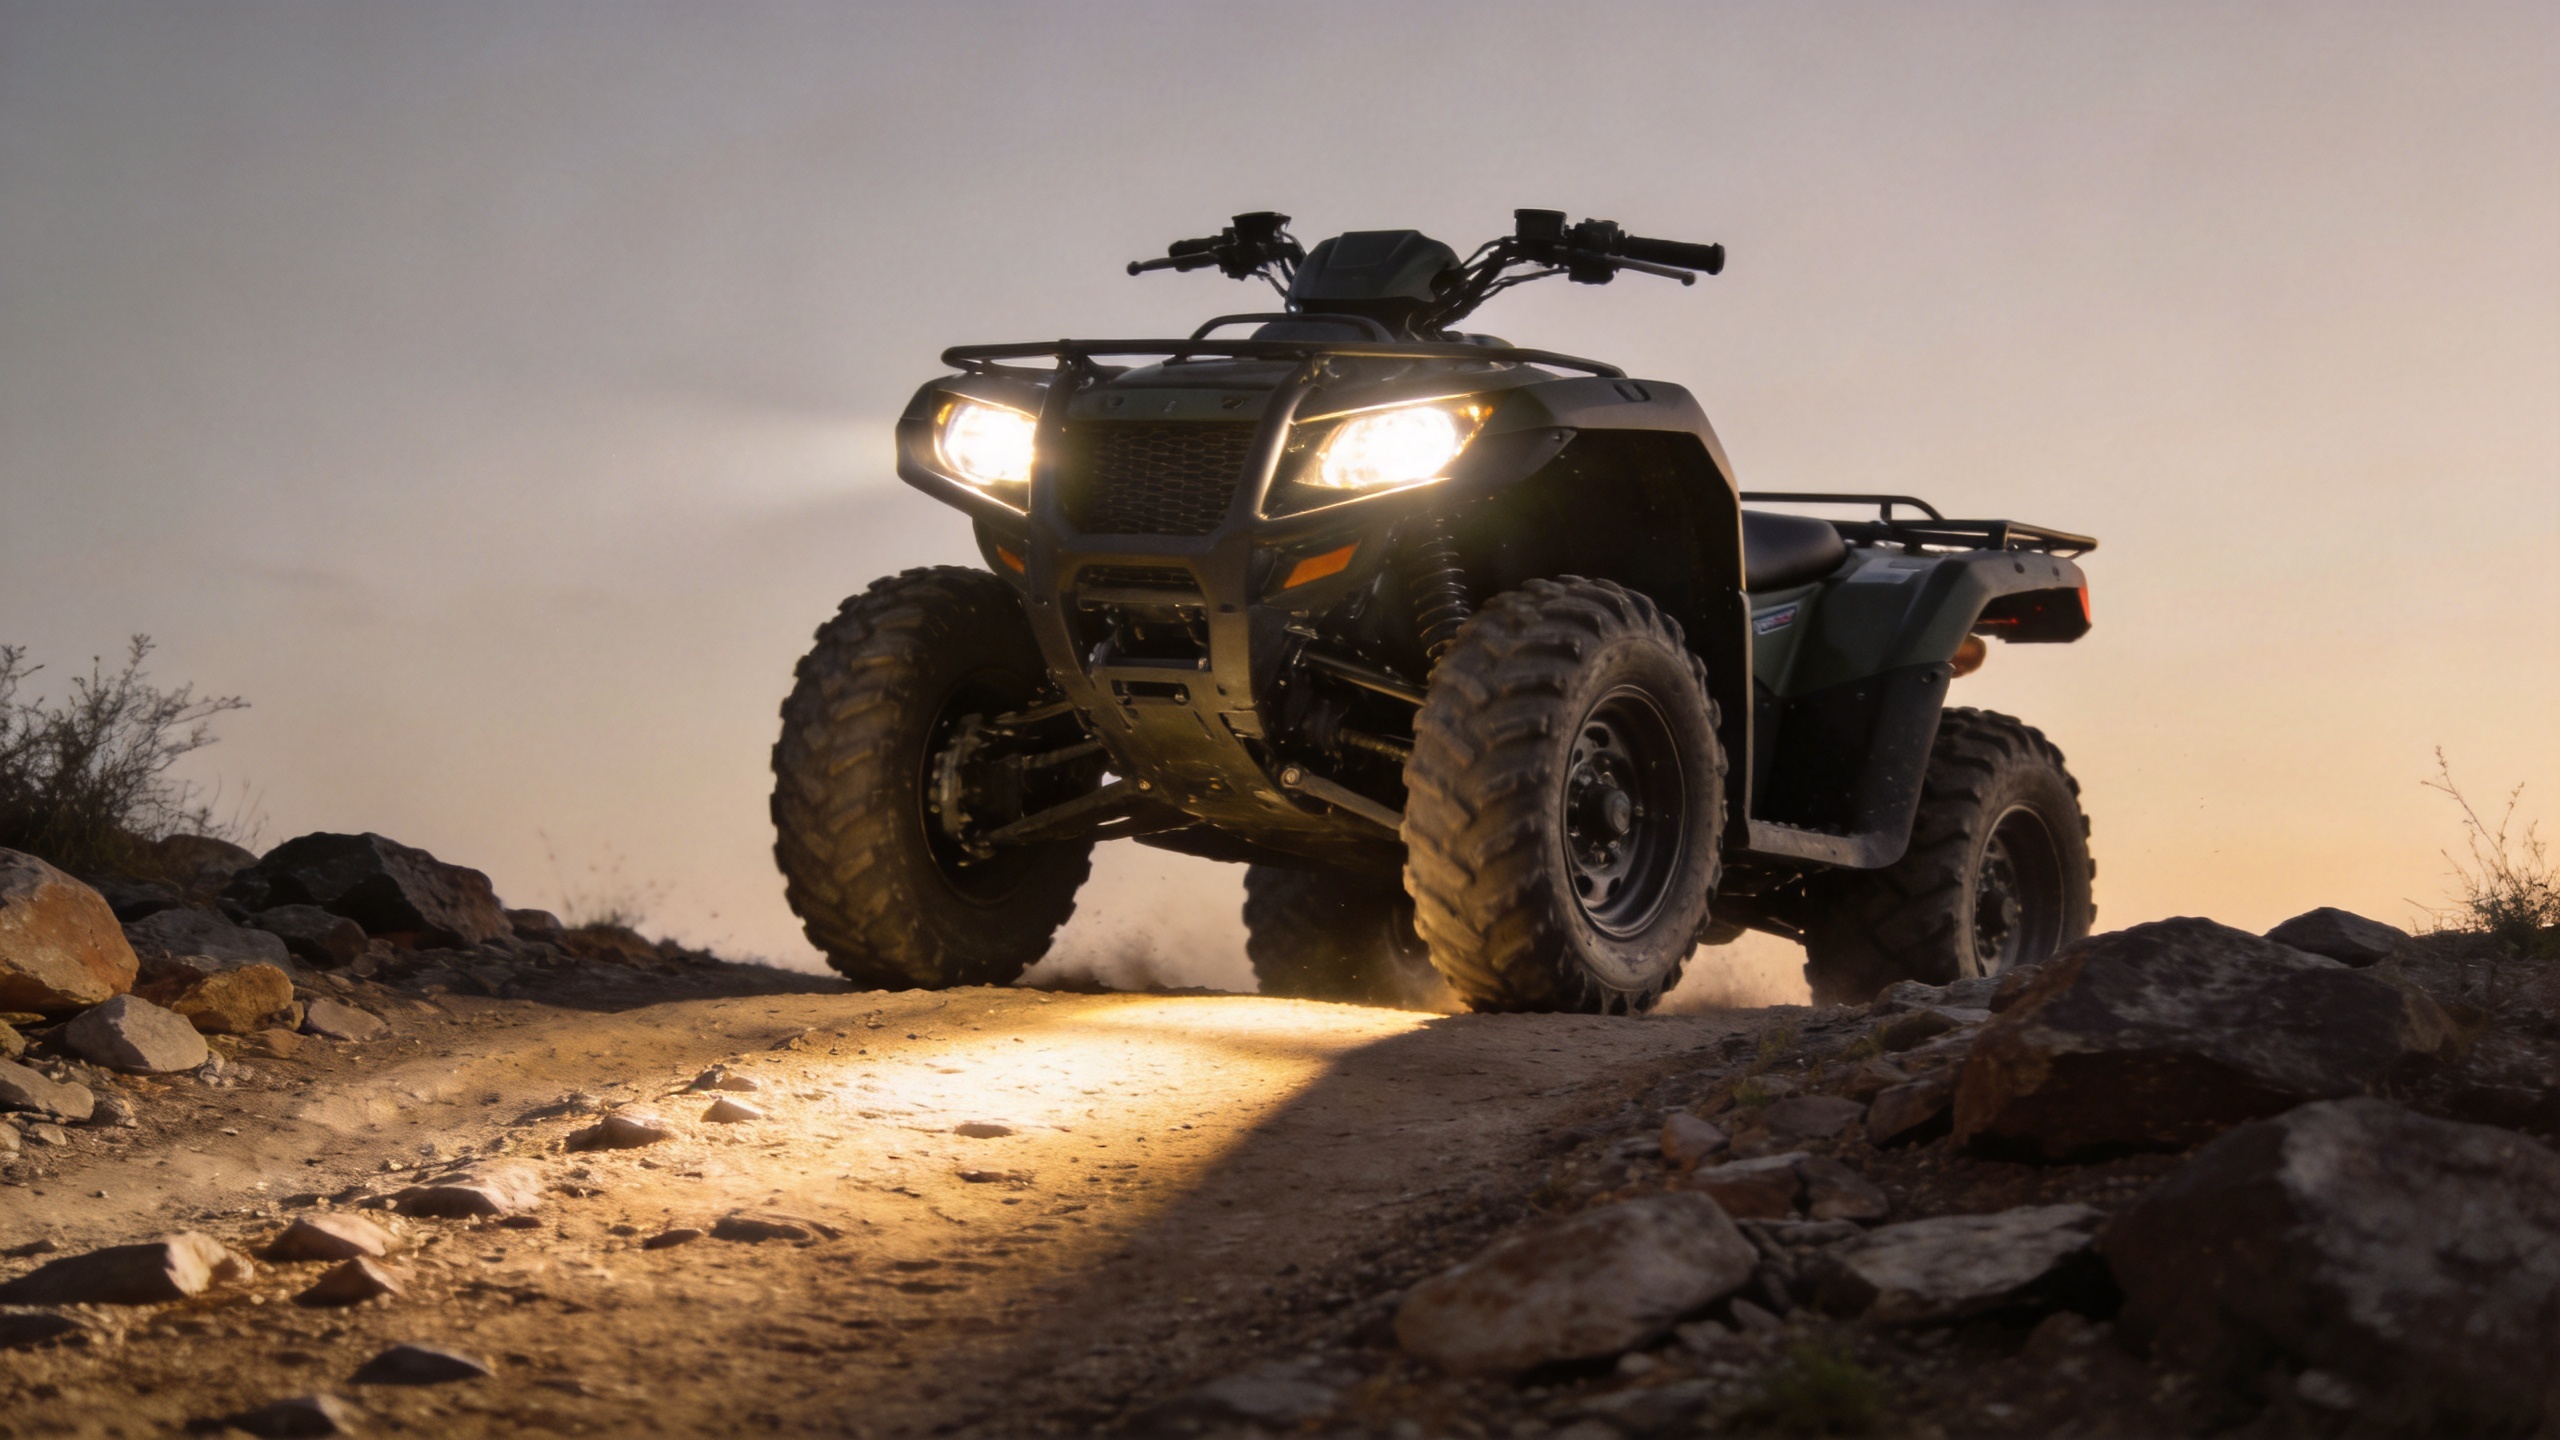
Color choice is not only a styling preference. In fog, rain, or airborne dust, very cool white light can produce more reflected light in the driver’s view. A selectable white/yellow arrangement can be useful where conditions vary, provided the switching and road-use configuration are appropriate for the market and vehicle.
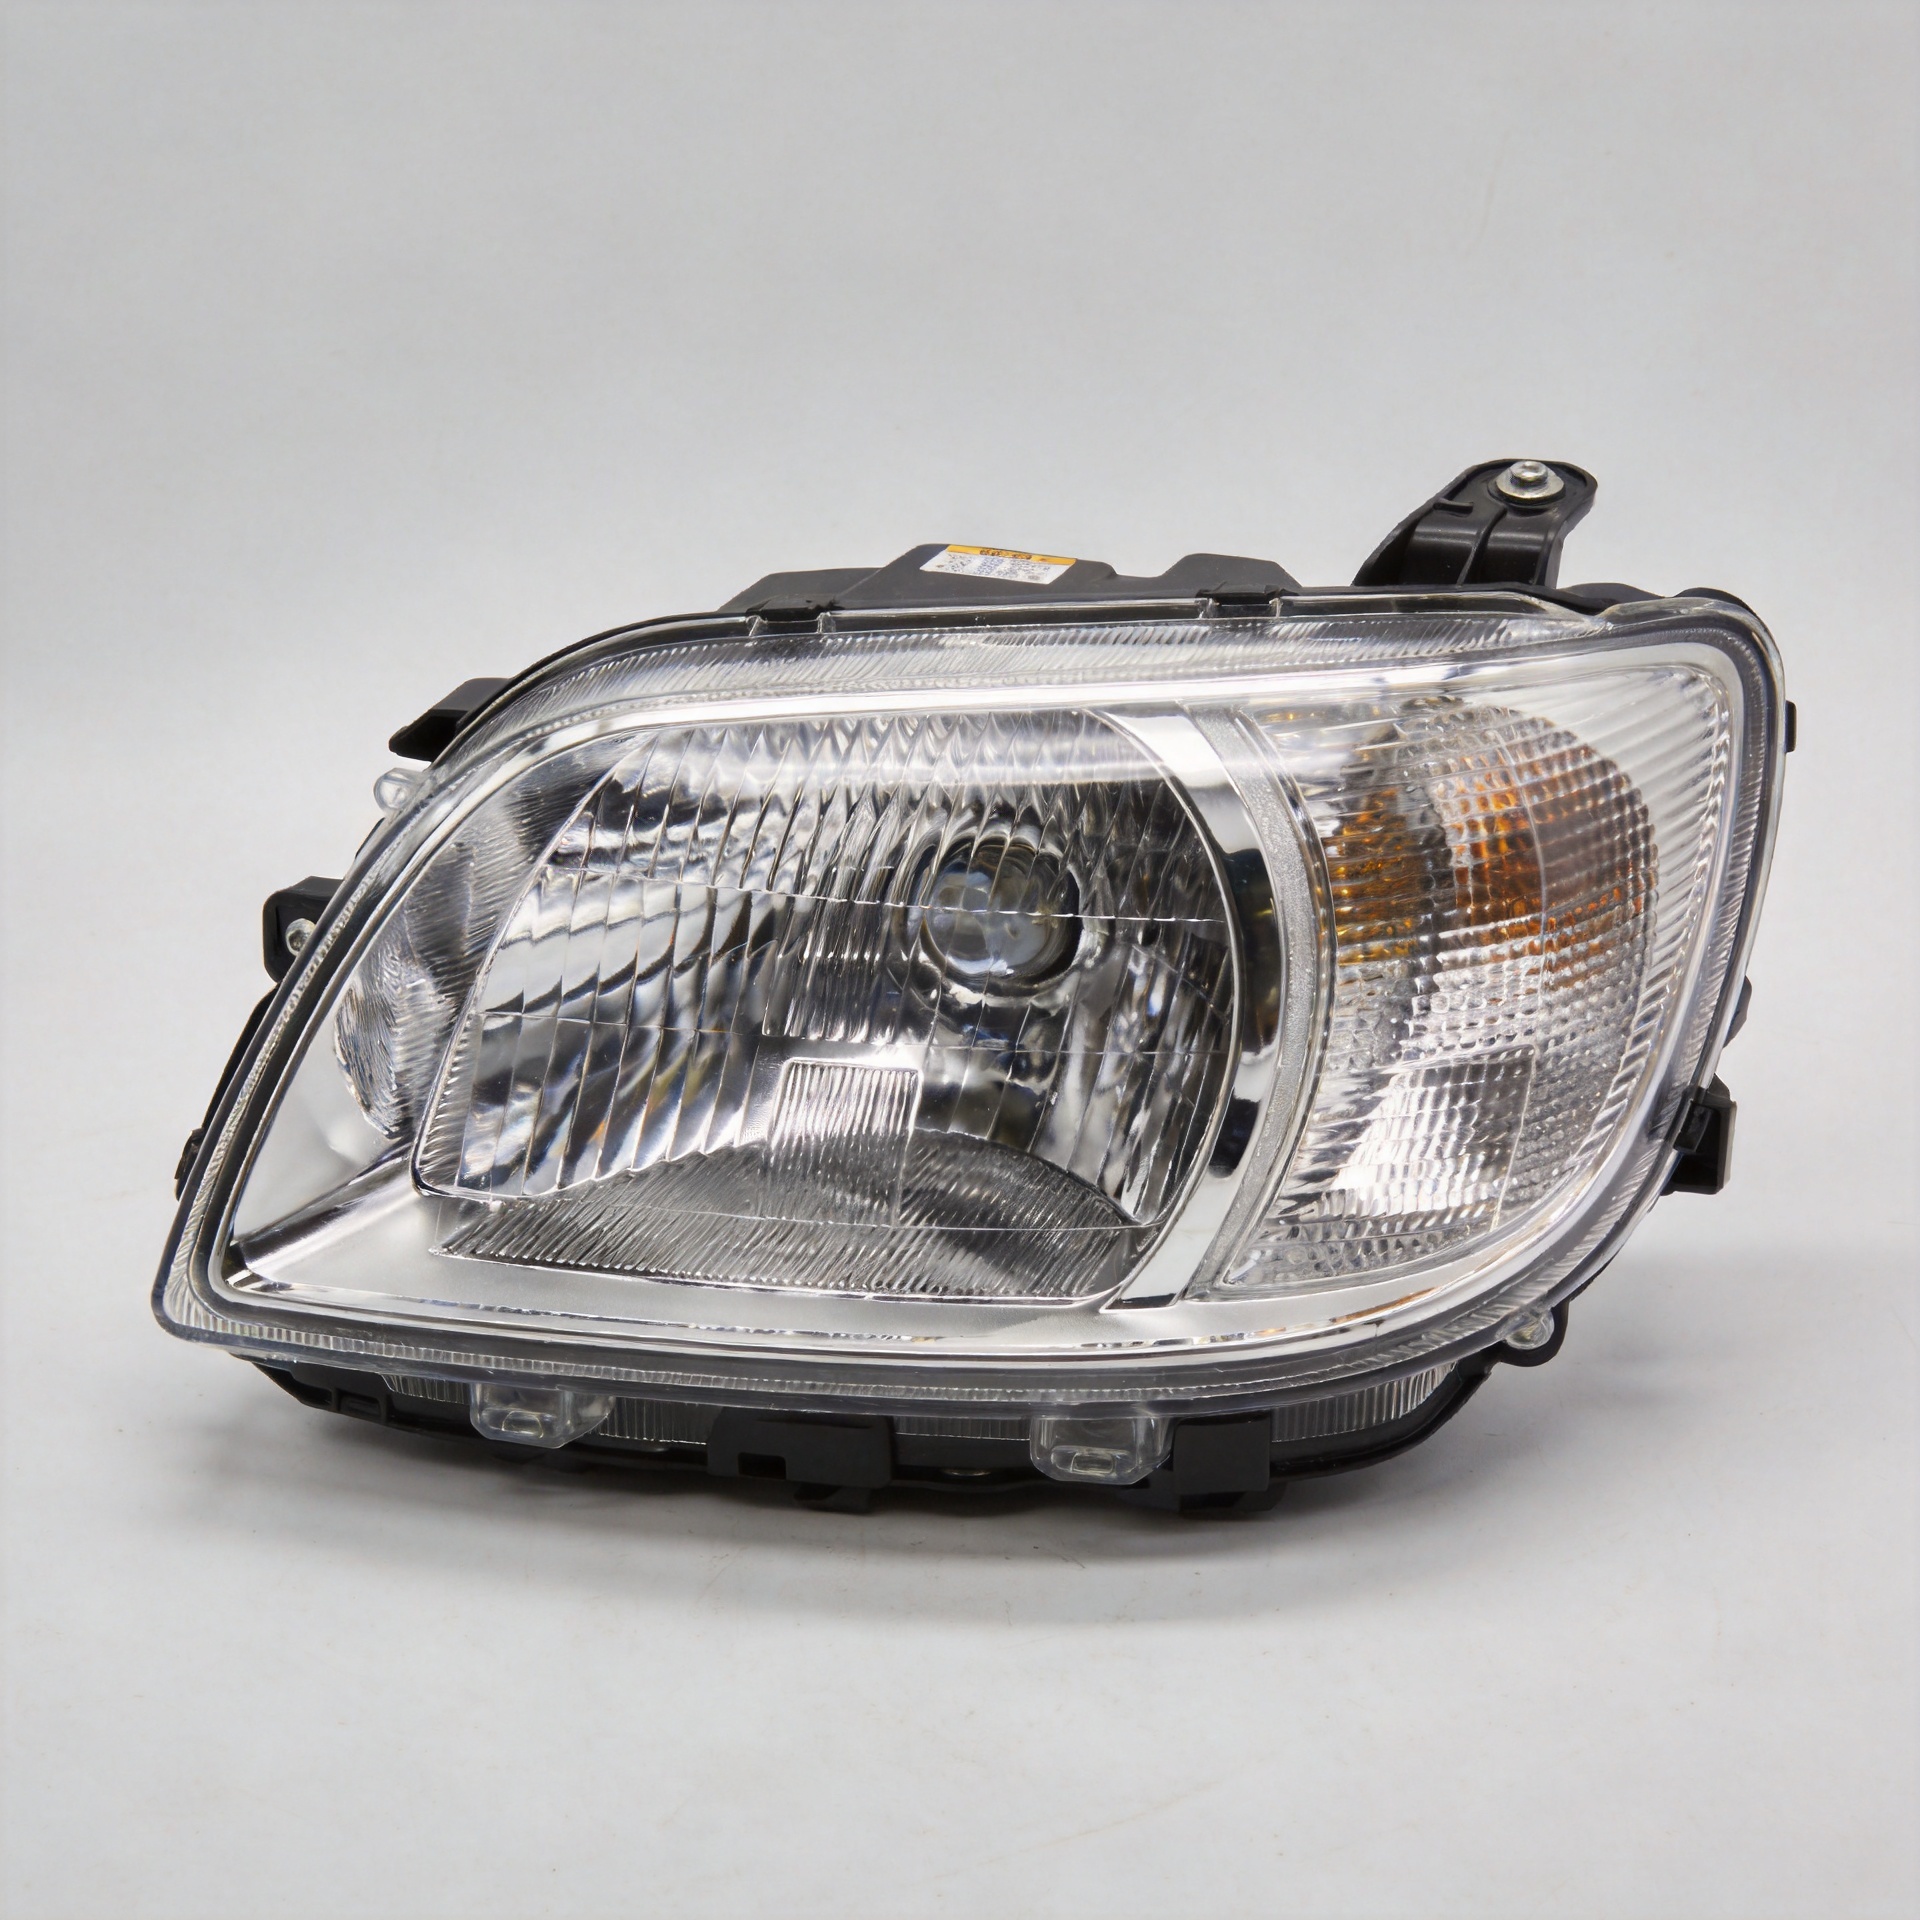
For example, a dual-color option such as the 12V 80W Motorcycle Spotlight Double LED Car Light with DRL for 4x4 Motorcycle Auxiliary Fog Lamp Dual Color White Yellow Lights can be evaluated as a format for mixed conditions. The product title confirms the light type and dual-color positioning; buyers should still validate beam aim, electrical compatibility, and applicable compliance documents for their intended market.
Do Not Treat Mounting as an Afterthought
Mounting height and bracket stability can change the result more than many buyers expect. A lamp on a high bar may project farther, but it can also raise glare risk and make the beam move more visibly with suspension vibration. A lower position can improve foreground control but may be more exposed to water, stones, and mud.
On rough terrain, inspect the bracket contact area, fastener retention, cable routing, and clearance through steering and suspension travel. A common real-world problem is a lamp that remains bright but slowly shifts after repeated vibration; the beam then points upward or sideways without the rider noticing. For off-road vehicles, a secure mounting interface and a final aiming check after the first rides are part of the lighting system—not optional extras.
Match Electrical and Environmental Protection to the Vehicle
Before adding motorcycle aux lights, confirm the vehicle voltage, available electrical capacity, fuse protection, switch location, connector sealing, and wire routing. Do not assume that a physically compatible bracket means the kit is electrically ready to install. The harness should be protected from abrasion, heat, steering movement, and water ingress.
Environmental protection also needs a practical reading. An IP rating describes a defined test condition; it does not remove the need to inspect seals, connectors, and cable entries after repeated use. Buyers who expect mud, washdown, stream crossings, or sustained rain should request the documentation relevant to their application and verify how the complete installed assembly—not only the lamp housing—will be protected.
Build a Safer Selection Checklist
- Write down the dominant route: slow trail, fast track, worksite, road transfer, or a mix.
- Choose the beam task first: width, distance, or a controlled combination.
- Confirm mounting location, bracket fit, vibration resistance, and aiming range.
- Check voltage, harness protection, switching, fusing, and connector sealing.
- Review weather needs and whether white, yellow, or dual-color operation suits the use case.
- Verify target-market road-use requirements and request applicable documentation before bulk purchase.
- Install, aim, test at night in the intended environment, and recheck fasteners after initial use.
For a compact projector-style format, buyers can also review the 60W Dual Lens Motorcycle LED Spotlight White Auxiliary Fog Light Projector Driving Lamp for Moto E-bike AYV IP68 as a product-page reference. Use the confirmed product page to start a fitment discussion, then validate the vehicle-specific bracket, wiring, and compliance requirements before specifying it for an ATV or 4x4 program.
ATV and 4x4 Fitment Reference
- For slow wooded trails, motorcycle aux lights should favor wide foreground coverage.
- For open tracks, motorcycle aux lights can add controlled forward reach.
- On mixed routes, motorcycle aux lights work well as a balanced pair of beam tasks.
- In rain, motorcycle aux lights need careful aim to limit reflected glare.
- On dusty terrain, motorcycle aux lights should be tested at the expected mounting height.
- For work ATVs, motorcycle aux lights should illuminate the immediate operating area.
- For touring 4x4s, motorcycle aux lights should supplement, not overpower, factory headlamps.
- Before ordering, motorcycle aux lights require voltage and harness checks.
- After the first ride, motorcycle aux lights need a fastener and aim inspection.
- For road transfers, motorcycle aux lights must suit the applicable local requirements.
- Low mounting may protect other road users, but motorcycle aux lights remain exposed to debris.
- High mounting may extend reach, but motorcycle aux lights need stricter glare control.
- For compact builds, auxiliary headlights motorcycle formats should clear steering movement.
- For utility racks, auxiliary headlights motorcycle formats should not obstruct service access.
- On vibration-heavy routes, auxiliary headlights motorcycle brackets need secure retention.
- In wet climates, auxiliary headlights motorcycle connectors need protected routing.
- For fleet purchasing, auxiliary headlights motorcycle specifications should include fitment notes.
- For resellers, auxiliary headlights motorcycle listings should separate wide and driving patterns.
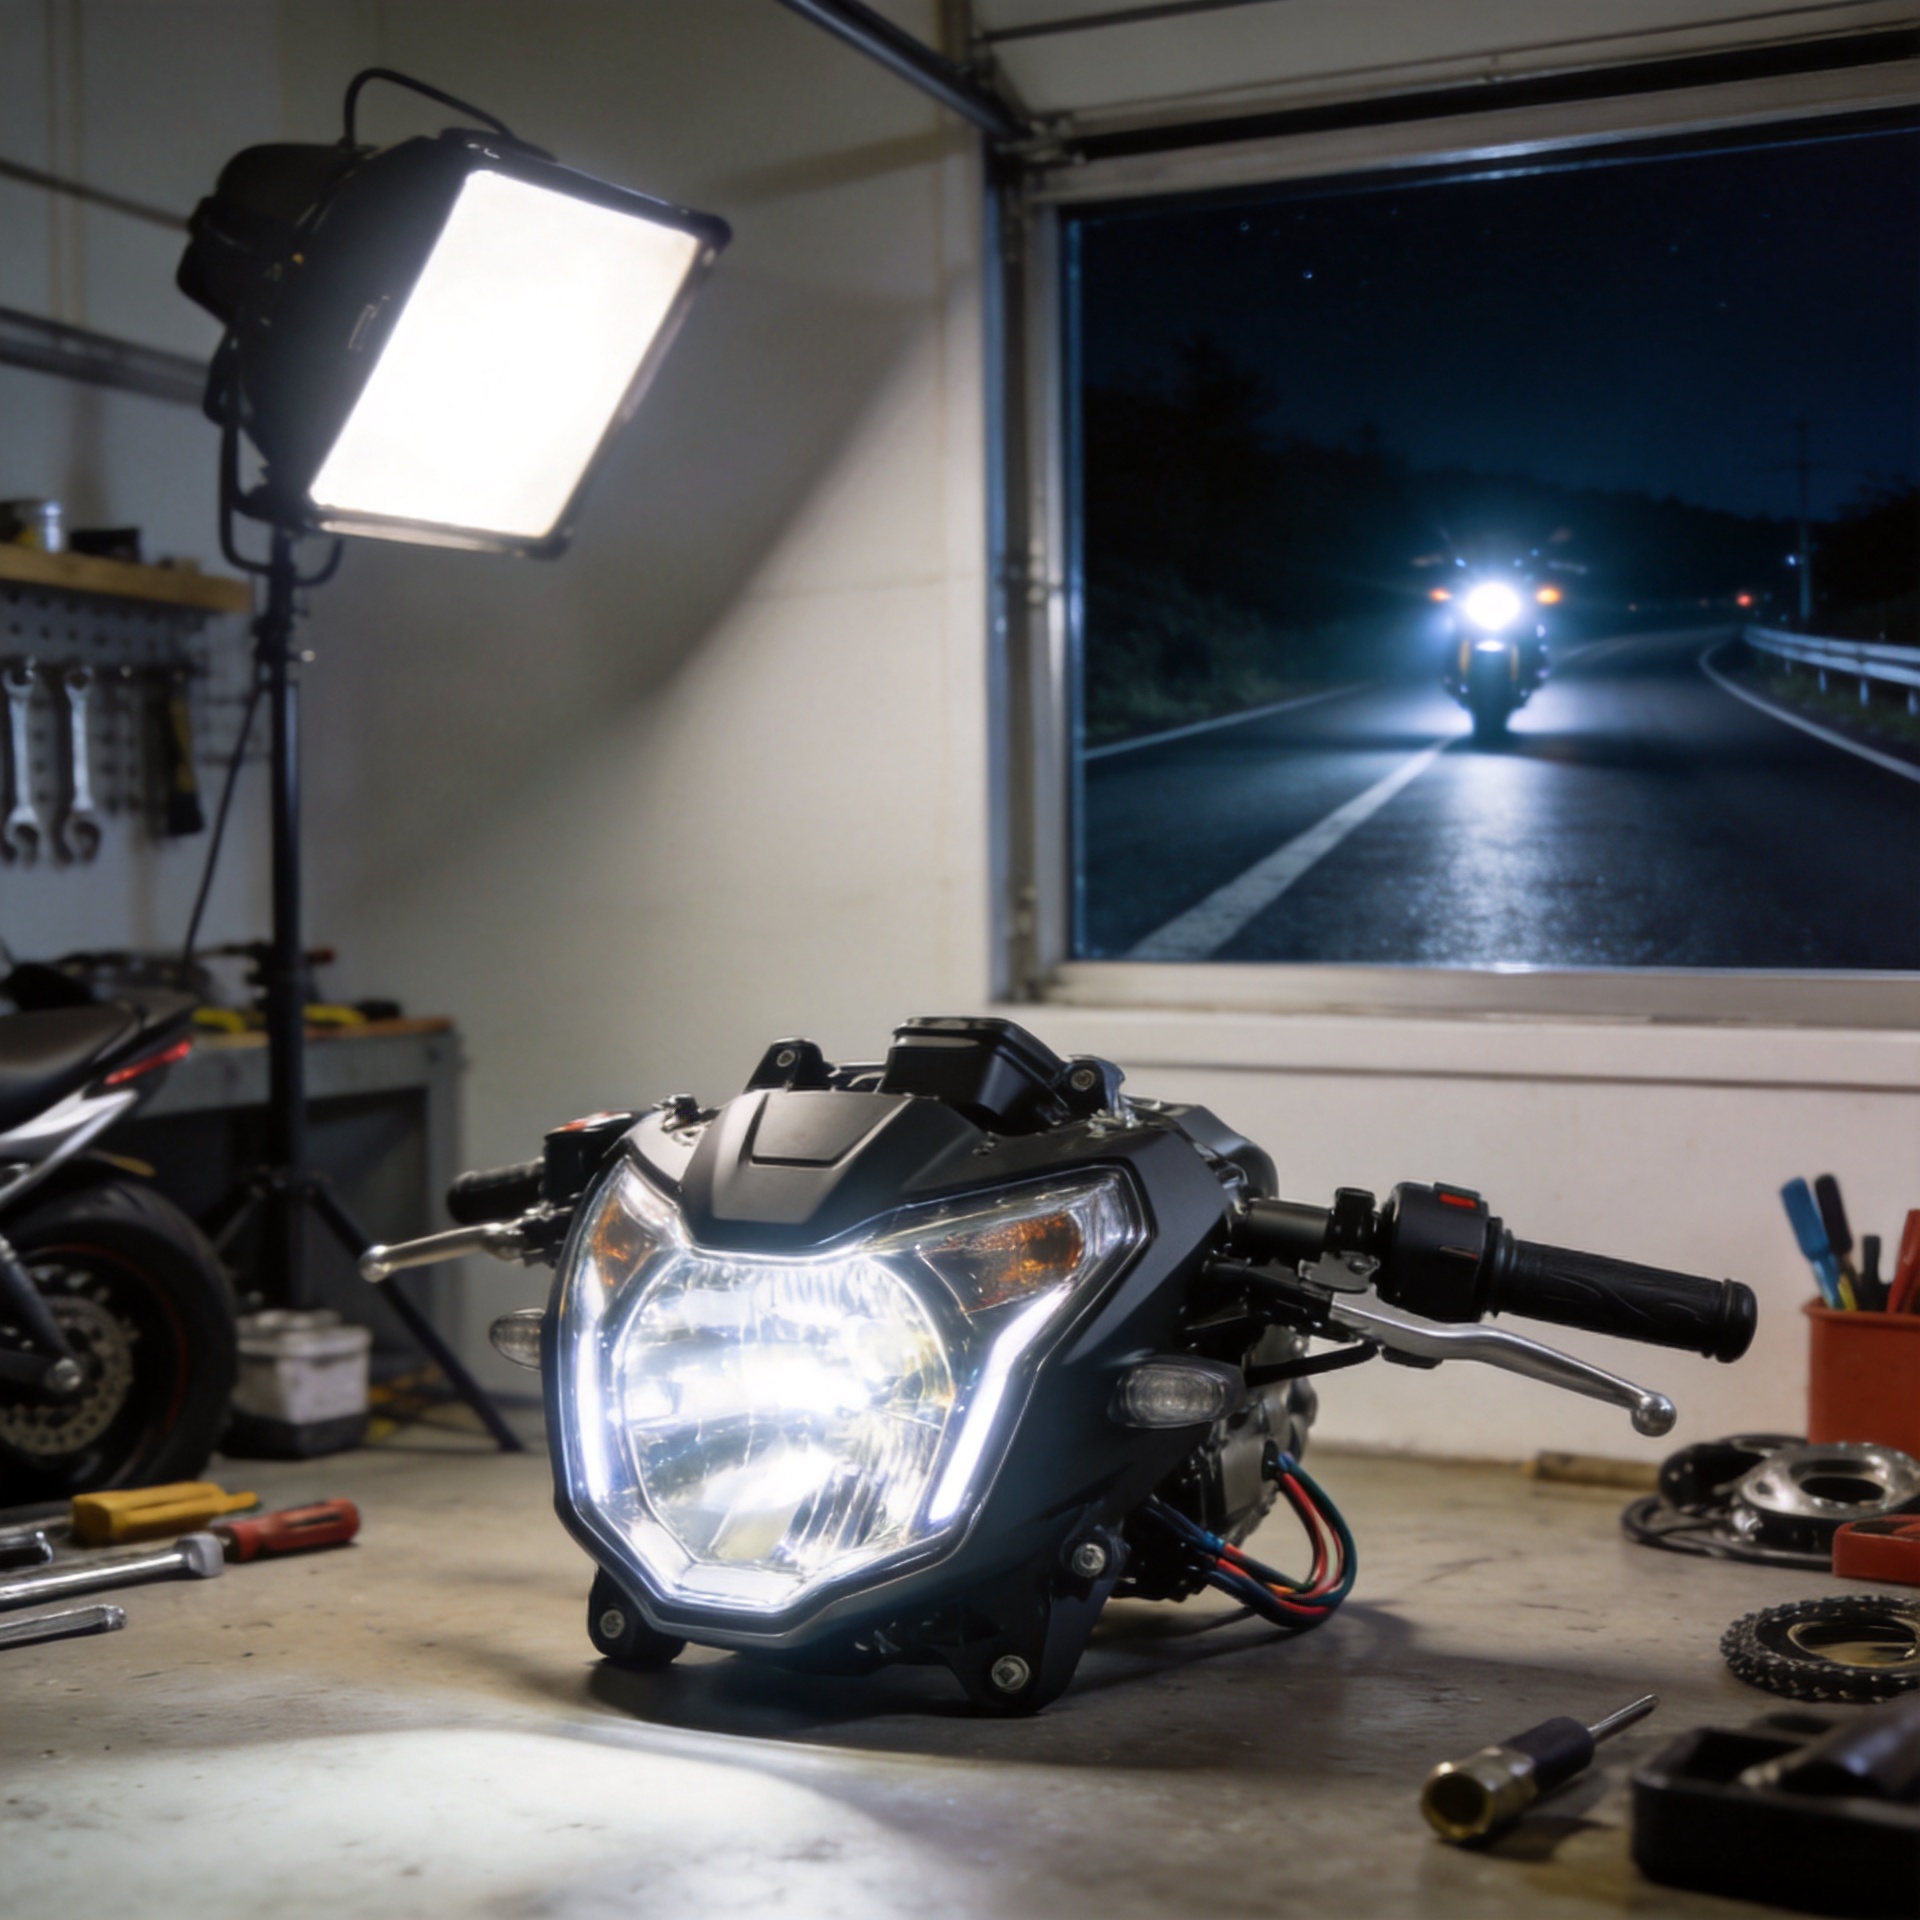
- For testing, auxiliary headlights motorcycle installations should be assessed after dark.
- For mixed weather, auxiliary headlights motorcycle choices should consider practical contrast.
Make the Final Decision by Scenario, Not by Marketing Claims
A suitable motorcycle aux lights setup is the one that solves a defined visibility gap without creating a new glare, mounting, or reliability problem. A wide beam can be the better answer for an ATV crawling through wooded terrain; a focused driving beam can be the better addition for a 4x4 crossing open ground; and a combination may suit fleets or riders that do both. Select the optics for the route, install them as a protected system, and make final adjustments where the vehicle will actually operate.