EN

How to Plan a Car Headlight Upgrade Without Losing Vehicle Fitment
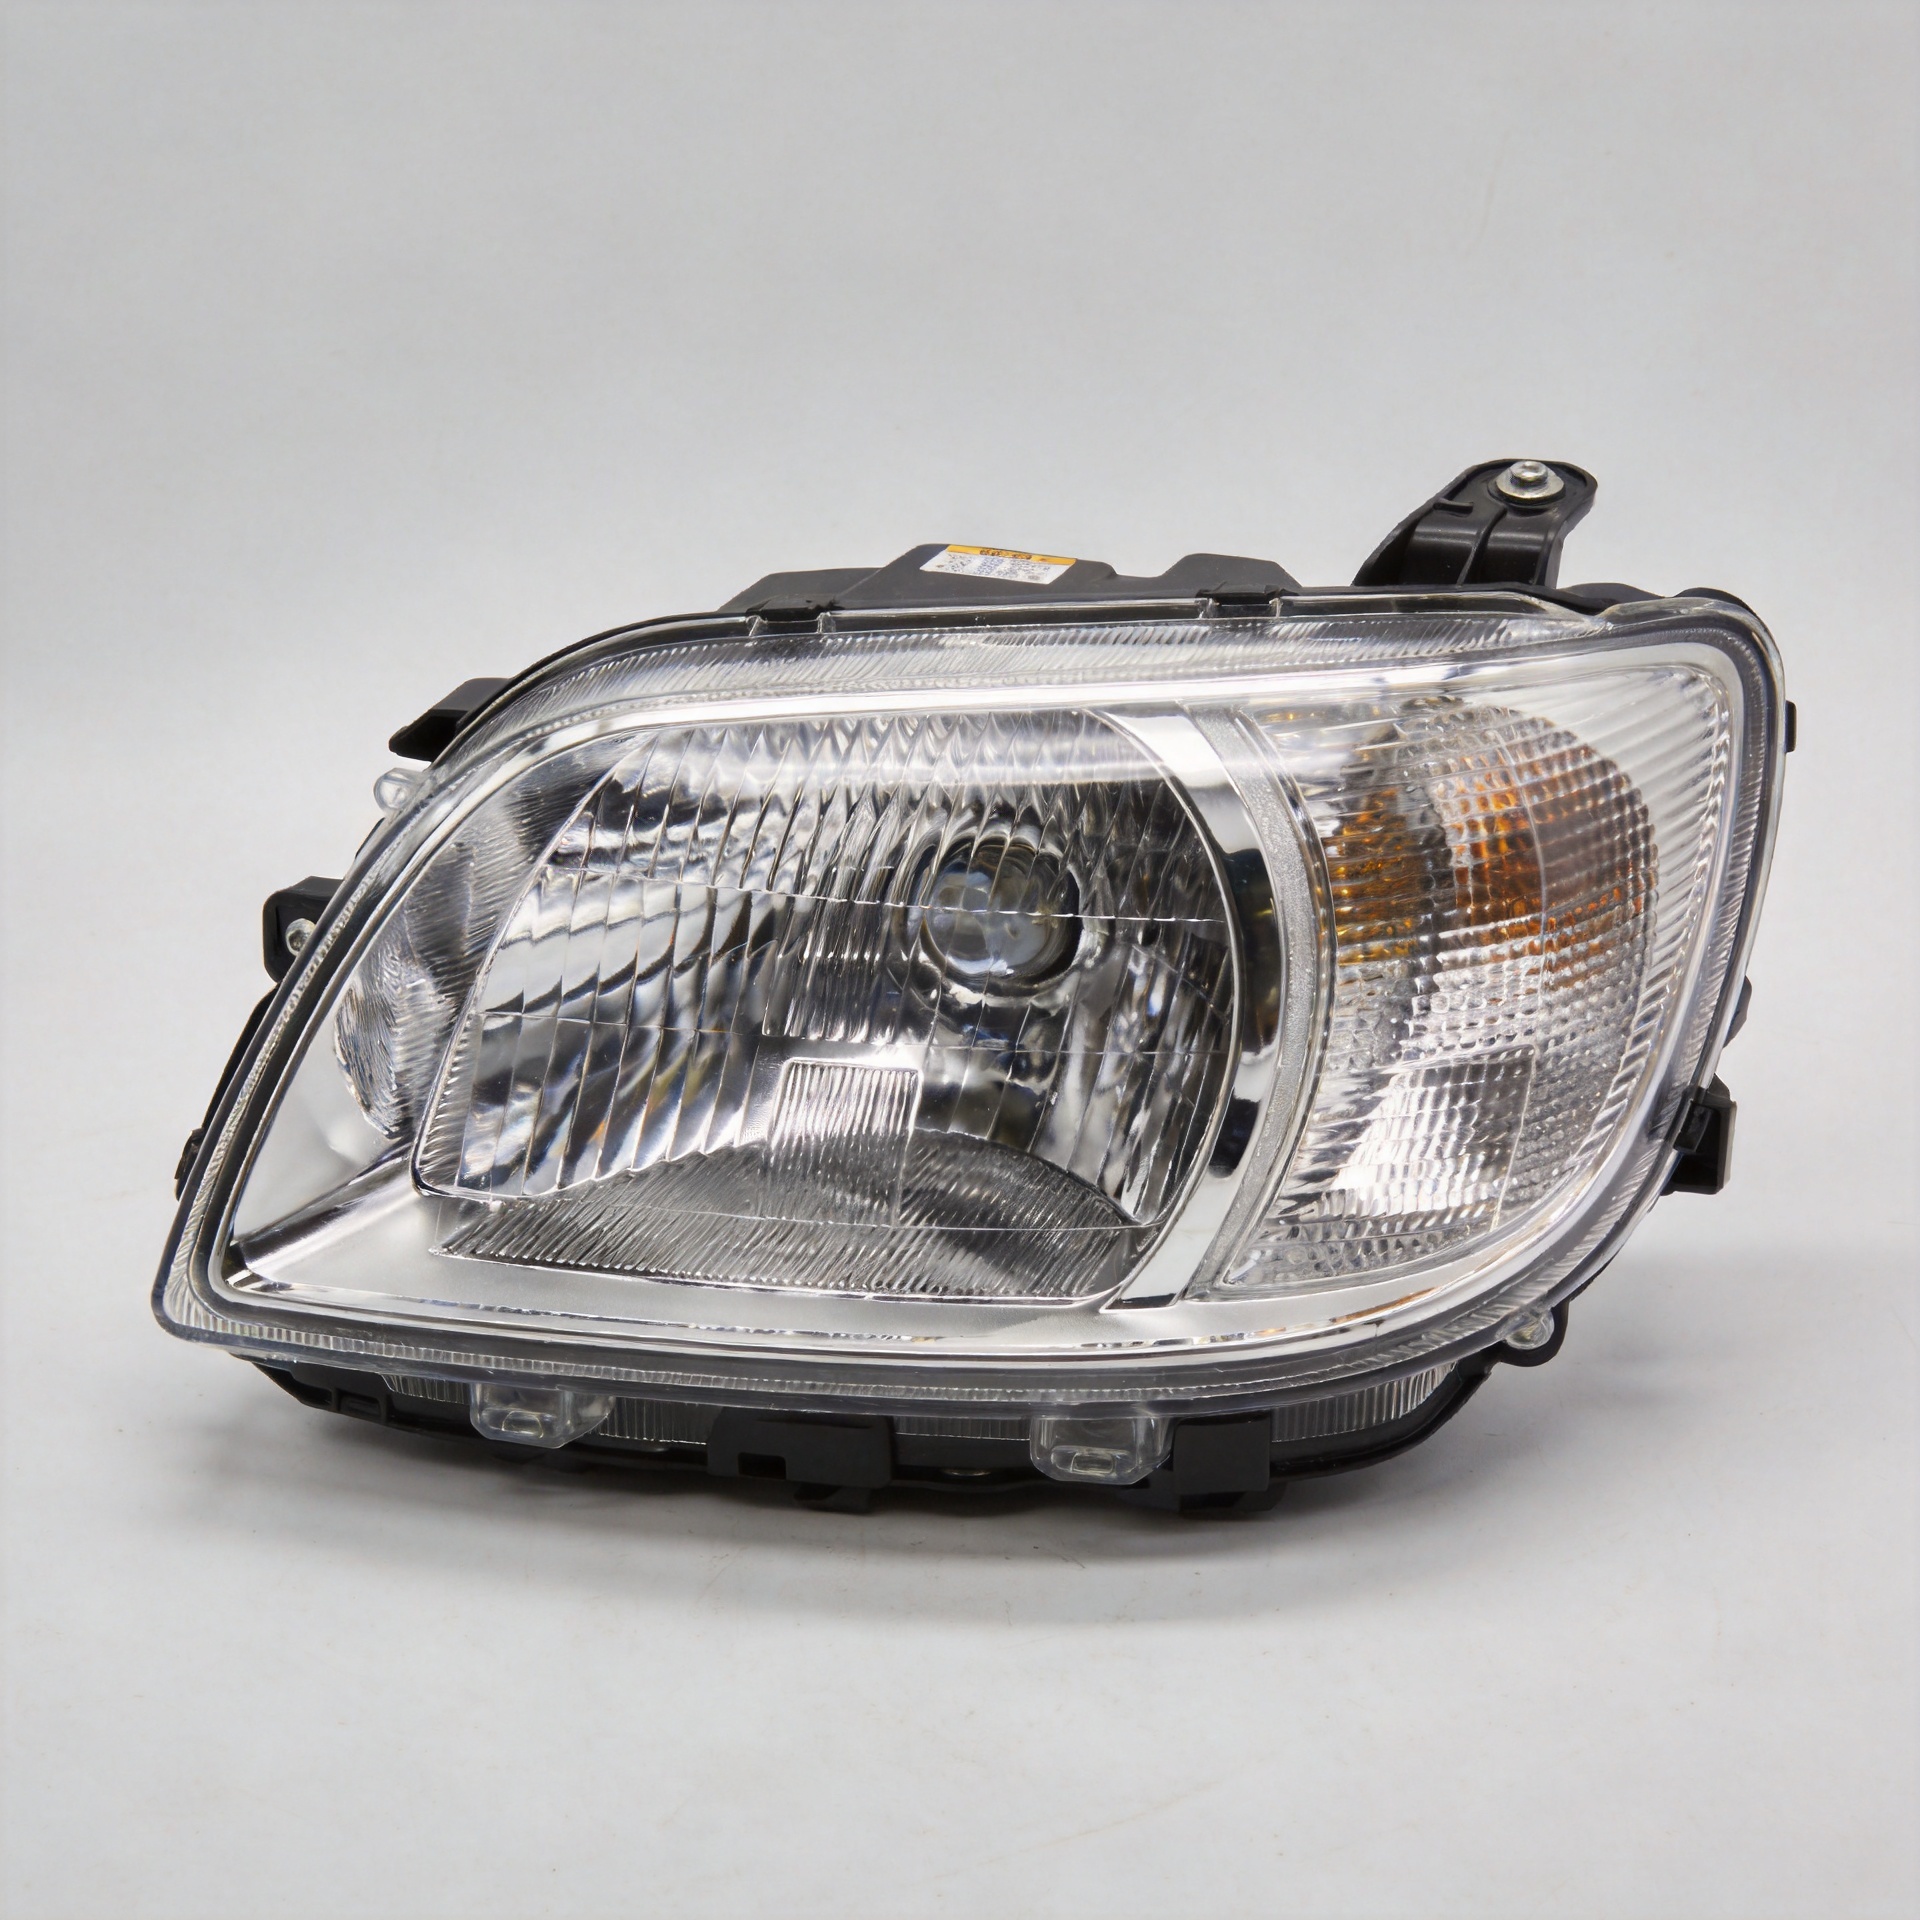
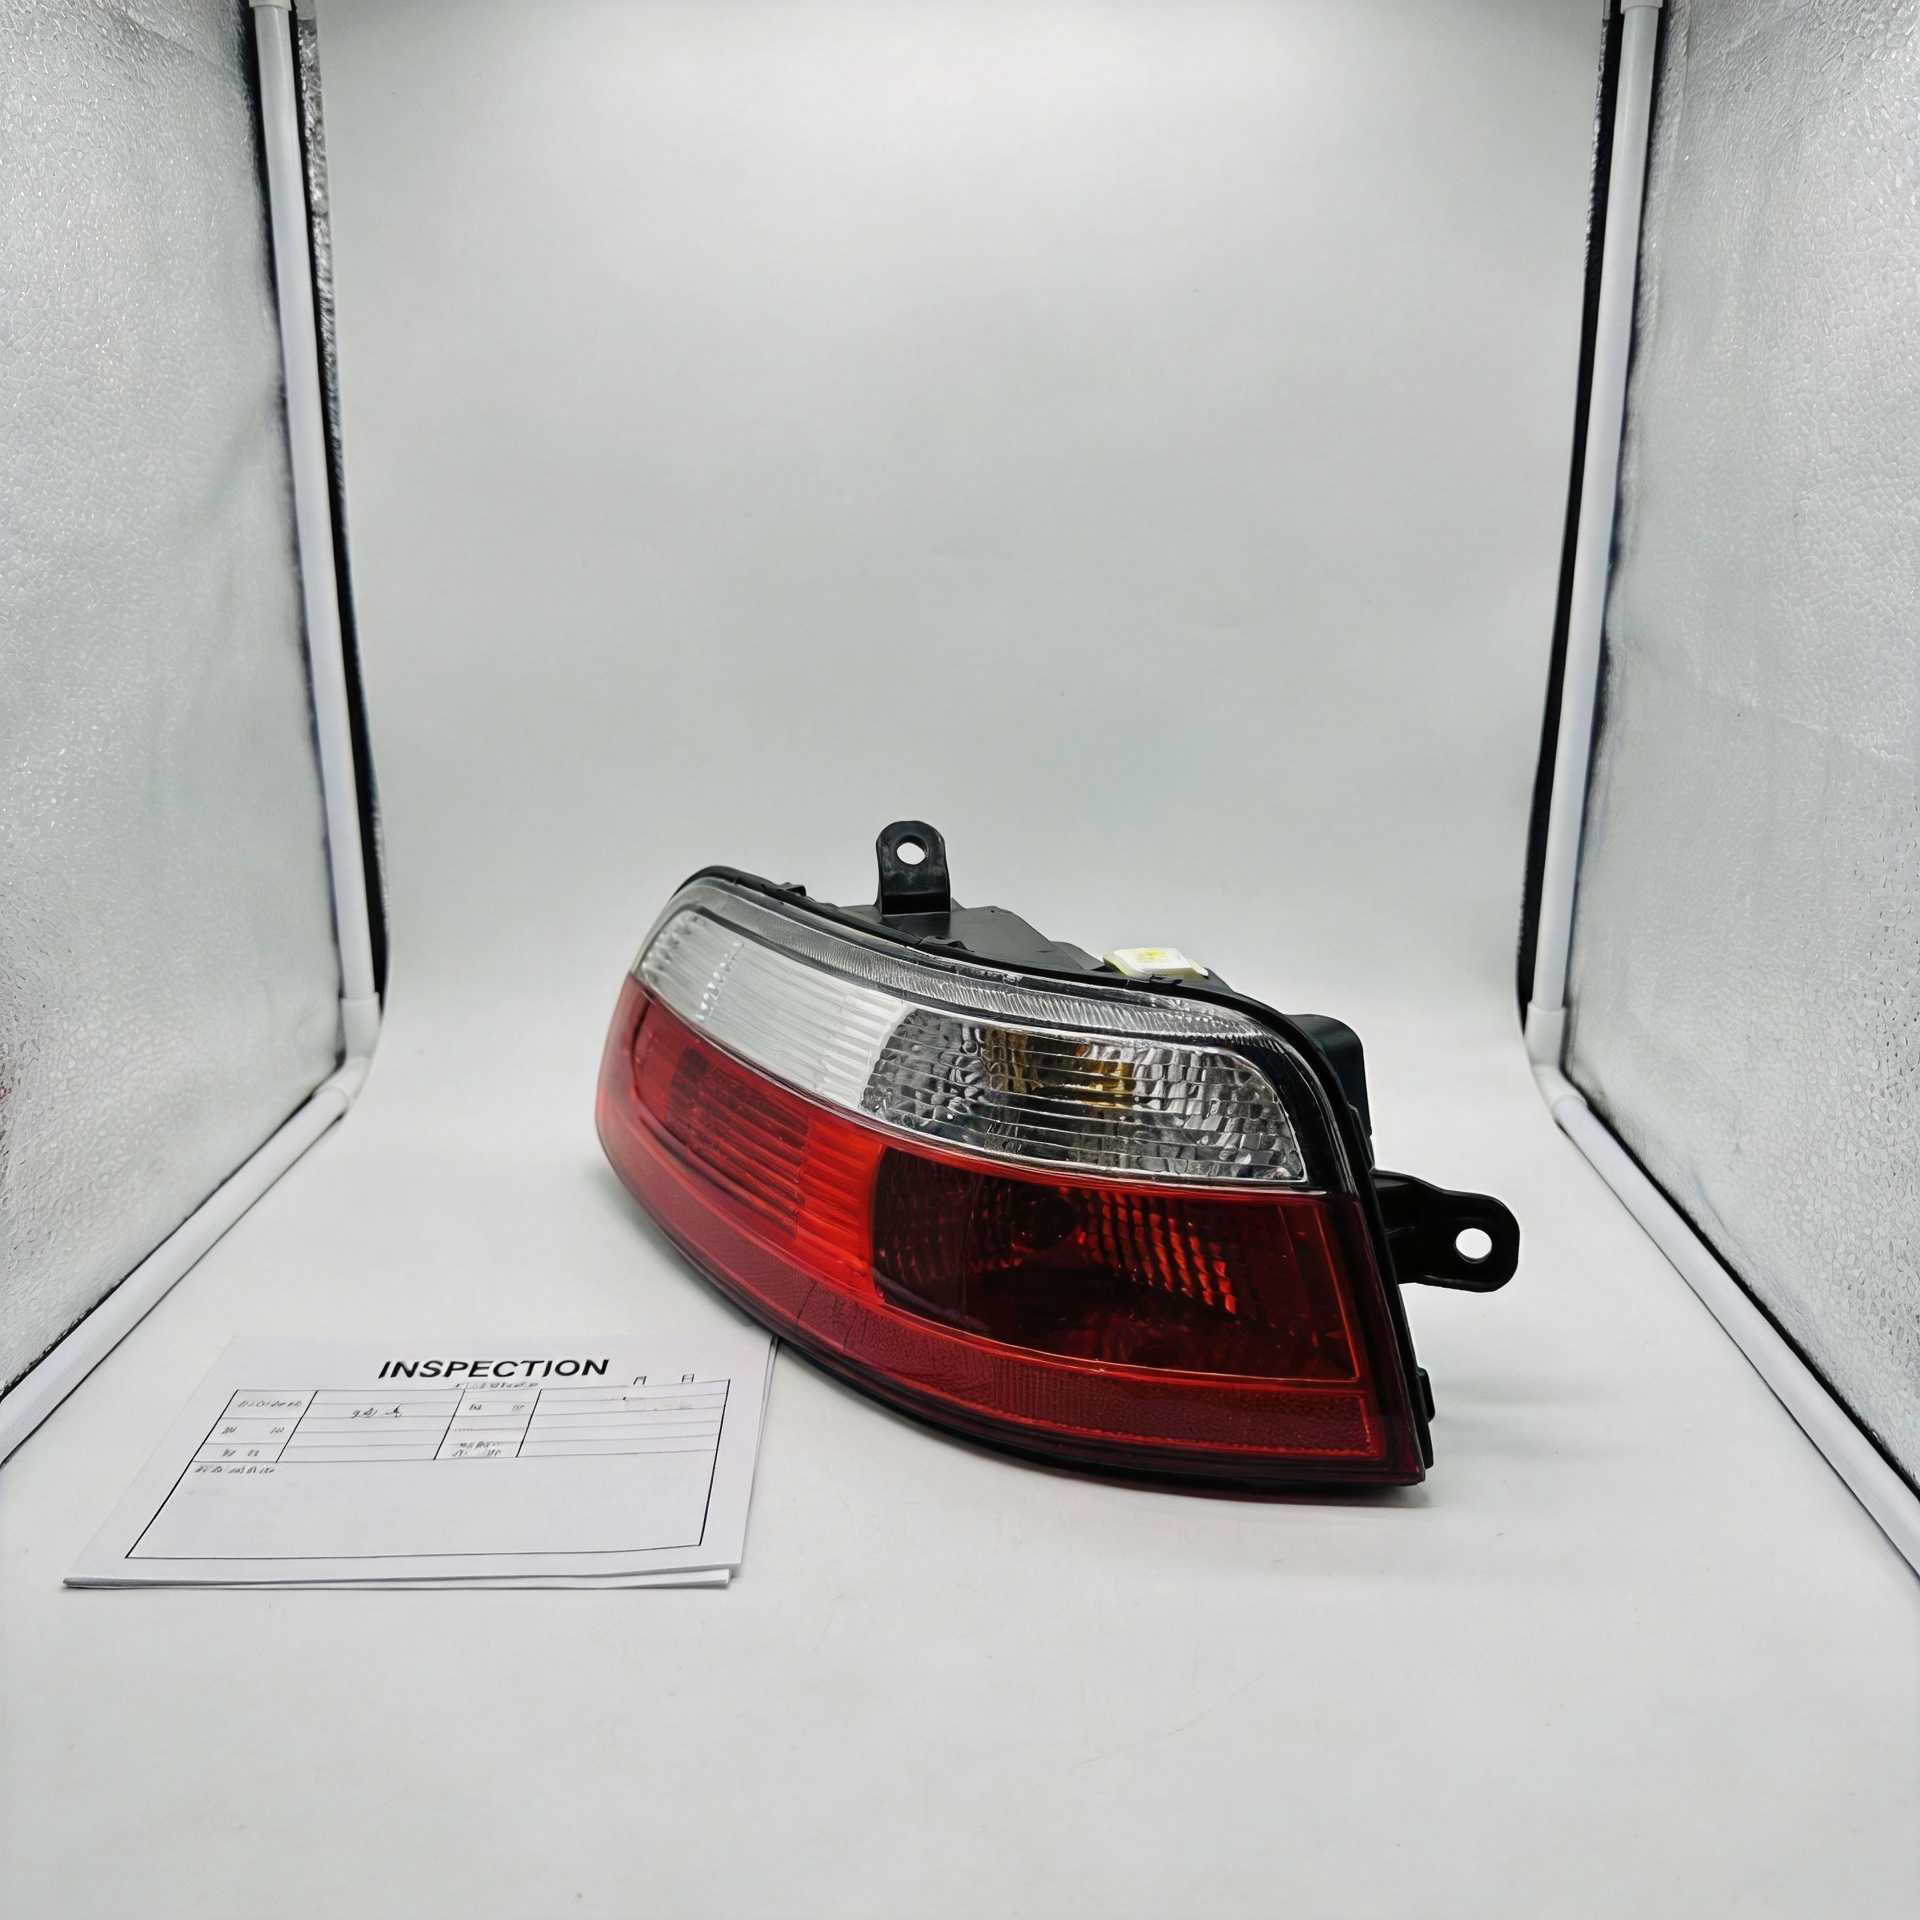
Planning a headlight upgrade starts before you compare brightness, styling, or price. The first question is whether the part will work as a complete system on the intended vehicle. Headlight assemblies combine the housing, lens, reflector or projector, mounting points, electrical connections, and sometimes daytime running lights, turn signals, or leveling hardware. A part can look close enough in a listing and still fail to fit, connect, aim, or function correctly once installed.
For distributors, workshops, and vehicle owners, a dependable process is more useful than a quick “fits most” claim. Start with the vehicle configuration, define the lighting goal, verify assembly-level compatibility, and leave time for installation and beam aiming. This approach is especially important when an upgrade also involves an h7 led headlight bulb, because a bulb choice and a complete assembly replacement are not the same decision.
Start With the Exact Vehicle Configuration
The make, model, and model year are only the first filters for headlight assemblies. Confirm the body style, market version, left- or right-hand-drive layout, trim level, and production range where applicable. A mid-cycle facelift can change the front fascia, lamp contour, mounting tabs, connector shape, or lighting functions even when the vehicle name stays the same.
Build a fitment record before sourcing. It should include the original part number when available, the side required, the number and location of mounting points, connector count and pin layout, and every integrated function. Take clear photos of the rear of the existing lamp, the connectors, and the mounting area. These details prevent a common purchasing mistake: choosing a visually similar lamp that cannot be secured or connected without unplanned modification.
Use a compatibility checklist
- Confirm vehicle make, model, year, body style, and production range.
- Check whether the replacement is for the left, right, or a matched pair of headlight assemblies.
- Compare the housing outline, mounting tabs, adjustment points, and rear clearance.
- Match connectors and functions for low beam, high beam, DRL, turn signal, leveling, or adaptive features.
- Verify the traffic-side beam pattern required for the destination market.
That last point matters because the lamp optics are not cosmetic. A low-beam pattern is designed to illuminate the road while limiting glare toward oncoming and preceding traffic. A housing intended for a different traffic direction or beam pattern may be unsuitable even if it physically bolts into place.
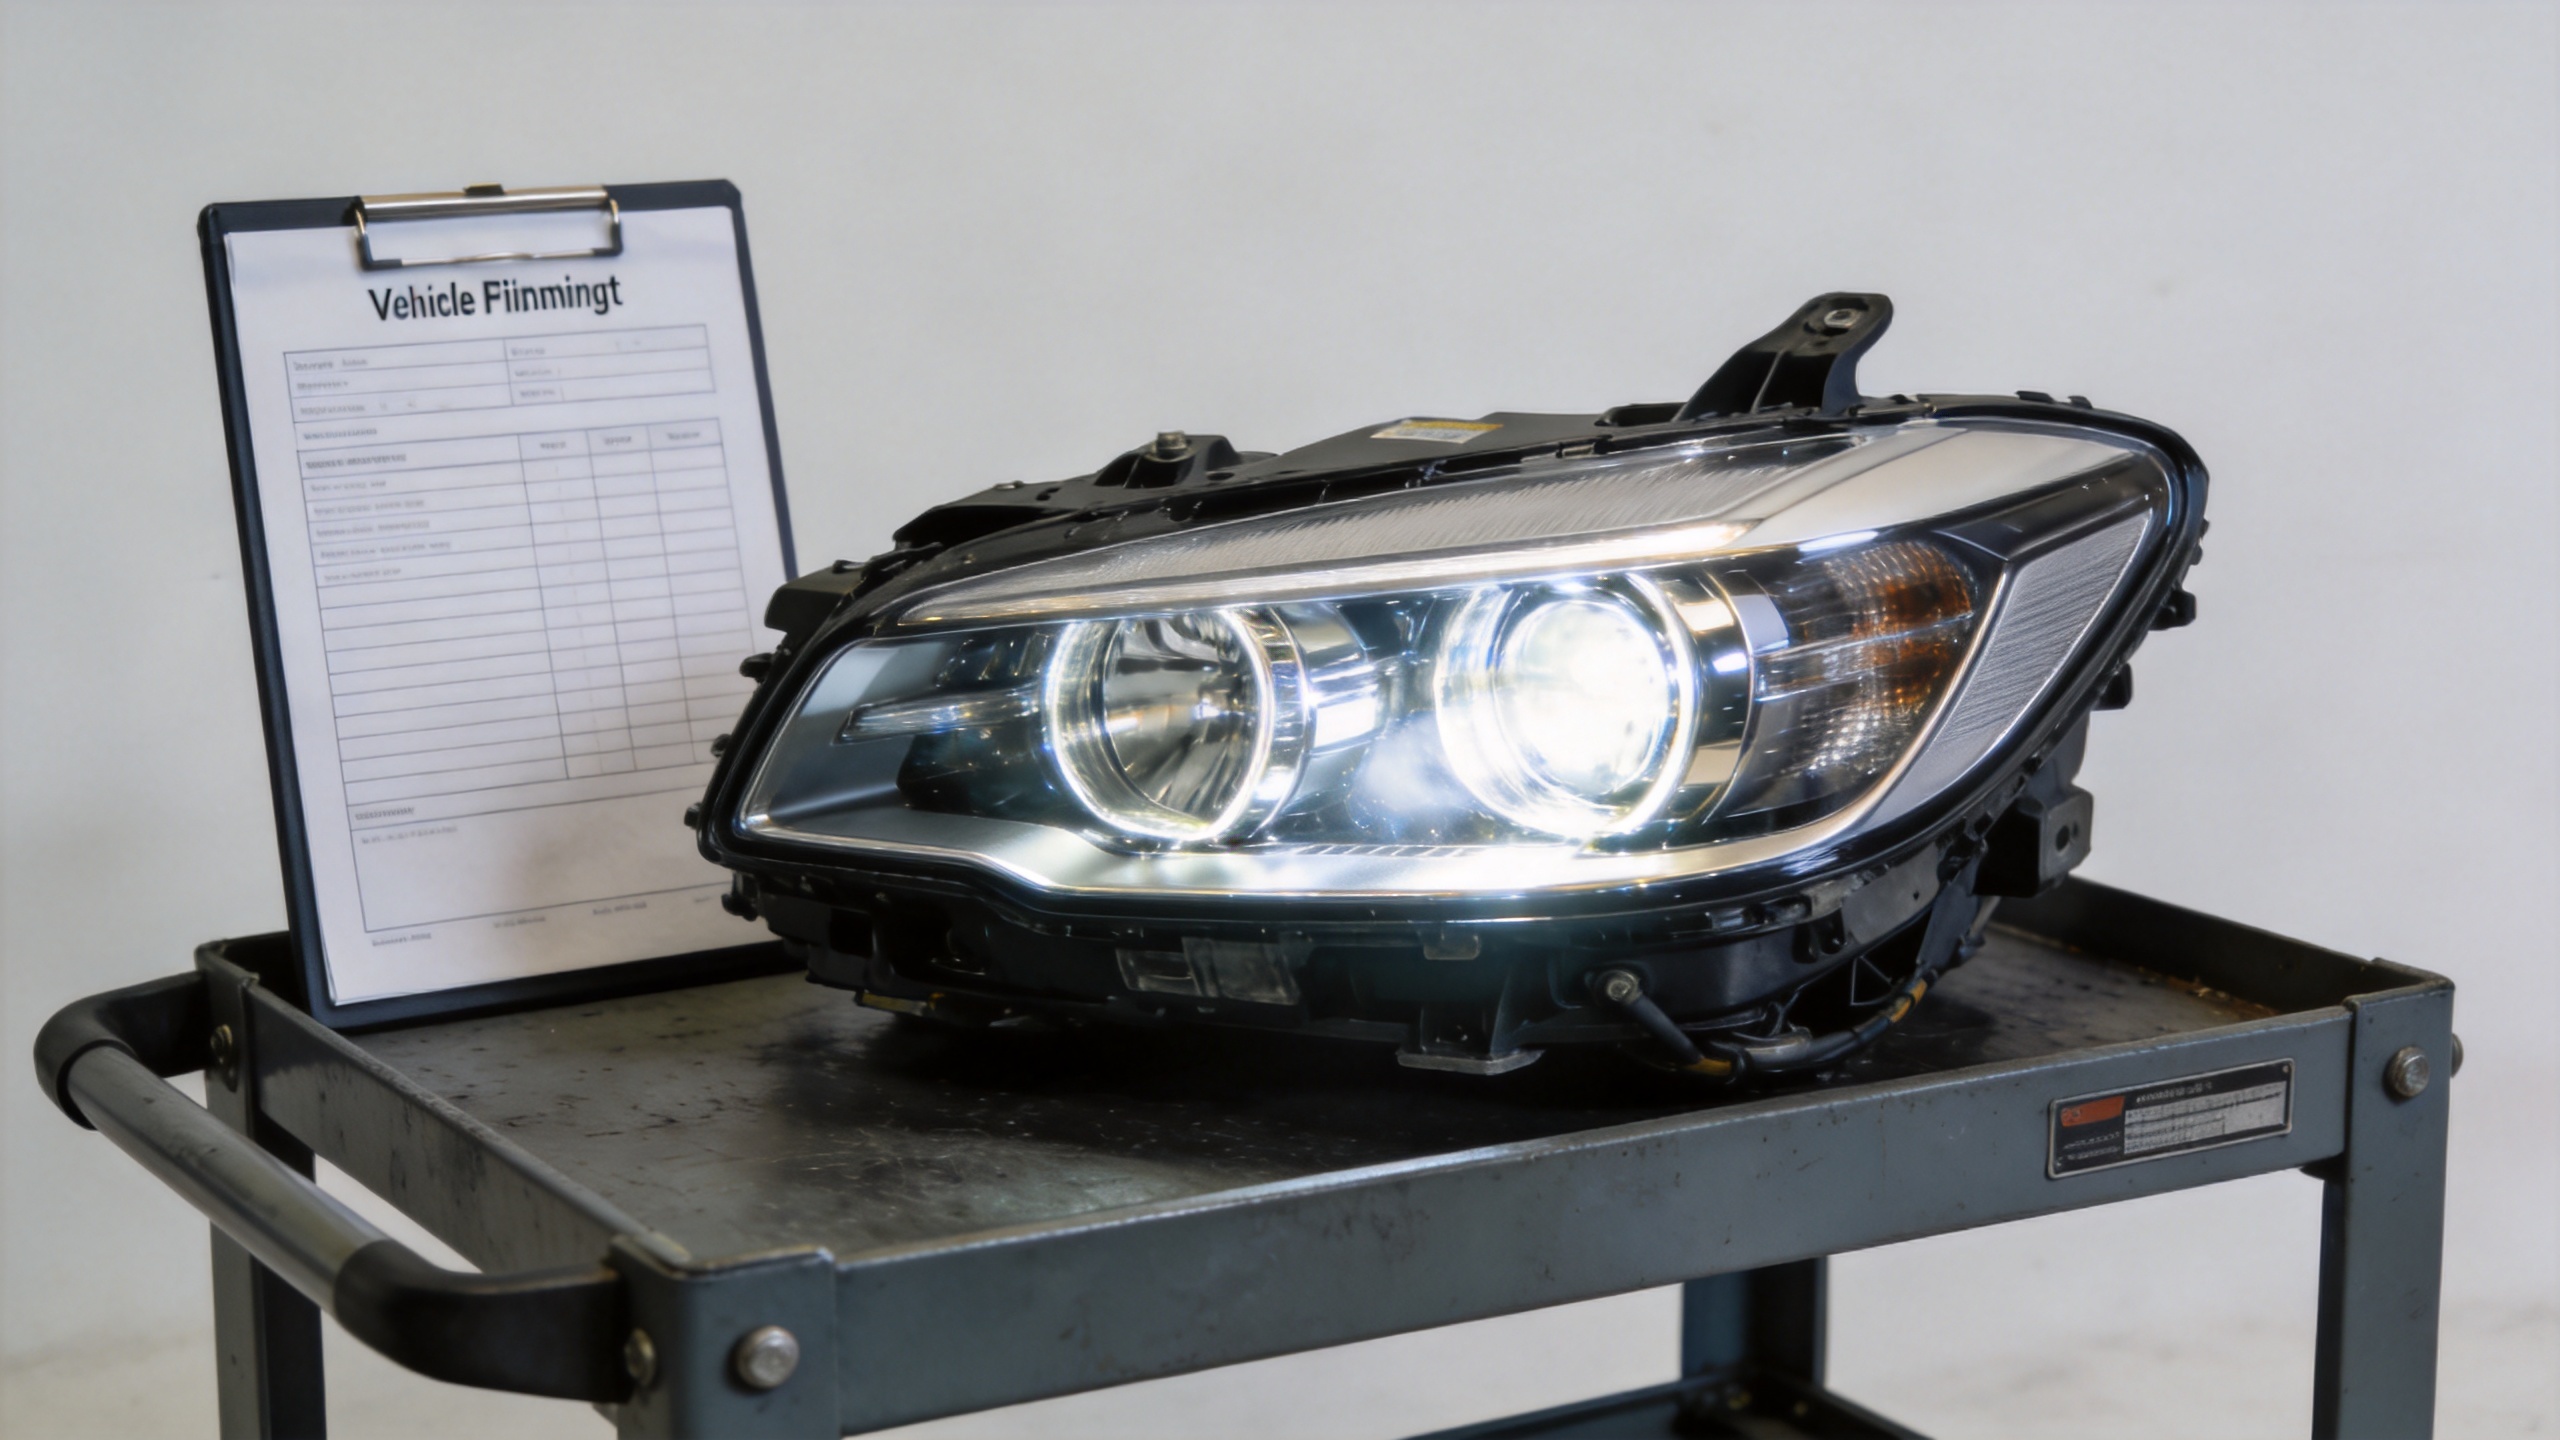
Decide Whether You Need an Assembly Upgrade or a Bulb Upgrade
It is easy to treat all lighting upgrades as interchangeable, but the right path depends on what is worn, damaged, or limiting performance. If the lens is cloudy, the reflector has degraded, the mounting is broken, or the original optics are no longer serviceable, replacing the complete headlight assemblies is usually the more logical starting point. The assembly determines how much useful light reaches the road and where that light goes.
An h7 led headlight bulb may be considered only when the existing housing is in good condition and the vehicle uses an H7 replaceable-bulb system. Before selecting one, confirm the bulb base, available heat-sink clearance, dust-cap fit, driver placement, electrical compatibility, and whether the resulting beam pattern remains appropriate for that specific housing. A brighter source does not automatically create better usable lighting if the optics are not designed around it.
A helpful way to frame the choice is this: the assembly controls the optical system; the bulb is only one component inside it. For a vehicle with a damaged or mismatched lamp, changing the bulb can leave the underlying problem untouched.
Match the Upgrade to the Functions You Actually Need
Next, define the job the new headlight assemblies must perform. A straightforward replacement may only need low beam and high beam operation. Other vehicles combine projector lenses, bi-function modules, DRL signatures, turn signals, leveling motors, ballast connections, or control-module communication in the same unit. Each additional function adds another compatibility check.
Make a short “must retain” list before comparing options. Include the original lighting functions, the intended road environment, the desired visual change, and any workshop or fleet requirements. For example, an upgrade for a frequently driven commuter vehicle should prioritize reliable fit, correct beam control, service access, and weather sealing. A styling-led upgrade still needs to preserve mounting integrity and road-appropriate aiming.
| Planning question | Why it matters | What to verify |
|---|---|---|
| What failed or needs improvement? | Separates an optical-system problem from a simple light-source problem. | Lens, reflector, housing, tabs, wiring, or bulb condition. |
| Which functions must remain? | Prevents loss of DRL, signal, leveling, or high/low-beam operation. | Function list, connector pins, and module requirements. |
| Which market will use the vehicle? | Beam pattern and lighting rules can vary by market. | Traffic-side orientation and local compliance needs. |
| Who will install and aim it? | Fitment is incomplete until the lamp is mounted and aimed correctly. | Adjustment access, instructions, and test process. |
Compare the Assembly, Not Just the Front-Lens Appearance
When reviewing headlight assemblies, work from the back of the unit forward. Compare the connector arrangement, bulb or module access, rear depth, vent placement, mounting geometry, and aiming hardware. Then inspect the front lens and styling. This order helps avoid an appearance-first decision that creates installation delays later.
For a model-specific example, the BMW E46 4-door 2001–2004 LED headlight assembly should be evaluated against the vehicle’s exact four-door production configuration and the functions the installation must retain. The product title identifies the targeted vehicle range and listed functions; it does not replace checking the actual vehicle, connectors, mounting points, or local requirements.
Also confirm whether the supplier offers a single-side unit or a pair. Replacing only one aged lamp can leave visible differences in lens clarity, color, or beam appearance. That may be acceptable for a limited repair, but it should be a deliberate decision rather than an accidental result of a parts listing.
Plan Installation, Adjustment, and Functional Testing
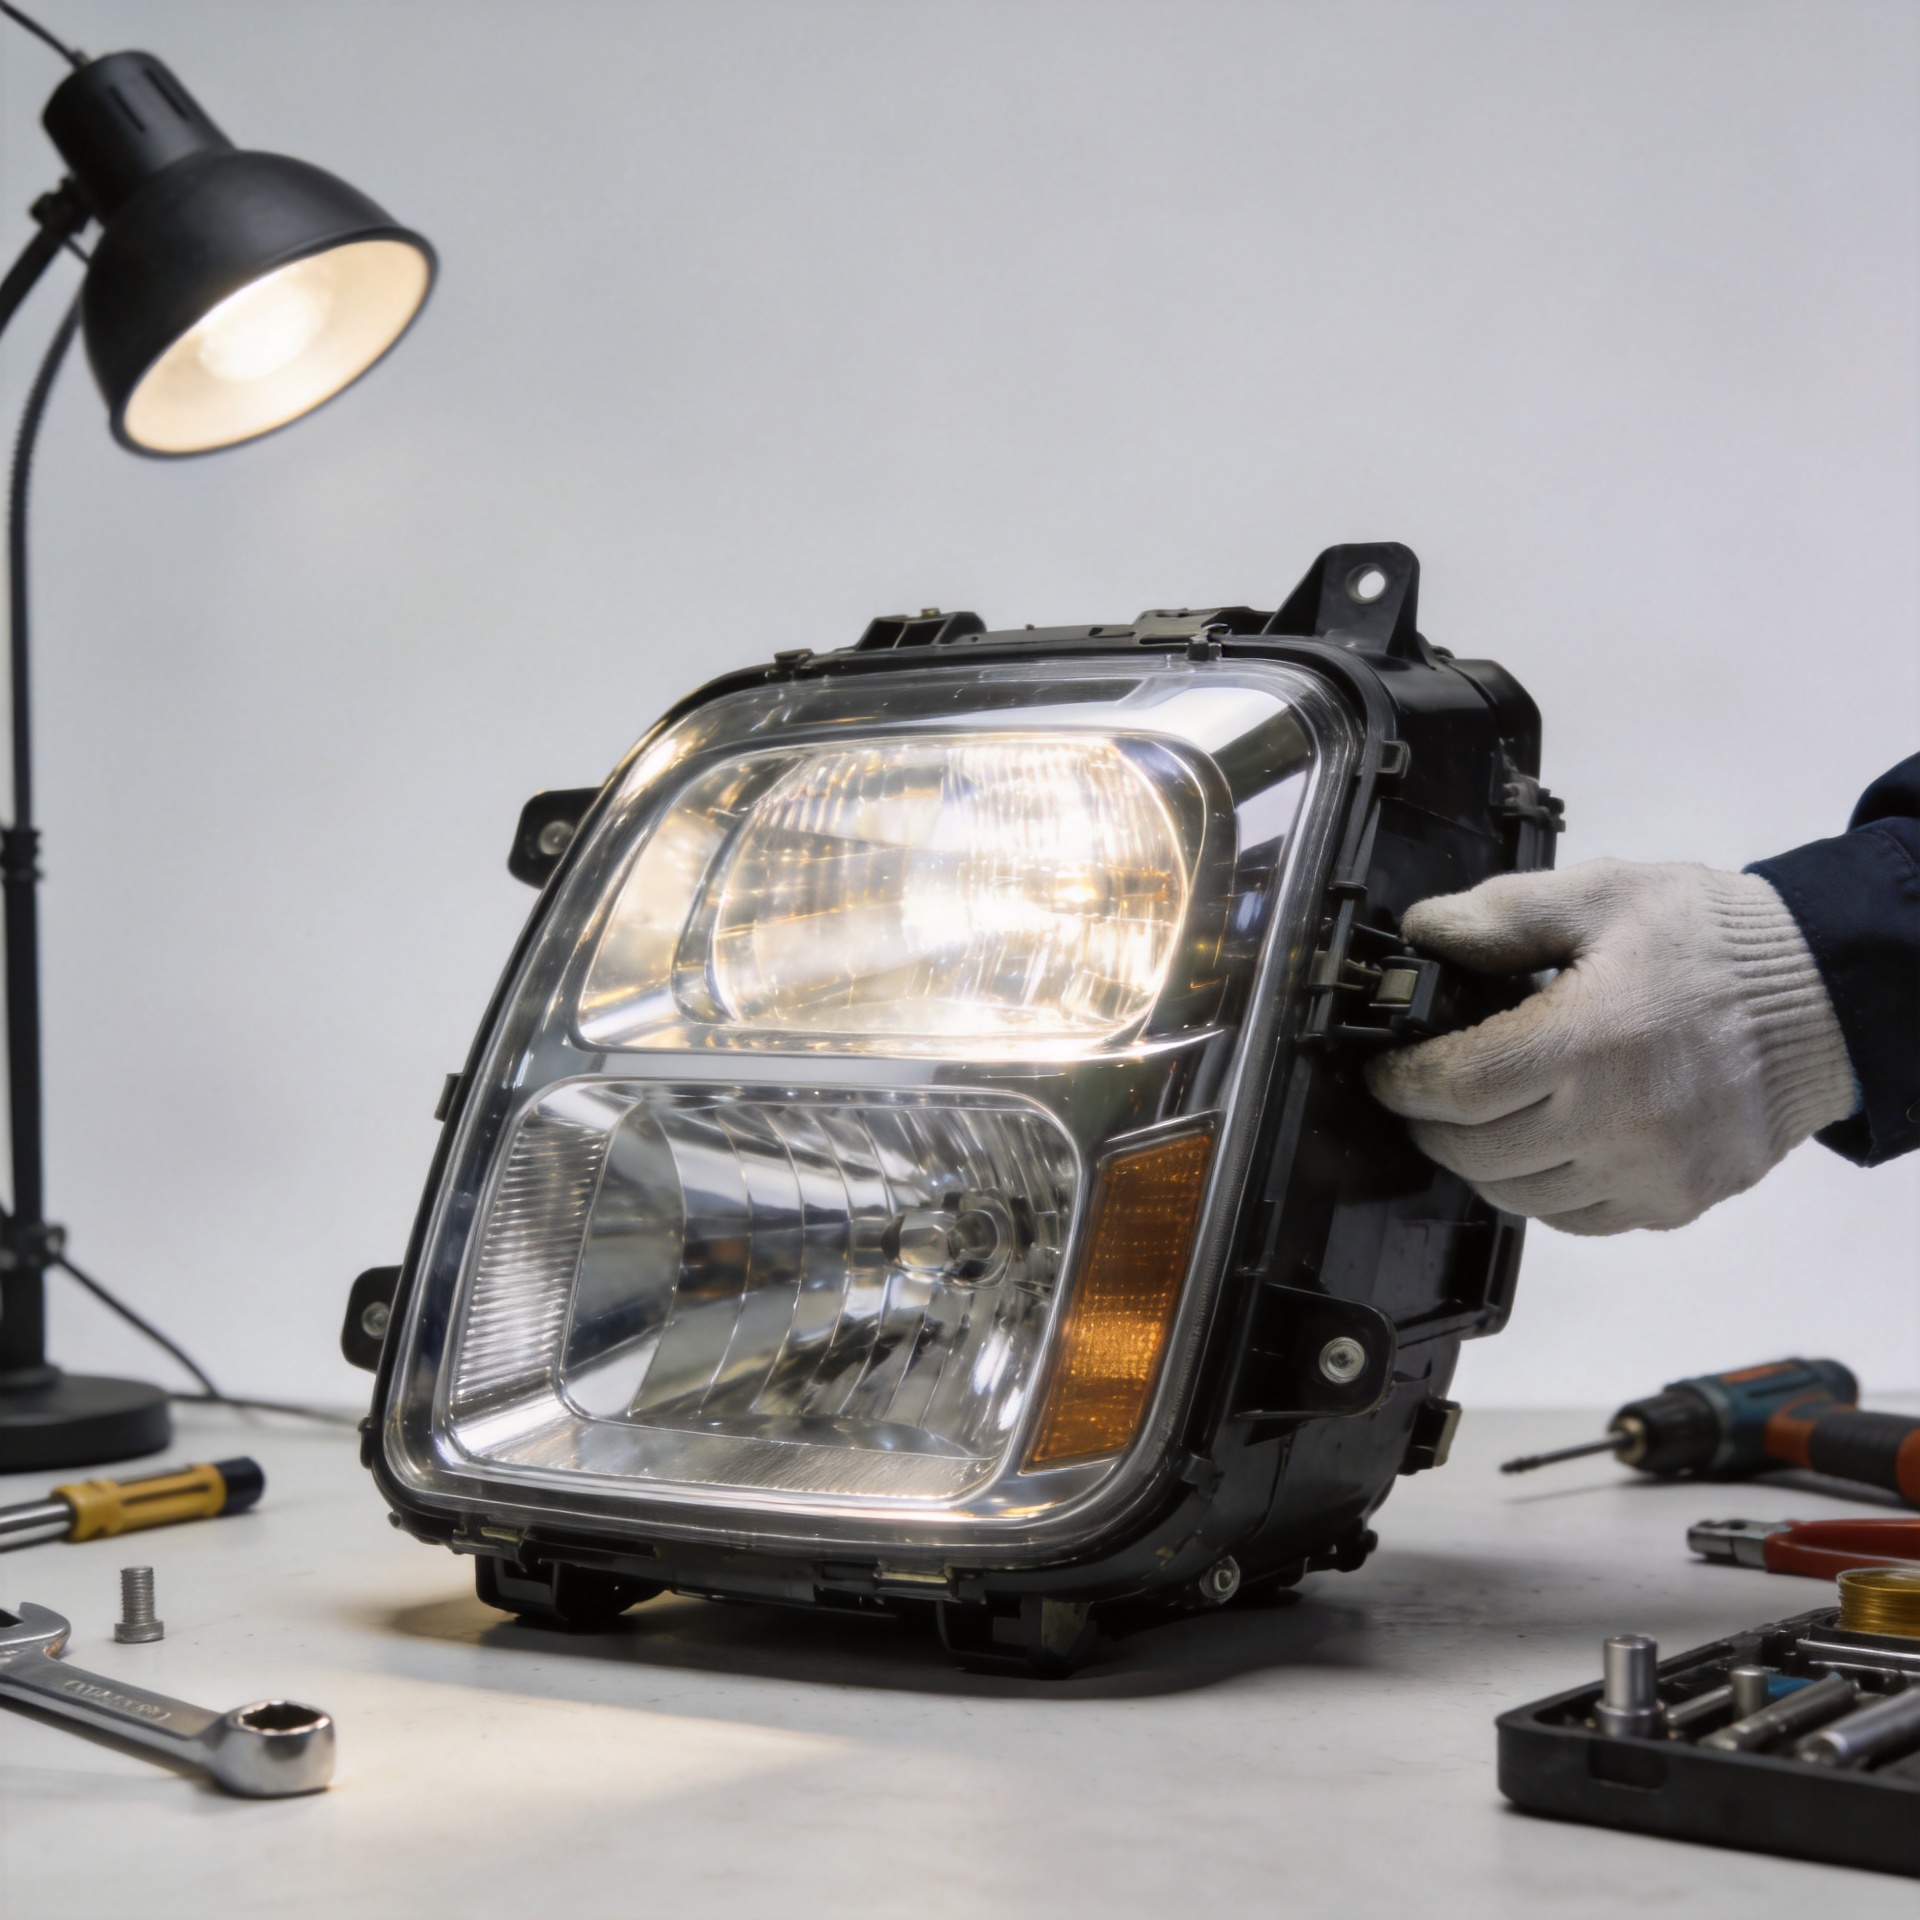
Correct physical fitment is only the midpoint of the project. After installation, test every function before reassembling trim panels: low beam, high beam, turn signal, DRL, parking light, and leveling or warning indicators where equipped. Check for moisture paths, loose harness routing, interference with adjacent components, and secure mounting.
Then aim the lamps using the vehicle manufacturer’s instructions. Headlamp requirements are built around both visibility and glare prevention, so a compatible assembly can still perform poorly if it is misaligned. Use a level setup, normal vehicle ride condition, and the specified aiming method. If the upgrade affects electronic functions or requires coding, include that work in the plan instead of treating it as an afterthought.
Fitment Terms to Confirm on Every Listing
Use the listing language as a verification prompt, not as a substitute for inspection. For headlight assemblies, confirm the vehicle range, body style, lamp side, connector layout, mounting geometry, and included functions. Recheck those same details when comparing headlight assemblies from different sources, because a shared vehicle name does not prove identical fitment.
If the listing also mentions an h7 led headlight bulb, treat that as a separate compatibility question. An h7 led headlight bulb must match the vehicle’s bulb system and available rear clearance; it does not validate the headlight assemblies themselves. Ask whether the h7 led headlight bulb is included, whether it is replaceable, and whether the original housing accepts it.
For repeatable purchasing, record the answers beside each candidate. The record should name the headlight assemblies, note the applicable vehicle configuration, and state whether an h7 led headlight bulb is relevant. Before approval, compare the original headlight assemblies with the proposed unit one final time. This makes the h7 led headlight bulb decision part of the system review rather than a last-minute add-on.
Final Fitment Checklist Before You Buy
- Identify the exact vehicle configuration and original lamp details.
- Choose between repairing the existing system, using an H7 bulb where appropriate, or replacing complete headlight assemblies.
- Match physical geometry, connectors, lighting functions, and beam-pattern orientation.
- Confirm the part has room for all rear components and can be adjusted after installation.
- Plan functional tests and beam aiming before the vehicle returns to the road.
A sound headlight upgrade is not simply the brightest-looking option. It is the option that fits the vehicle correctly, supports the required functions, works with the existing electrical and optical system, and can be aimed safely. By treating fitment as a system check rather than a single product filter, you can make headlight assemblies upgrades more predictable from sourcing through installation.