EN
EN

How to Check Vehicle Fitment Before Ordering Replacement Headlight Lenses
Ordering replacement headlight lenses sounds straightforward until a lens arrives with the wrong outline, mounting edge, or light pattern. For wholesalers, repair shops, and vehicle-parts buyers, the practical question is not simply whether a part is listed for a familiar model name. It is whether the lens matches the exact vehicle configuration and the installed lamp housing.
This guide provides a repeatable fitment check for headlight lenses before an auto headlight replacement order is placed. Use it to organize the information you request from a customer, compare a sample with supplier data, and decide when lens-only replacement is appropriate.
Start with the complete vehicle identity
A model badge is only the first filter. The same nameplate can have different front-end designs across model years, regions, trim levels, and facelift periods. Record the make, model, production year, body style, and market destination. If available, add the VIN or the manufacturer’s vehicle-identification data. For fleet or trade orders, ask the buyer to provide a photo of the vehicle front and a photo of the complete lamp.
Be especially careful at generation changes. A vehicle built near a facelift boundary may use a different bumper line, grille position, lamp profile, or mounting point even when the model name remains unchanged. A sound practice is to treat a stated year range as a starting point and then confirm it against the physical lamp and reference number.
Confirm that the order is for a lens, not a complete assembly
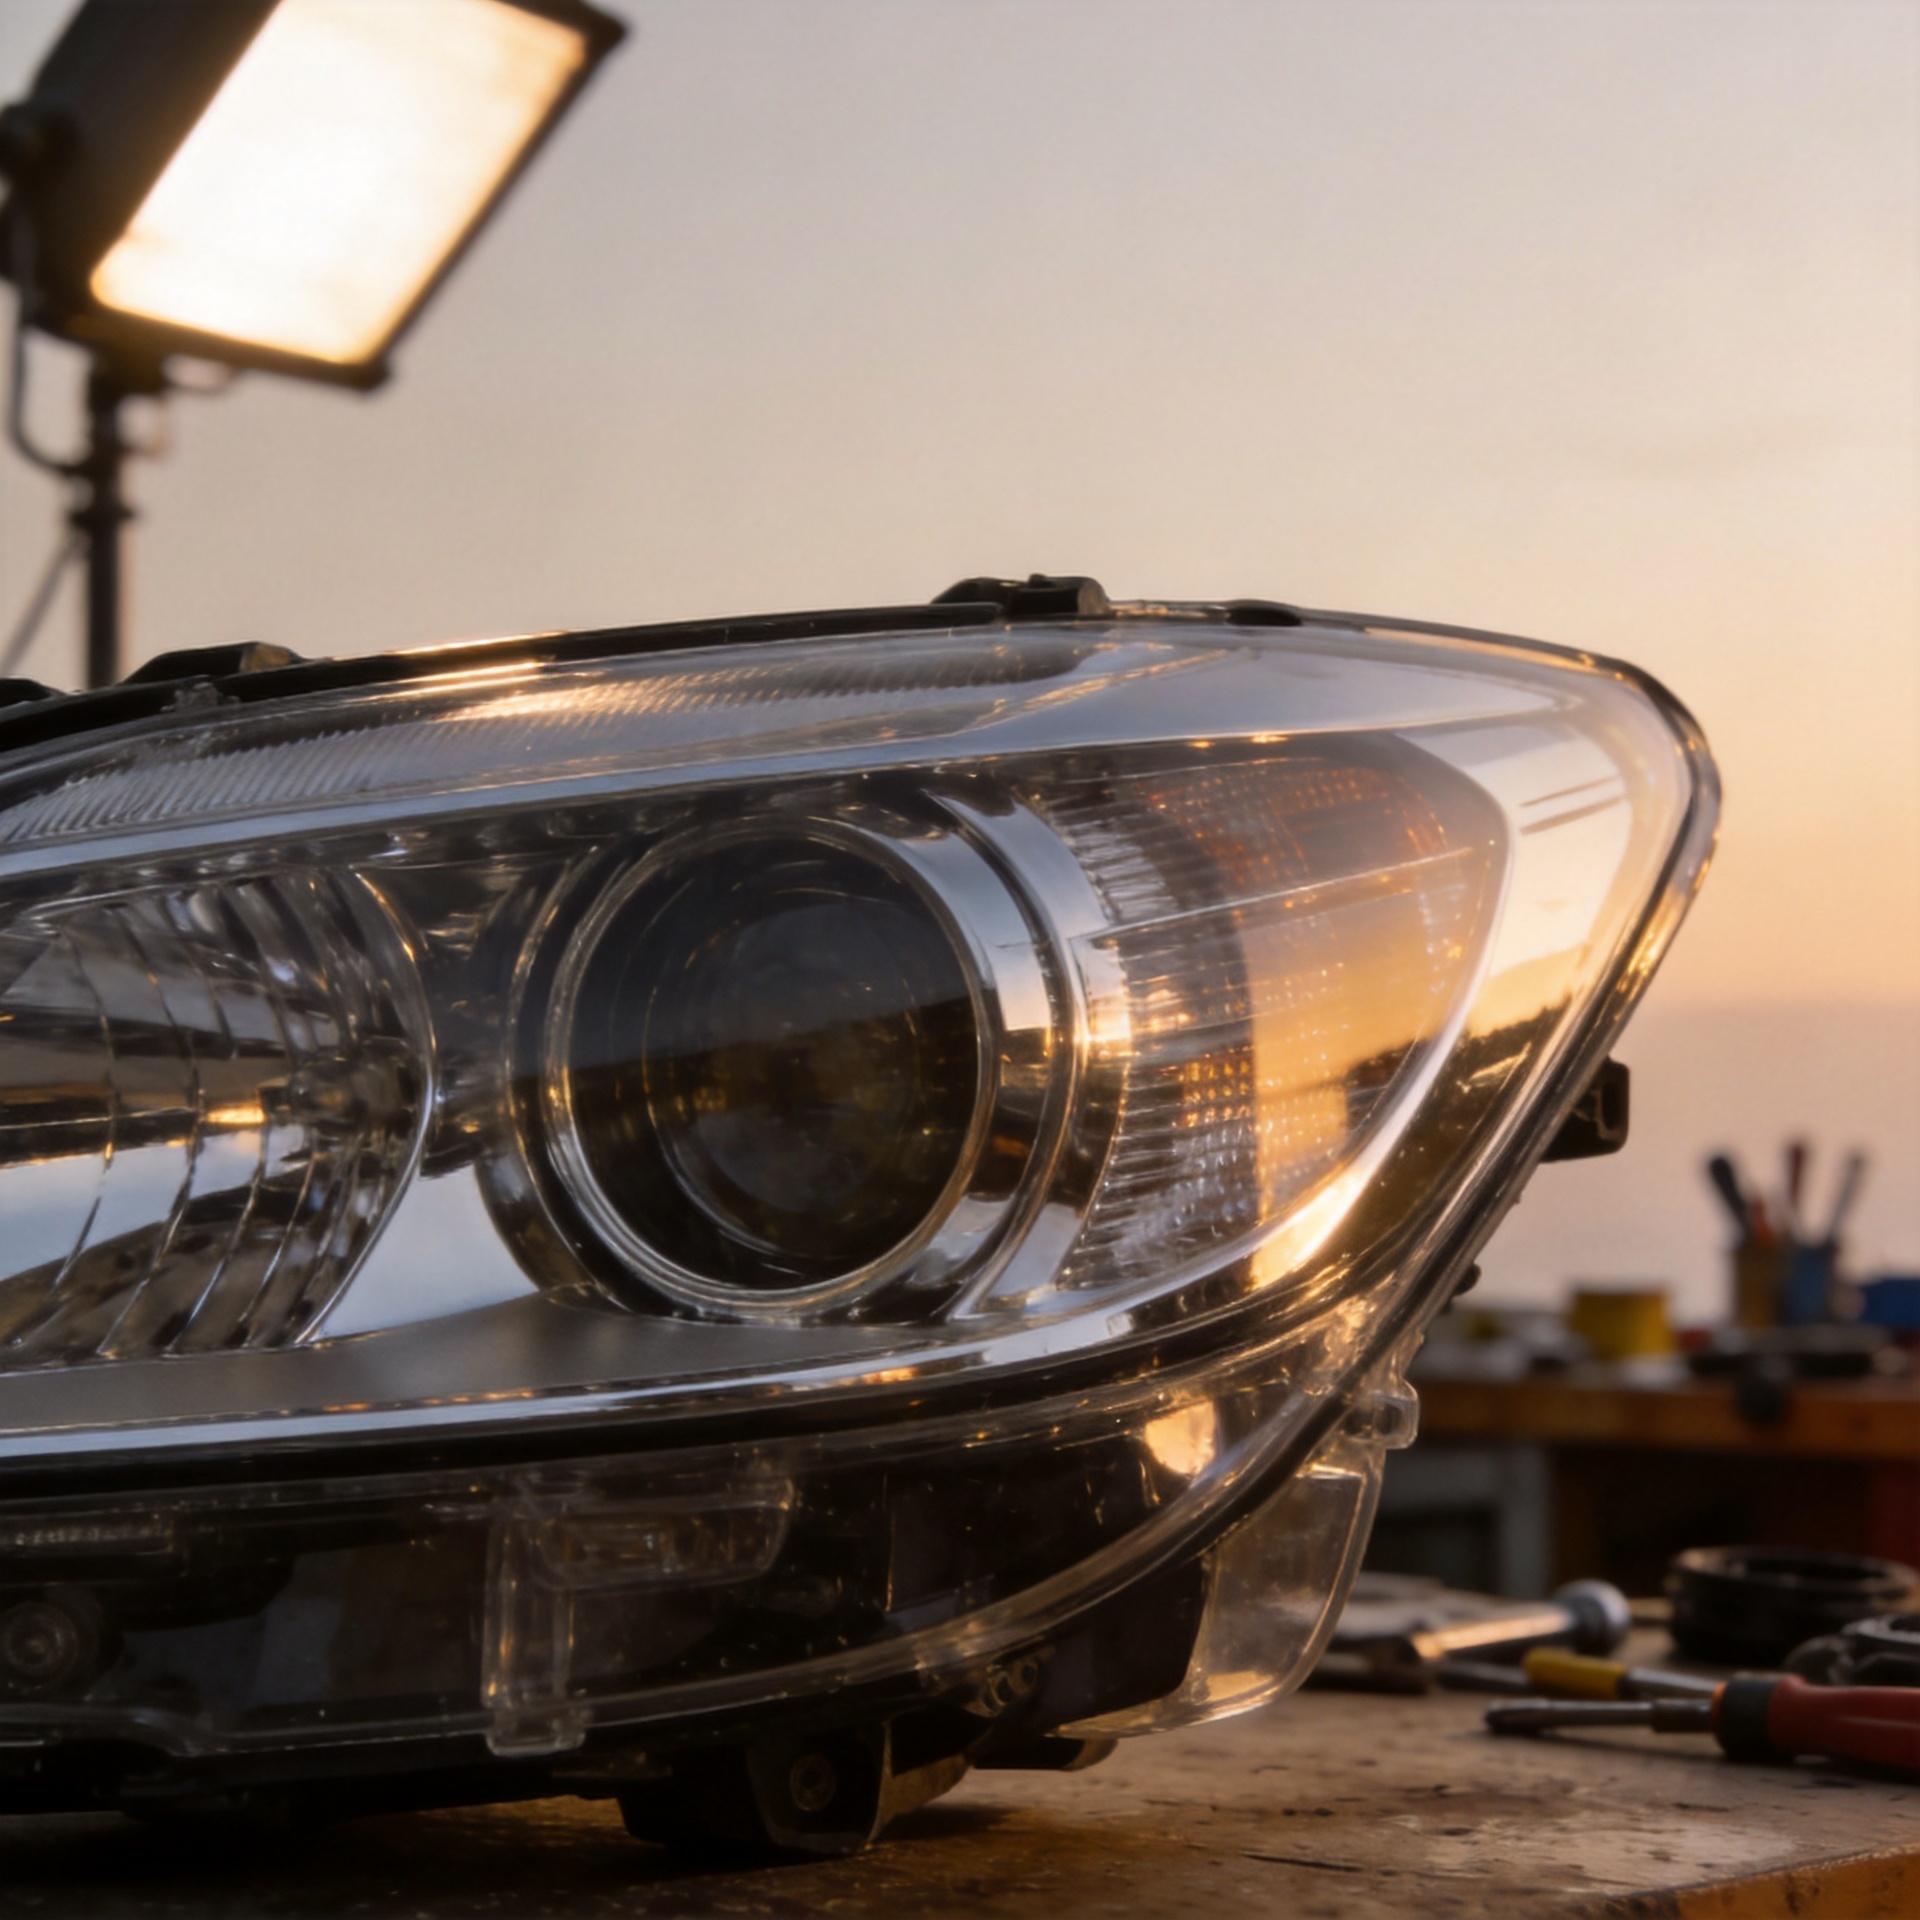
Replacement headlight lenses are not interchangeable with a full headlight assembly. Before sourcing, inspect whether the clear cover is a separable component and whether the housing, reflectors, projectors, seals, and mounting tabs are still serviceable. A cracked lens may be a lens-only case; broken tabs, water damage, burned reflectors, or an incomplete seal often point to a complete assembly evaluation instead.
Ask for close-up photos of the lens perimeter and the housing joint. They help identify the bonding line, locator features, and any damage that could prevent a reliable re-seal. This prevents an auto headlight replacement decision from being based solely on exterior haze or a single crack.
Match the lamp architecture before comparing appearance
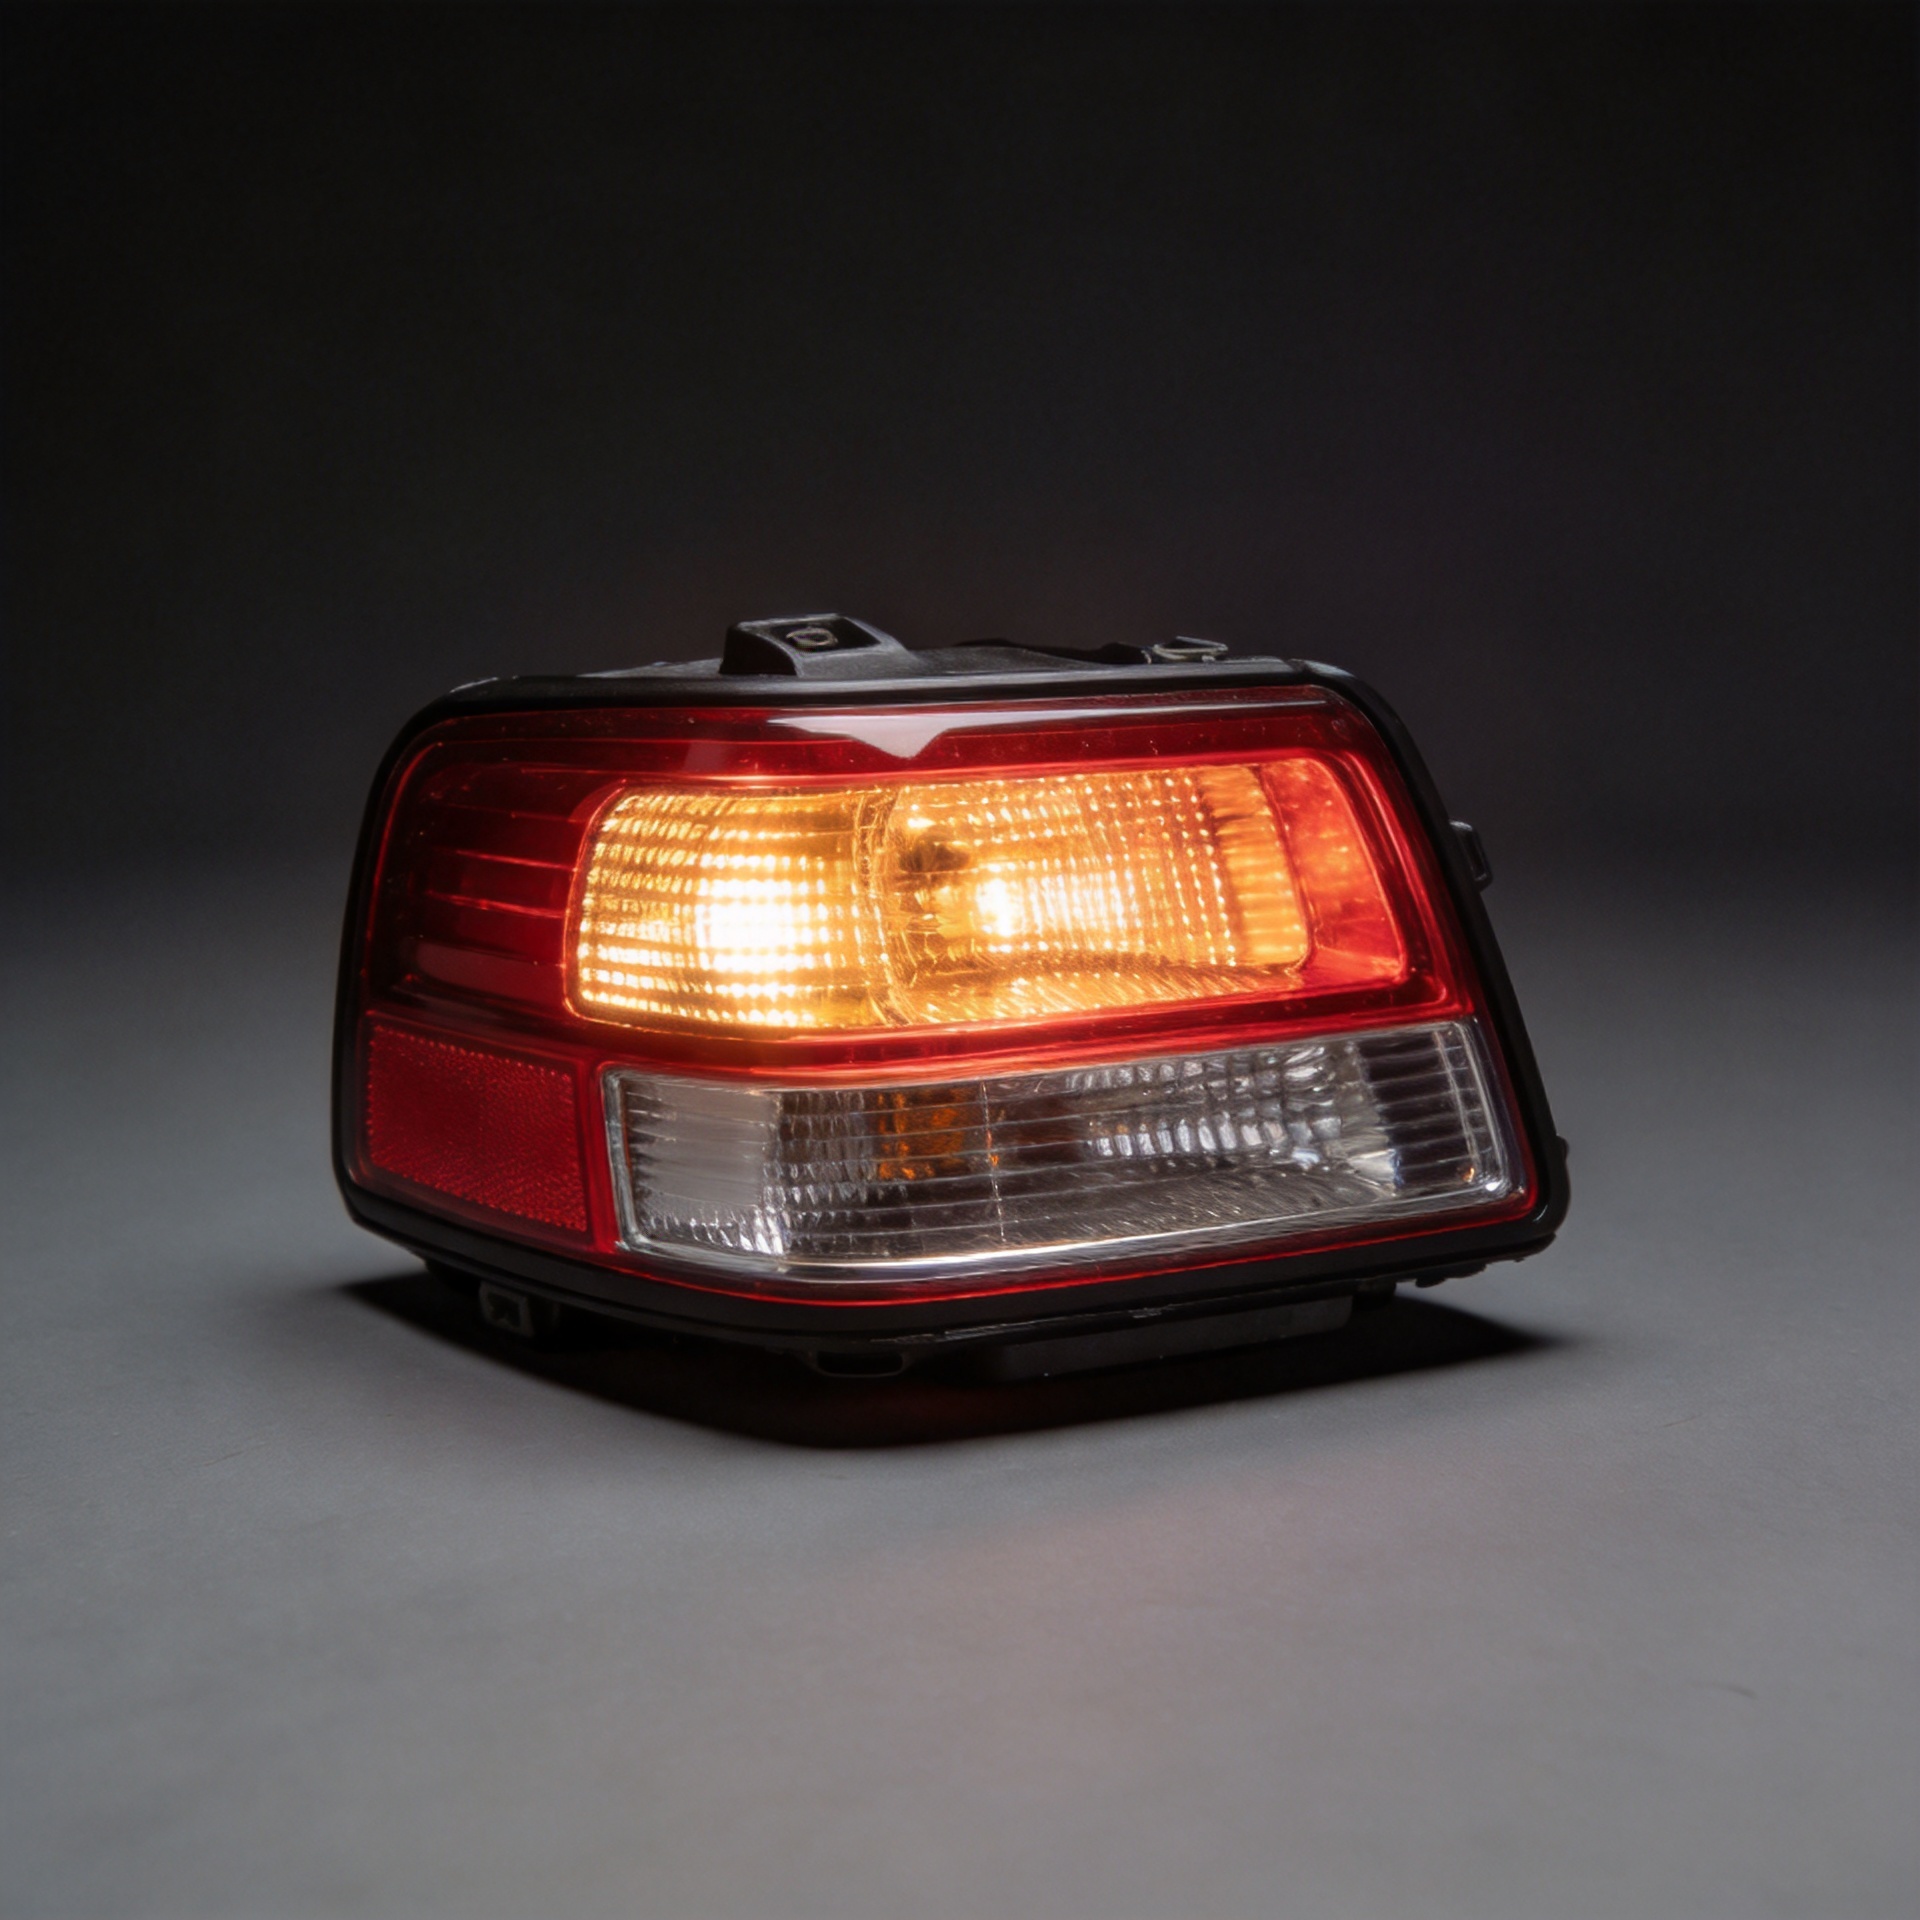
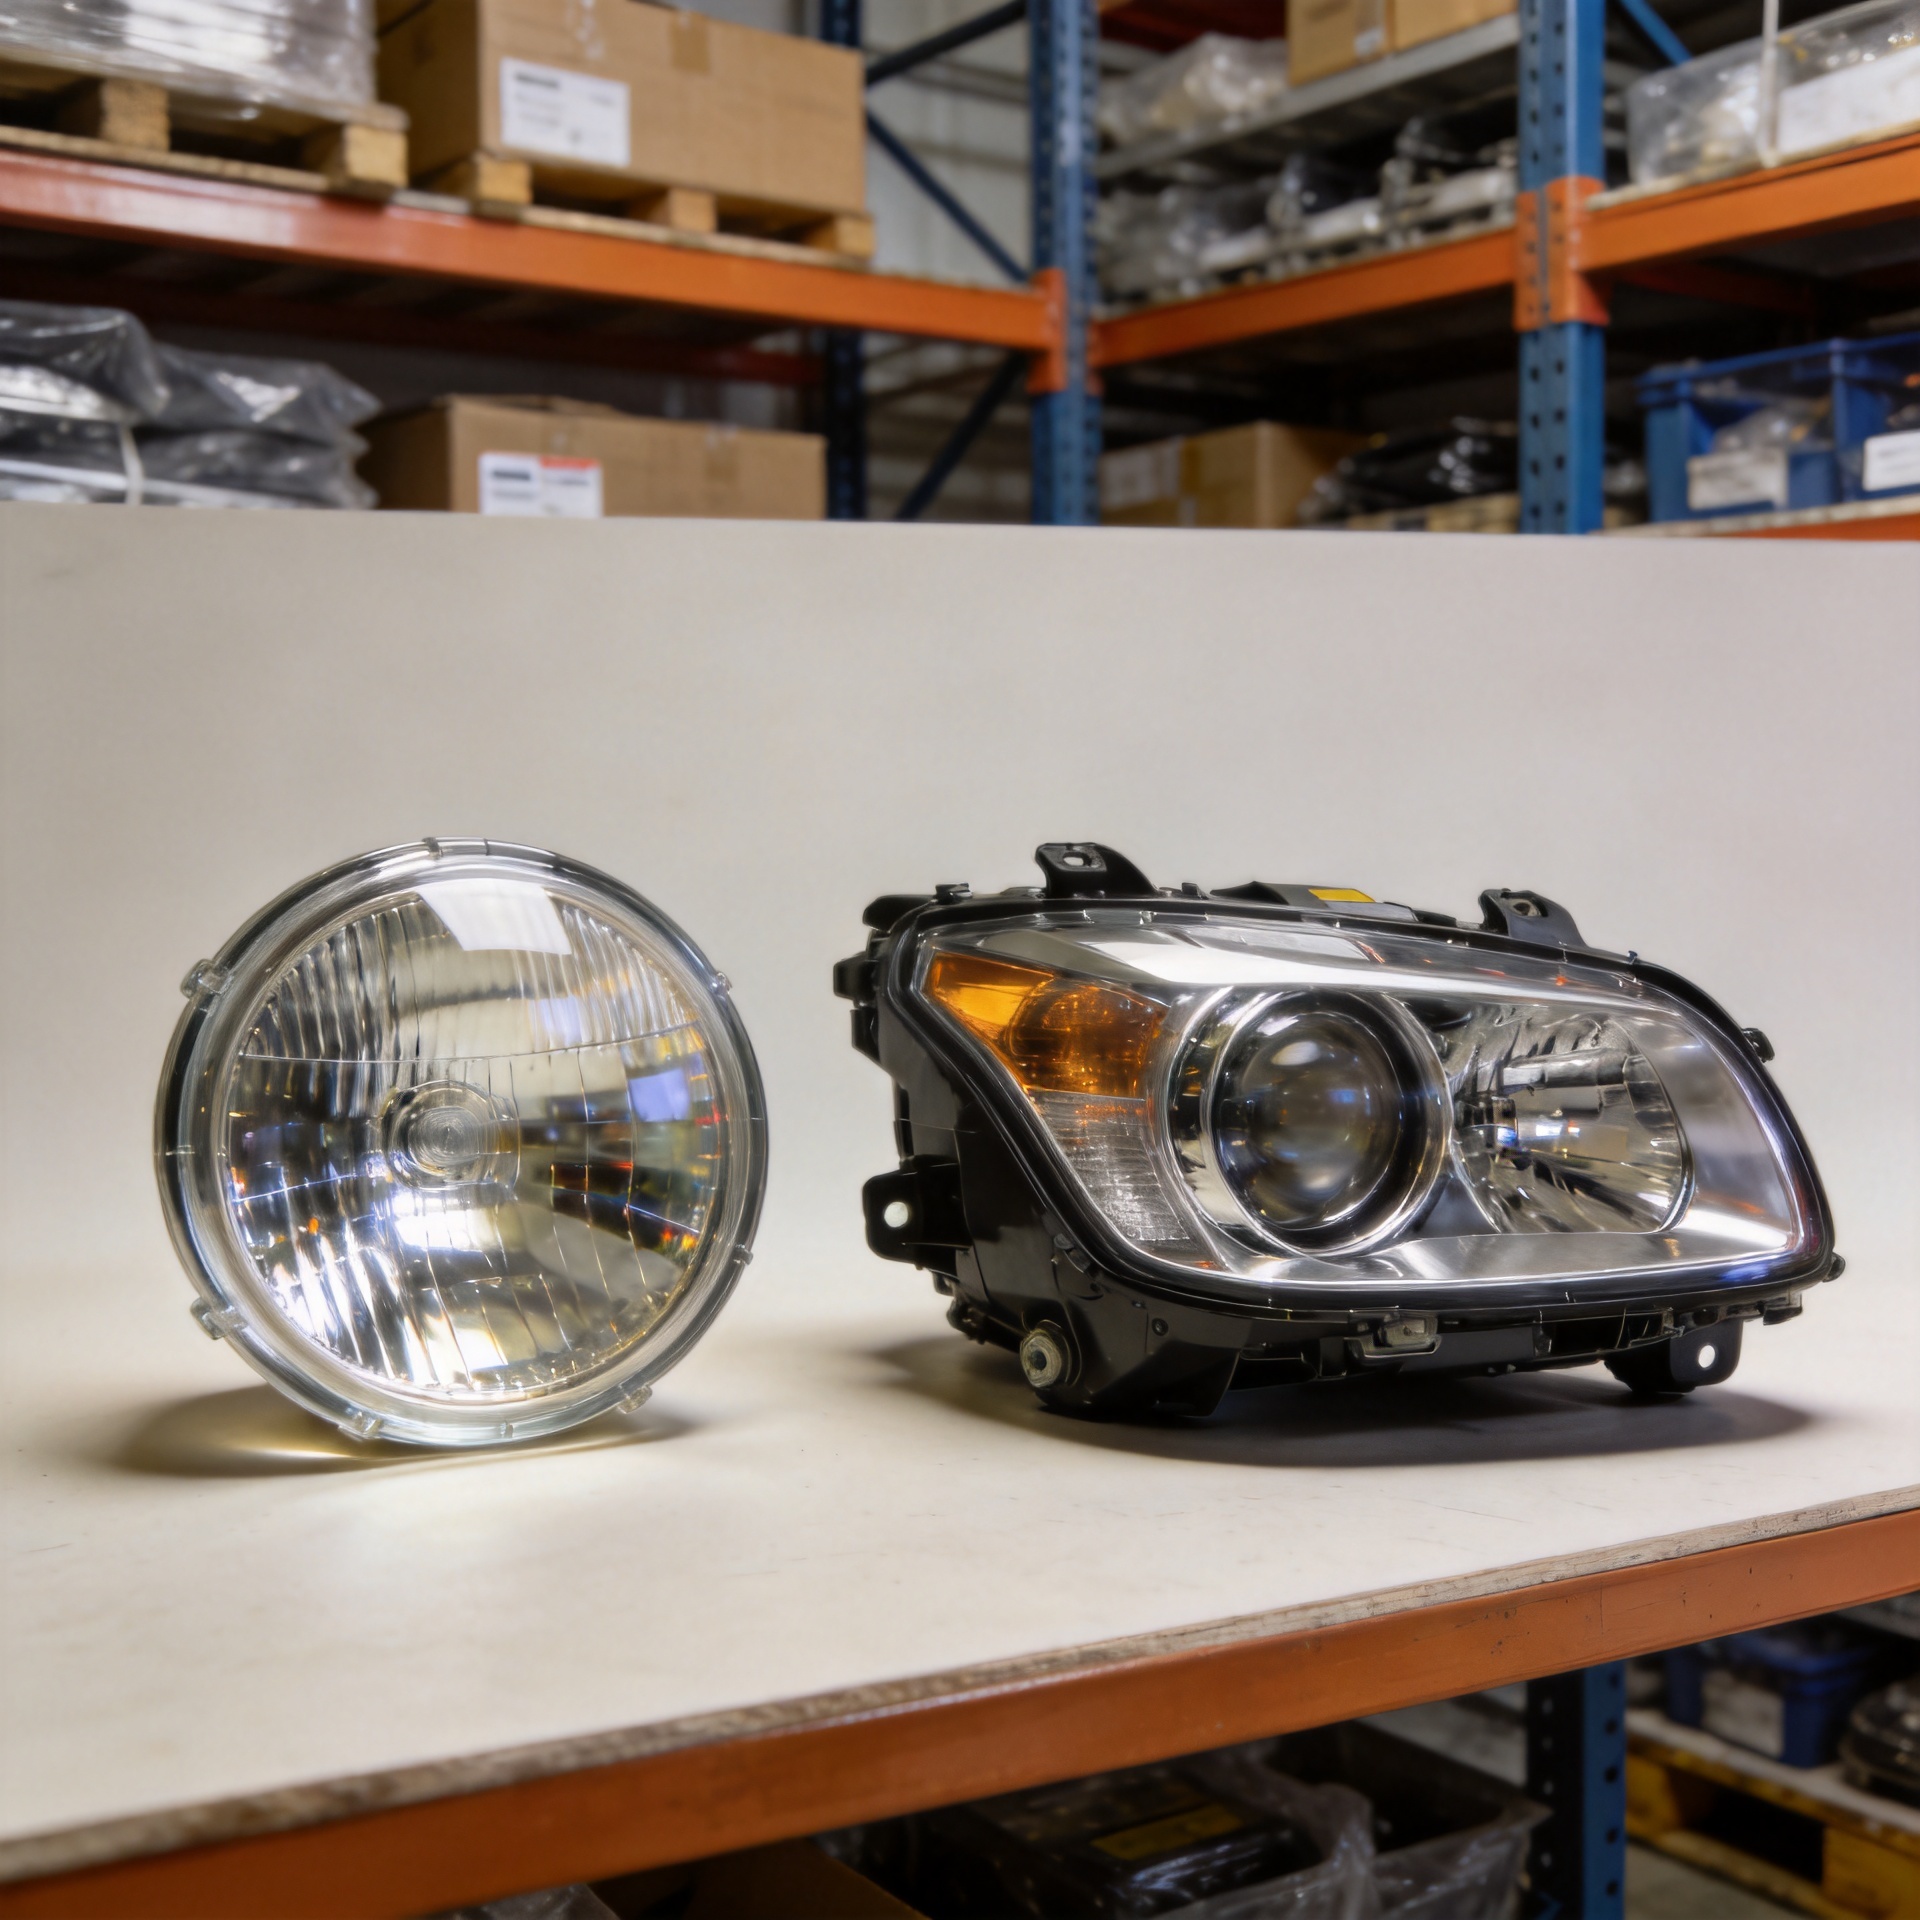
Two lamps can look similar from a distance but differ in construction. Confirm the side first: left and right units are typically mirror-specific and should not be assumed to be interchangeable. Then verify the lamp style, such as halogen, projector, reflector, LED, daytime-running-light configuration, or an adaptive system where applicable. Look for the number and location of chambers, internal bezels, indicator sections, and leveling or aiming features.
Use a simple photo checklist:
- Front photo showing the lens shape and all internal chambers.
- Rear photo showing bulb sockets, connectors, labels, and mounting tabs.
- Close-up of the outer lens edge and top or bottom markings.
- Photo of the left/right side marking and any regulatory mark.
- Photo of damage, distortion, or missing clips that may affect installation.
These images make it easier to compare headlight lenses with the installed assembly rather than relying on a generic catalog image.
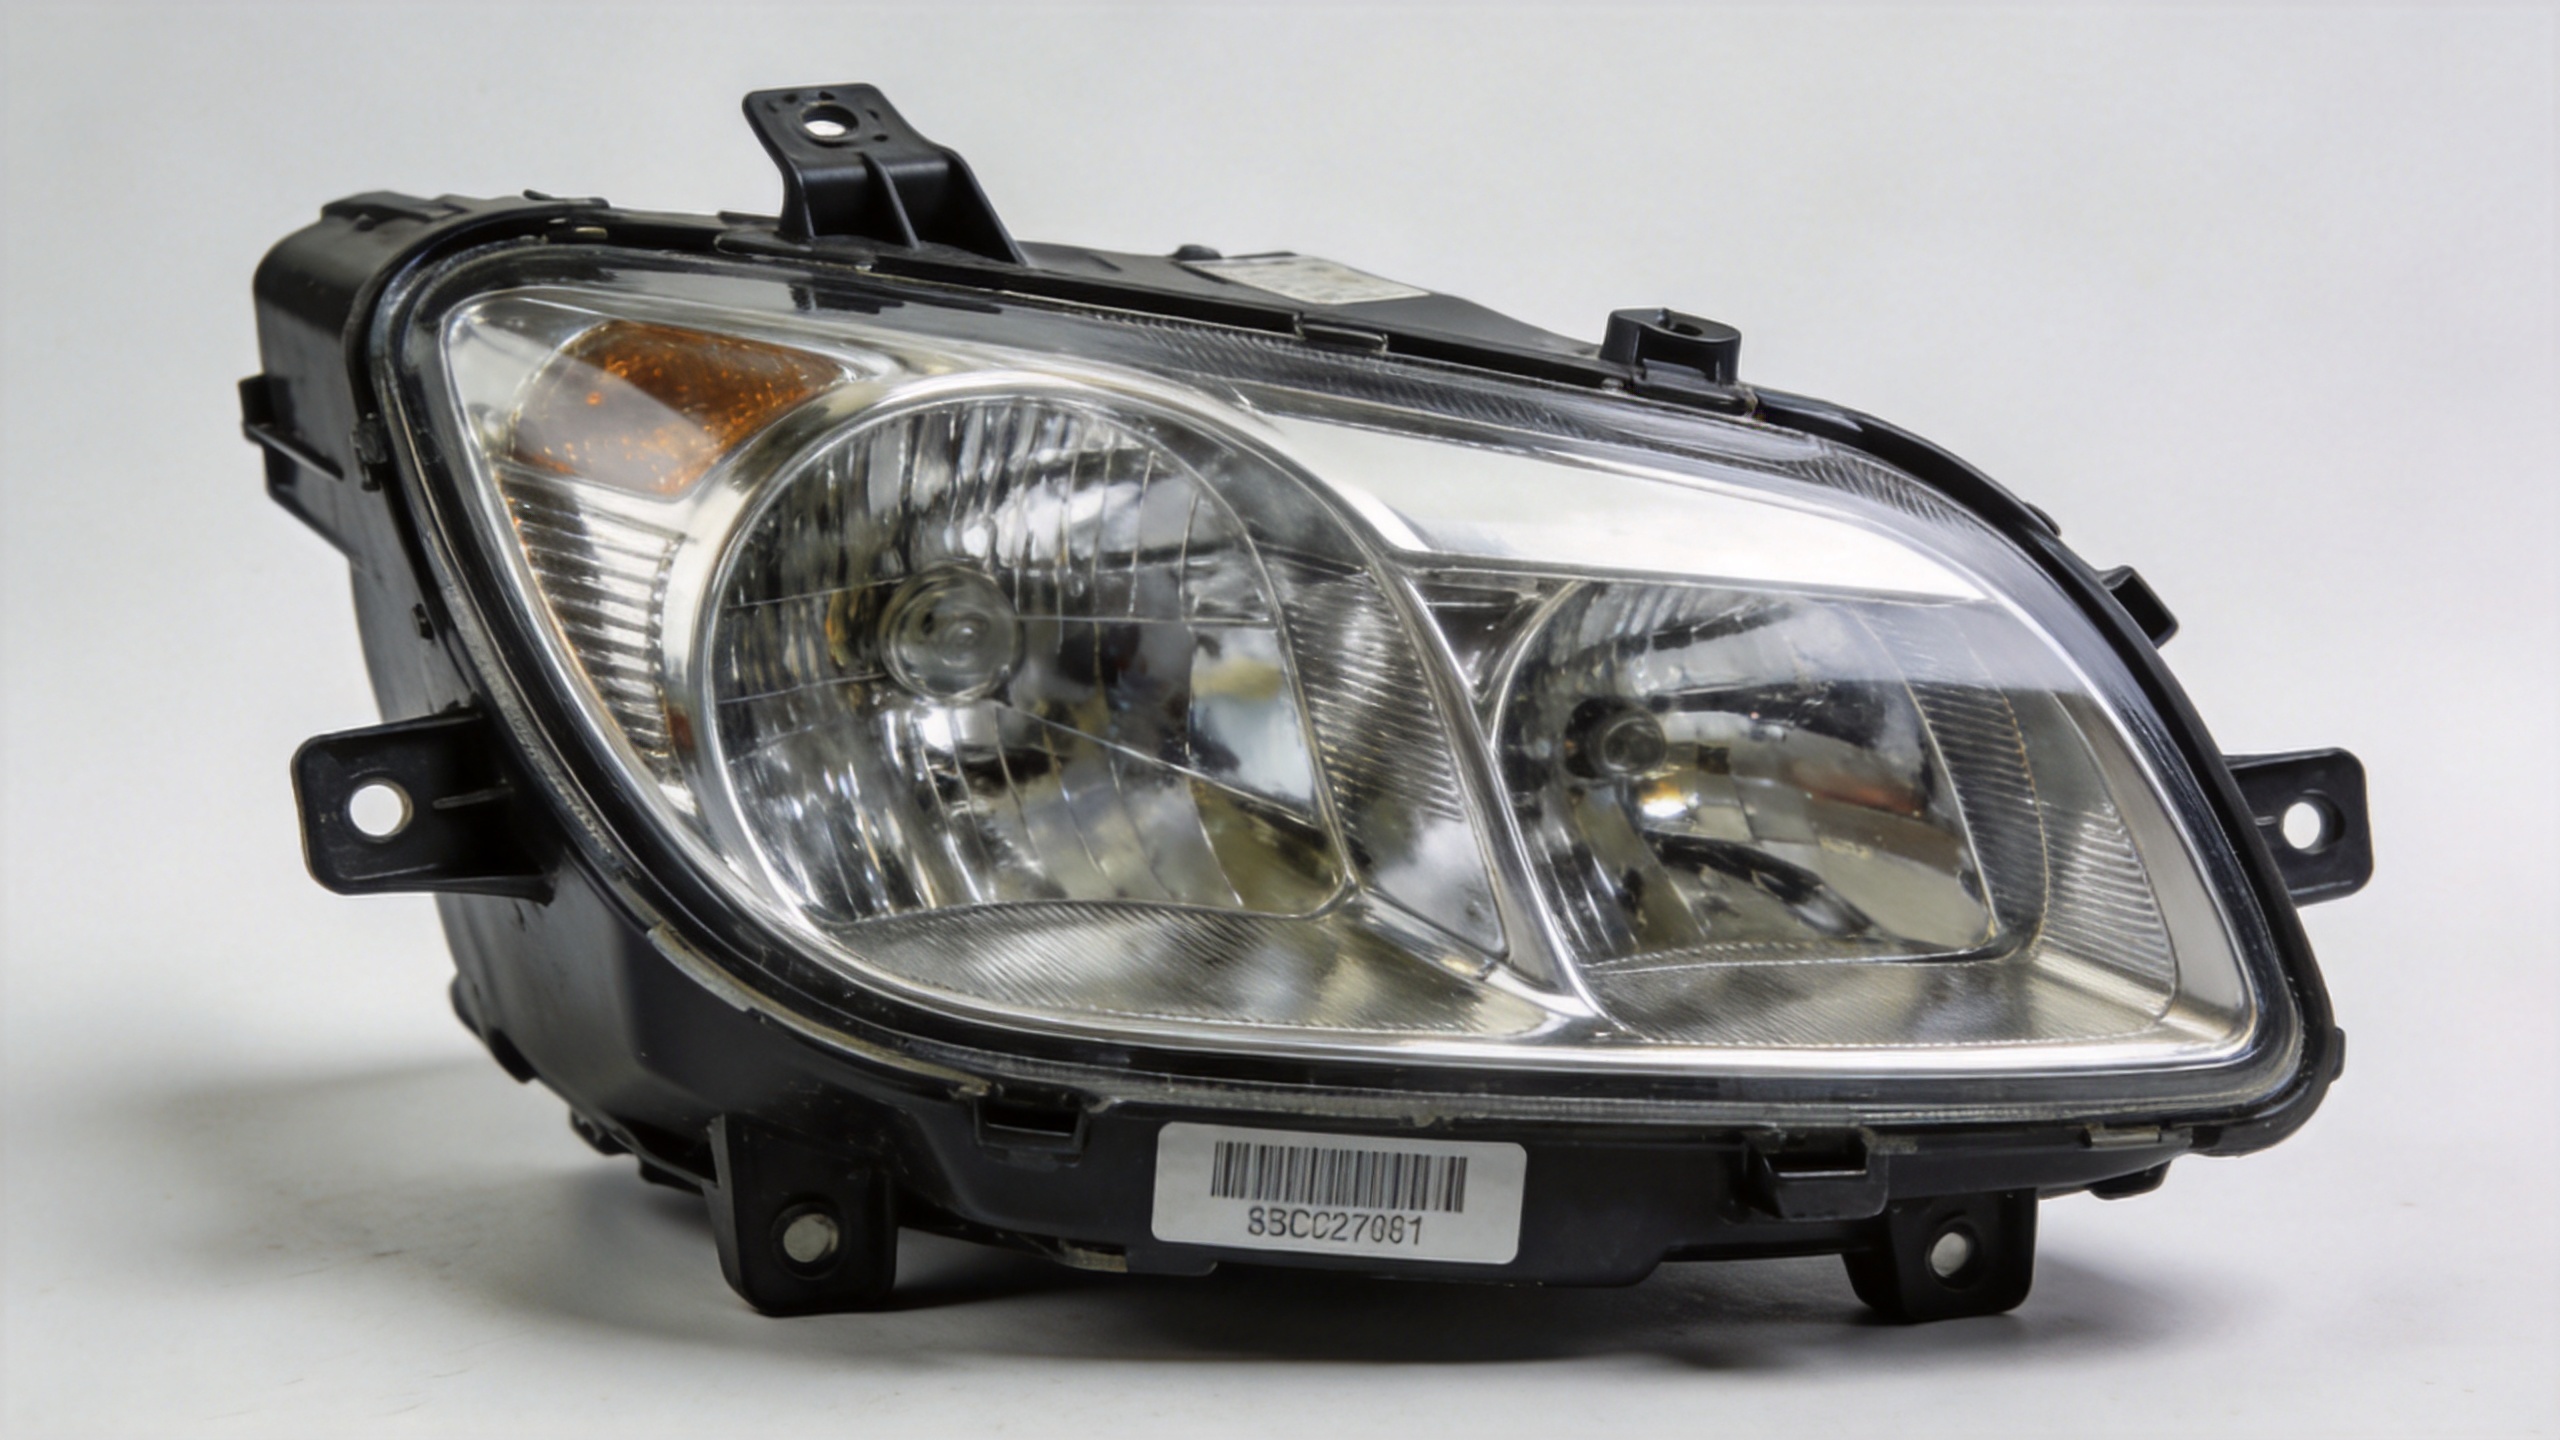
Use OEM and reference numbers as the decisive cross-check
When an original-equipment number, lamp manufacturer number, or recognized cross-reference is available, compare it carefully. Parts listings commonly use OE or replacement reference numbers because the number can distinguish versions that share a vehicle name. Record every visible number exactly, including suffixes and side-specific letters. Do not remove spaces, dashes, or letters until the supplier confirms how their system formats them.
If the number is not visible on the lens, inspect the back of the housing, mounting area, or manufacturer label. A buyer should send both the number and the supporting photographs. The reference number should agree with the vehicle data, lamp architecture, and side; no single data point is sufficient on its own.
Check regional and driving-side differences
For export orders, confirm the destination market and whether the vehicle is left-hand-drive or right-hand-drive. Beam-pattern requirements, side markers, reflectors, and lens markings can vary by market. A lens that physically fits may still be the wrong choice if it conflicts with the original lamp configuration or local vehicle requirements. Keep regional fitment confirmation separate from a purely cosmetic shape comparison.
For mixed-container orders, label each item with vehicle, year range, side, driving orientation, and reference number. That documentation makes receiving checks and later claims much easier for distributors and repair networks.
Compare the physical interface before final approval
Where a sample is available, compare the perimeter profile, flange depth, clip or screw locations, gasket channel, and alignment features. Check the lens curvature around the grille and fender edges, not just its overall width and height. A small mismatch at the sealing surface can lead to moisture ingress after installation.
For buyers seeking vehicle-specific cover options, review the confirmed listing for car headlight cover lens glass cover lens for Toyota vehicle applications only after the vehicle details, side, and installed lamp structure have been verified. The product title identifies several Toyota applications, but it does not replace the fitment checklist.
Send a purchase-ready fitment packet
Before confirming an order for headlight lenses, consolidate the request into one packet: vehicle make and model, production year, trim or generation notes, market and driving side, left/right lamp side, lamp photos, part numbers, quantity, and any sample measurements. Include a statement of whether the buyer needs lens-only replacement or a complete assembly review.
This process is useful for an auto headlight replacement project because it turns vague vehicle descriptions into verifiable order data. It also creates a clear approval trail between buyer and supplier.
Questions to resolve before the purchase order
Use the questions below in every headlight lenses inquiry. Does the customer need left or right headlight lenses? Is the supplied photograph of the actual vehicle and actual lamp? Is the model year verified from production data rather than registration alone? Are the headlight lenses for a standard, projector, LED, or another lamp configuration?
For an auto headlight replacement request, ask whether the vehicle has been repaired previously. A replacement bumper, non-original lamp, or converted lighting system can make the original vehicle specification unreliable. In those cases, the existing lamp label and physical shape should take priority. Buyers should also specify whether they want a clear lens, a cover-and-housing item, or a complete auto headlight replacement assembly.
When a quote covers several vehicles, create one line per application. Each line should list the vehicle information, lamp side, year range, reference number, and required quantity for the headlight lenses. This prevents a supplier from applying one set of headlight lenses to a mixed list of similar vehicles.
How to approve samples and bulk orders
For recurring procurement, approve a physical sample before confirming bulk headlight lenses. Compare the sample beside the removed lens and, where practical, test its seating position on the housing before bonding. Photograph the comparison and retain the approved reference number in the purchase record. This turns later auto headlight replacement orders into repeatable, traceable transactions.
During incoming inspection, verify carton labels against the approved vehicle matrix. Check that left and right headlight lenses are packed separately, and inspect the lens edge for deformation that could affect sealing. A simple receiving record helps distributors isolate a mismatch before parts enter workshop inventory.
For a first-time supplier relationship, send the completed fitment packet before requesting production confirmation. The supplier can then compare the packet with the selected headlight lenses and flag an uncertainty early. This is more dependable than approving an auto headlight replacement order from a catalog photo alone.
Final fitment checklist
- Confirm make, model, year, body style, and facelift or generation.
- Identify destination market and left-hand-drive or right-hand-drive configuration.
- Confirm left or right lamp side.
- Verify lamp architecture and internal chamber layout.
- Compare visible OEM, manufacturer, or cross-reference numbers.
- Review front, rear, perimeter, and label photos.
- Confirm that lens-only replacement is suitable for the condition of the housing.
- Approve the physical interface and sealing edge before production or shipment.
Accurate fitment for headlight lenses is a layered verification task. When vehicle identity, lamp design, side, reference numbers, and physical interface all agree, buyers can place replacement orders with much stronger confidence and fewer avoidable returns.