EN
EN

How to Choose LED Tail Light Assemblies for Vehicle-Specific Fitment
Choosing a tail light assembly looks straightforward until a replacement arrives with the wrong mounting tabs, a connector that does not mate with the factory harness, or a lighting function that behaves differently from the vehicle’s original rear lamp. For distributors, repair buyers, and OEM sourcing teams, the safer approach is to treat fitment as a system question—not simply a lens-shape question.
For LED rear lighting, the make, model, model year, body style, market specification, and left/right position should all be verified before price or styling becomes the deciding factor. A well-matched tail light assembly can support a clean replacement or upgrade path; a near-match can create installation time, return costs, and road-use concerns.
Start With the Vehicle Identity, Not the Product Photo
The first step is to build a complete fitment record. At minimum, confirm the vehicle make, platform or chassis code, model year range, body style, rear-door configuration where relevant, and the lamp position: driver side, passenger side, inner lamp, or outer lamp. A tailgate-mounted lamp and a quarter-panel-mounted lamp may look similar in a catalog image but are not interchangeable.
Use the vehicle identification number (VIN), original equipment part number, or a reliable parts-catalog cross-reference whenever possible. Model-year ranges deserve particular attention because a facelift can change the lens profile, mounting points, wiring, or LED control logic without changing the vehicle name. If a listing only says “fits BMW X5,” that is not enough for a purchasing decision. Ask which chassis generation, years, and lamp position it covers.
For example, the confirmed product record for 2014–2018 BMW X5 F15 LED taillamp assemblies identifies a defined vehicle generation and year range. That kind of defined application is more useful than a broad “universal” claim when the buyer needs vehicle-specific fitment.
Separate Physical Fitment From Electrical Fitment
A tail light assembly must pass two tests. Physical fitment includes the housing outline, mounting tabs, locating pins, fastener locations, panel clearances, gasket position, and lamp-to-body alignment. Electrical fitment includes connector shape, pin count, pin assignment, voltage, ground path, and the way the vehicle commands each lighting function.
Many replacement projects fail because only the first test is checked. An LED housing may bolt into place yet still require an adapter, a different harness, or configuration work if the connector and control logic do not match. Before ordering, compare clear photos or drawings of the rear connector, count the pins, and request a wiring-function map. Confirm how tail/parking light, brake light, turn signal, reverse light, rear fog light, and side marker functions are assigned for the intended market.
Be especially careful with vehicles that use body-control modules and bulb-out monitoring. LED loads can differ from halogen loads, and the vehicle may show a warning or alter operation when it detects an unexpected circuit. “Plug and play” should mean the specific assembly is designed to mate with the original mounting and harness for the stated application—not merely that it has a connector attached.
Match the Lighting Functions to the Market Specification
The same vehicle platform can have different rear-lamp functions in North America, Europe, South America, or other markets. Turn-signal color, rear fog-lamp provision, side markers, reverse-lamp layout, and reflector placement may vary. Therefore, a tail light assembly should be selected for both the vehicle and its destination-market configuration.
This is not only a styling issue. In the United States, FMVSS No. 108 addresses lamps, reflective devices, and associated equipment. Its taillamp provisions include photometric and durability-related requirements such as vibration, moisture, dust, corrosion, color, and plastic optical-material testing for applicable lamps. SAE J585 is also a recognized reference for rear position lamps on motor vehicles below the stated width threshold. These references are useful for evaluating documentation, but purchasers should verify the required approvals, markings, and local installation rules for the actual destination market rather than assuming every aftermarket LED product has identical compliance status.
When comparing offers, ask the supplier to state the intended market version and to identify the functions built into the lamp. A red turn indicator, an amber sequential indicator, or a missing rear fog-light function can each change suitability. This is one of the clearest ways to avoid a return after the assembly has already been installed.
Check the LED Design Beyond Brightness
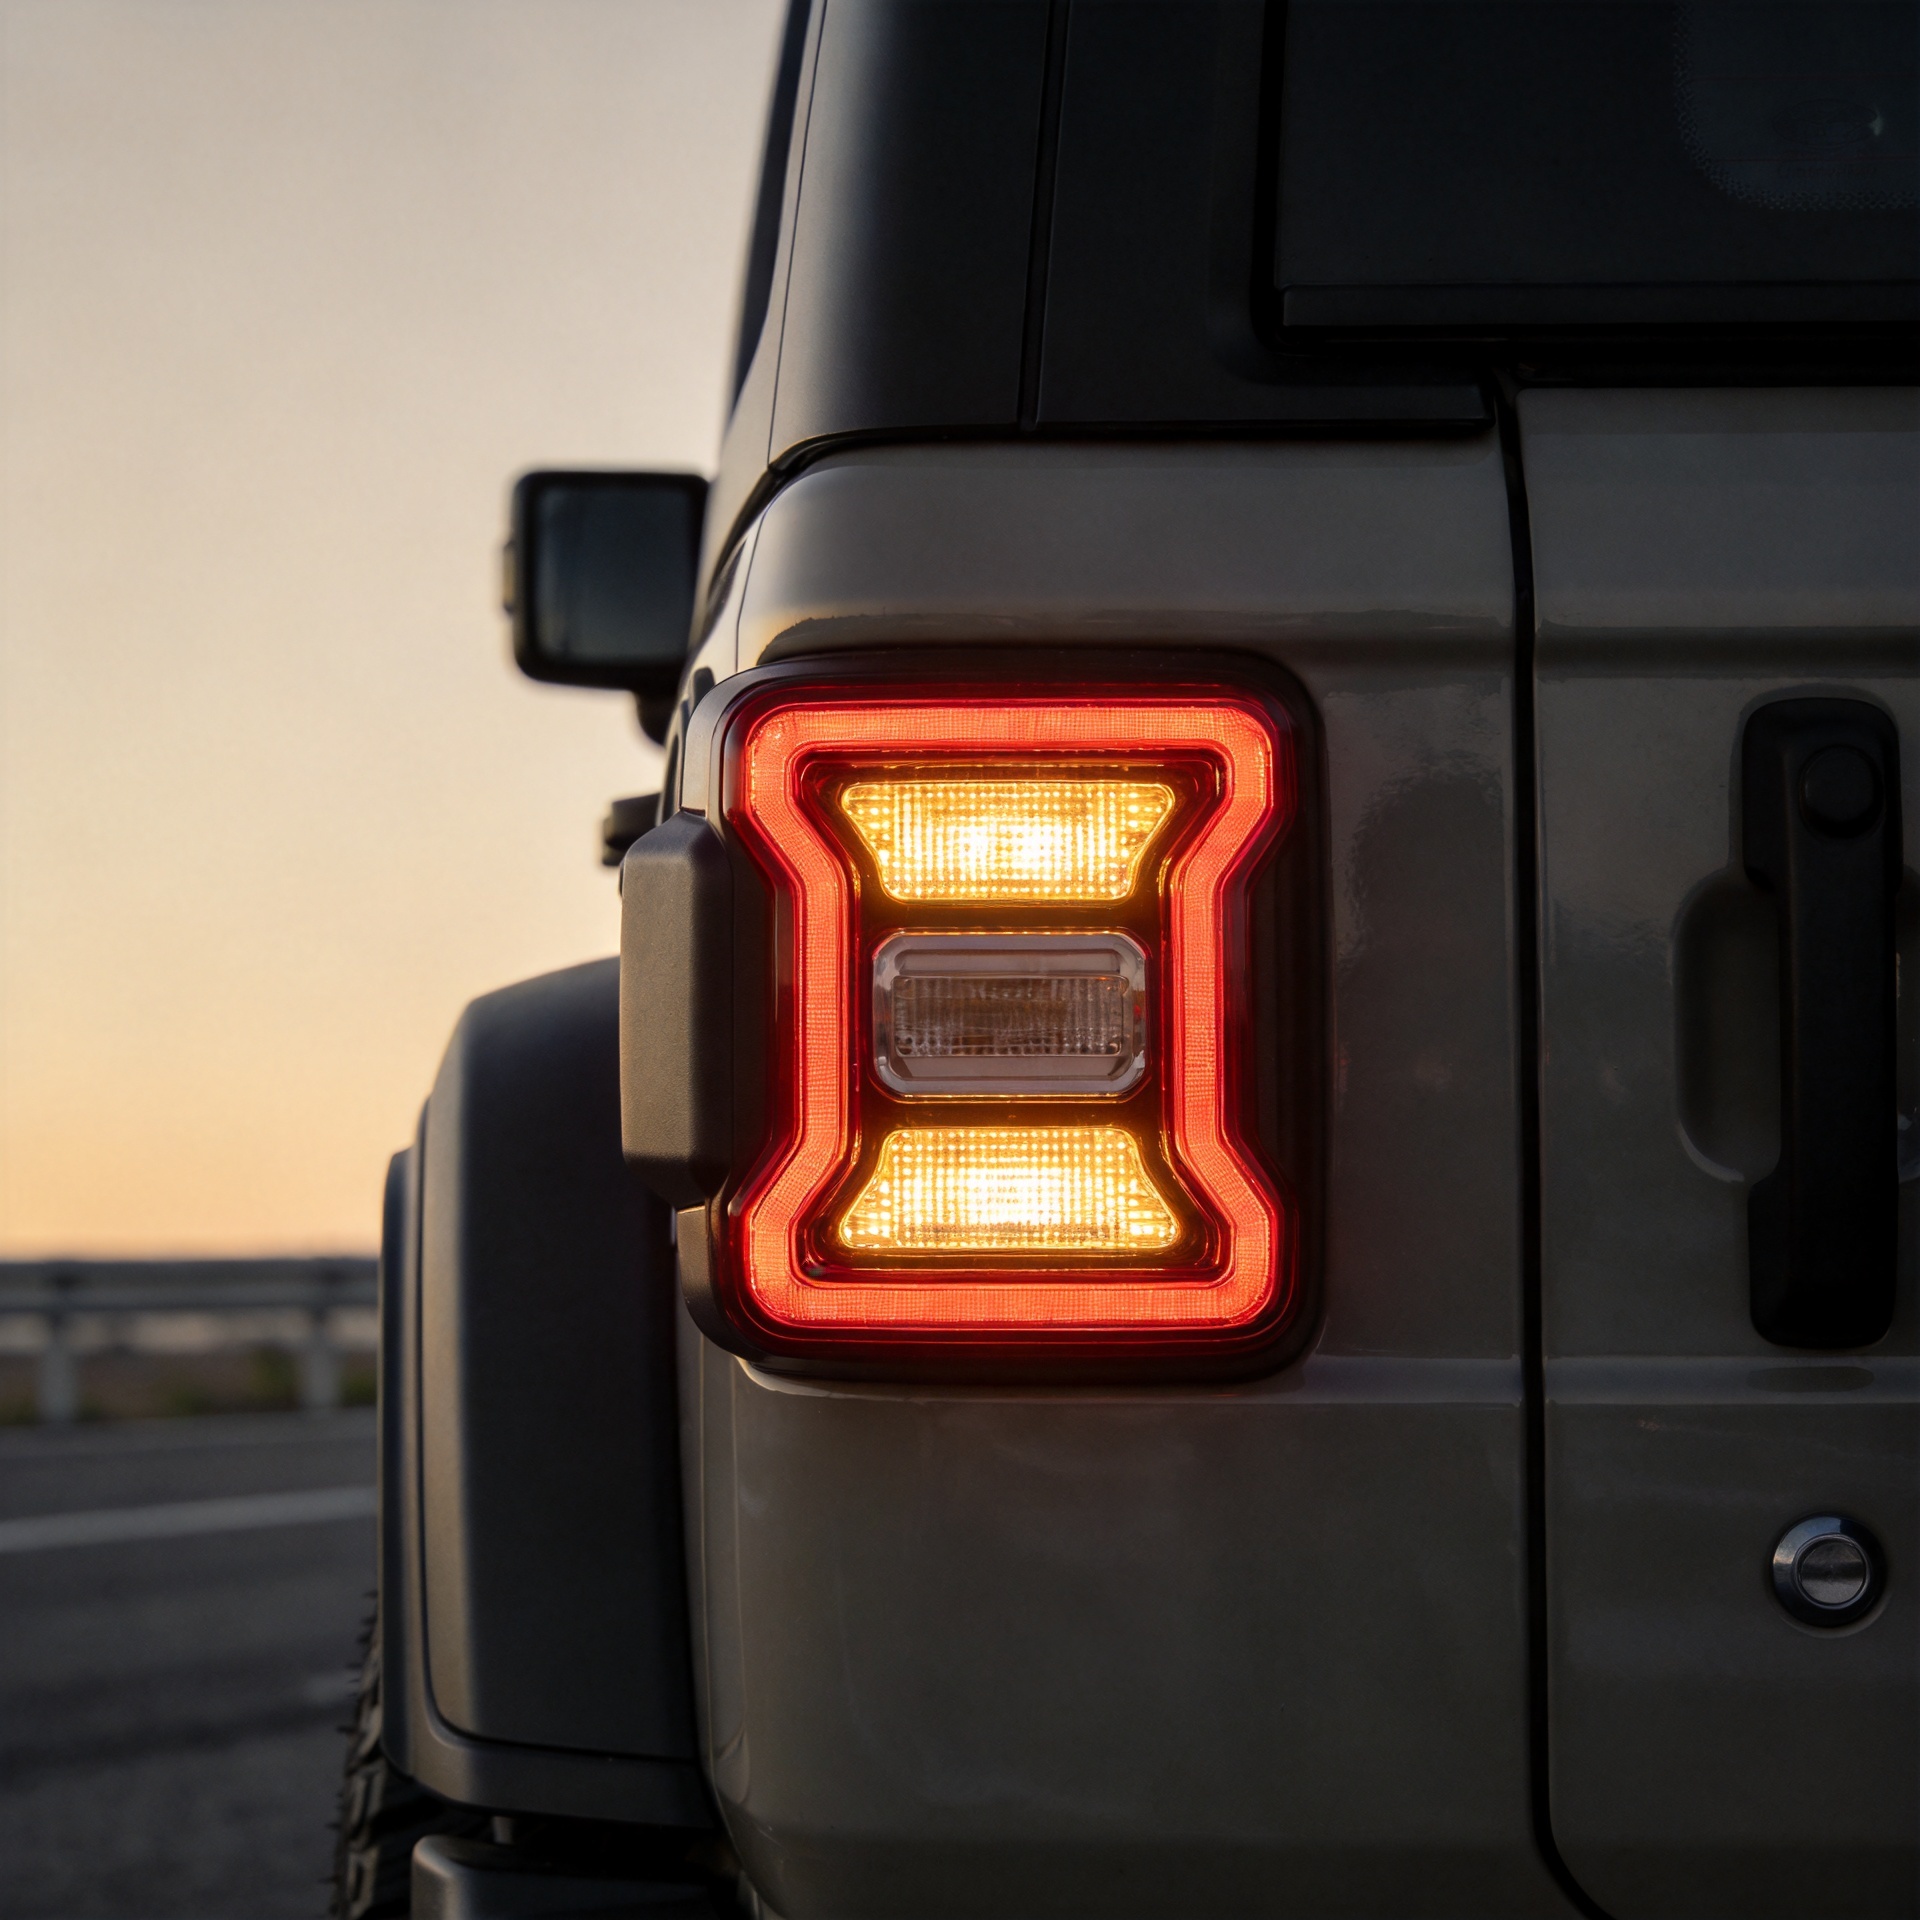
It is easy to focus on LEDs, startup animation, smoked lenses, or the brightest-looking product photo. In practice, a buyer should evaluate the complete optical and mechanical design. Review the lens appearance in both powered and unpowered states, the visibility of brake and turn functions, heat-management design, sealing approach, venting, and the quality of mounting interfaces.
More LEDs do not automatically mean better rear visibility. The important question is whether each function remains clear, stable, and distinguishable in the intended use conditions. A combined lamp must preserve adequate separation between tail, stop, and turn functions. If your market or customer requires specific test evidence, request it before committing to volume.
Also inspect the housing seal and connection area. A sealed-looking lamp is not necessarily ready for every environment; housing integrity, connector protection, and mounting stability matter in rain, wash cycles, vibration, and temperature changes. For wholesale programs, sample inspection should include connector engagement, lens-to-housing finish, mounting-tab consistency, and a functional test of every circuit.
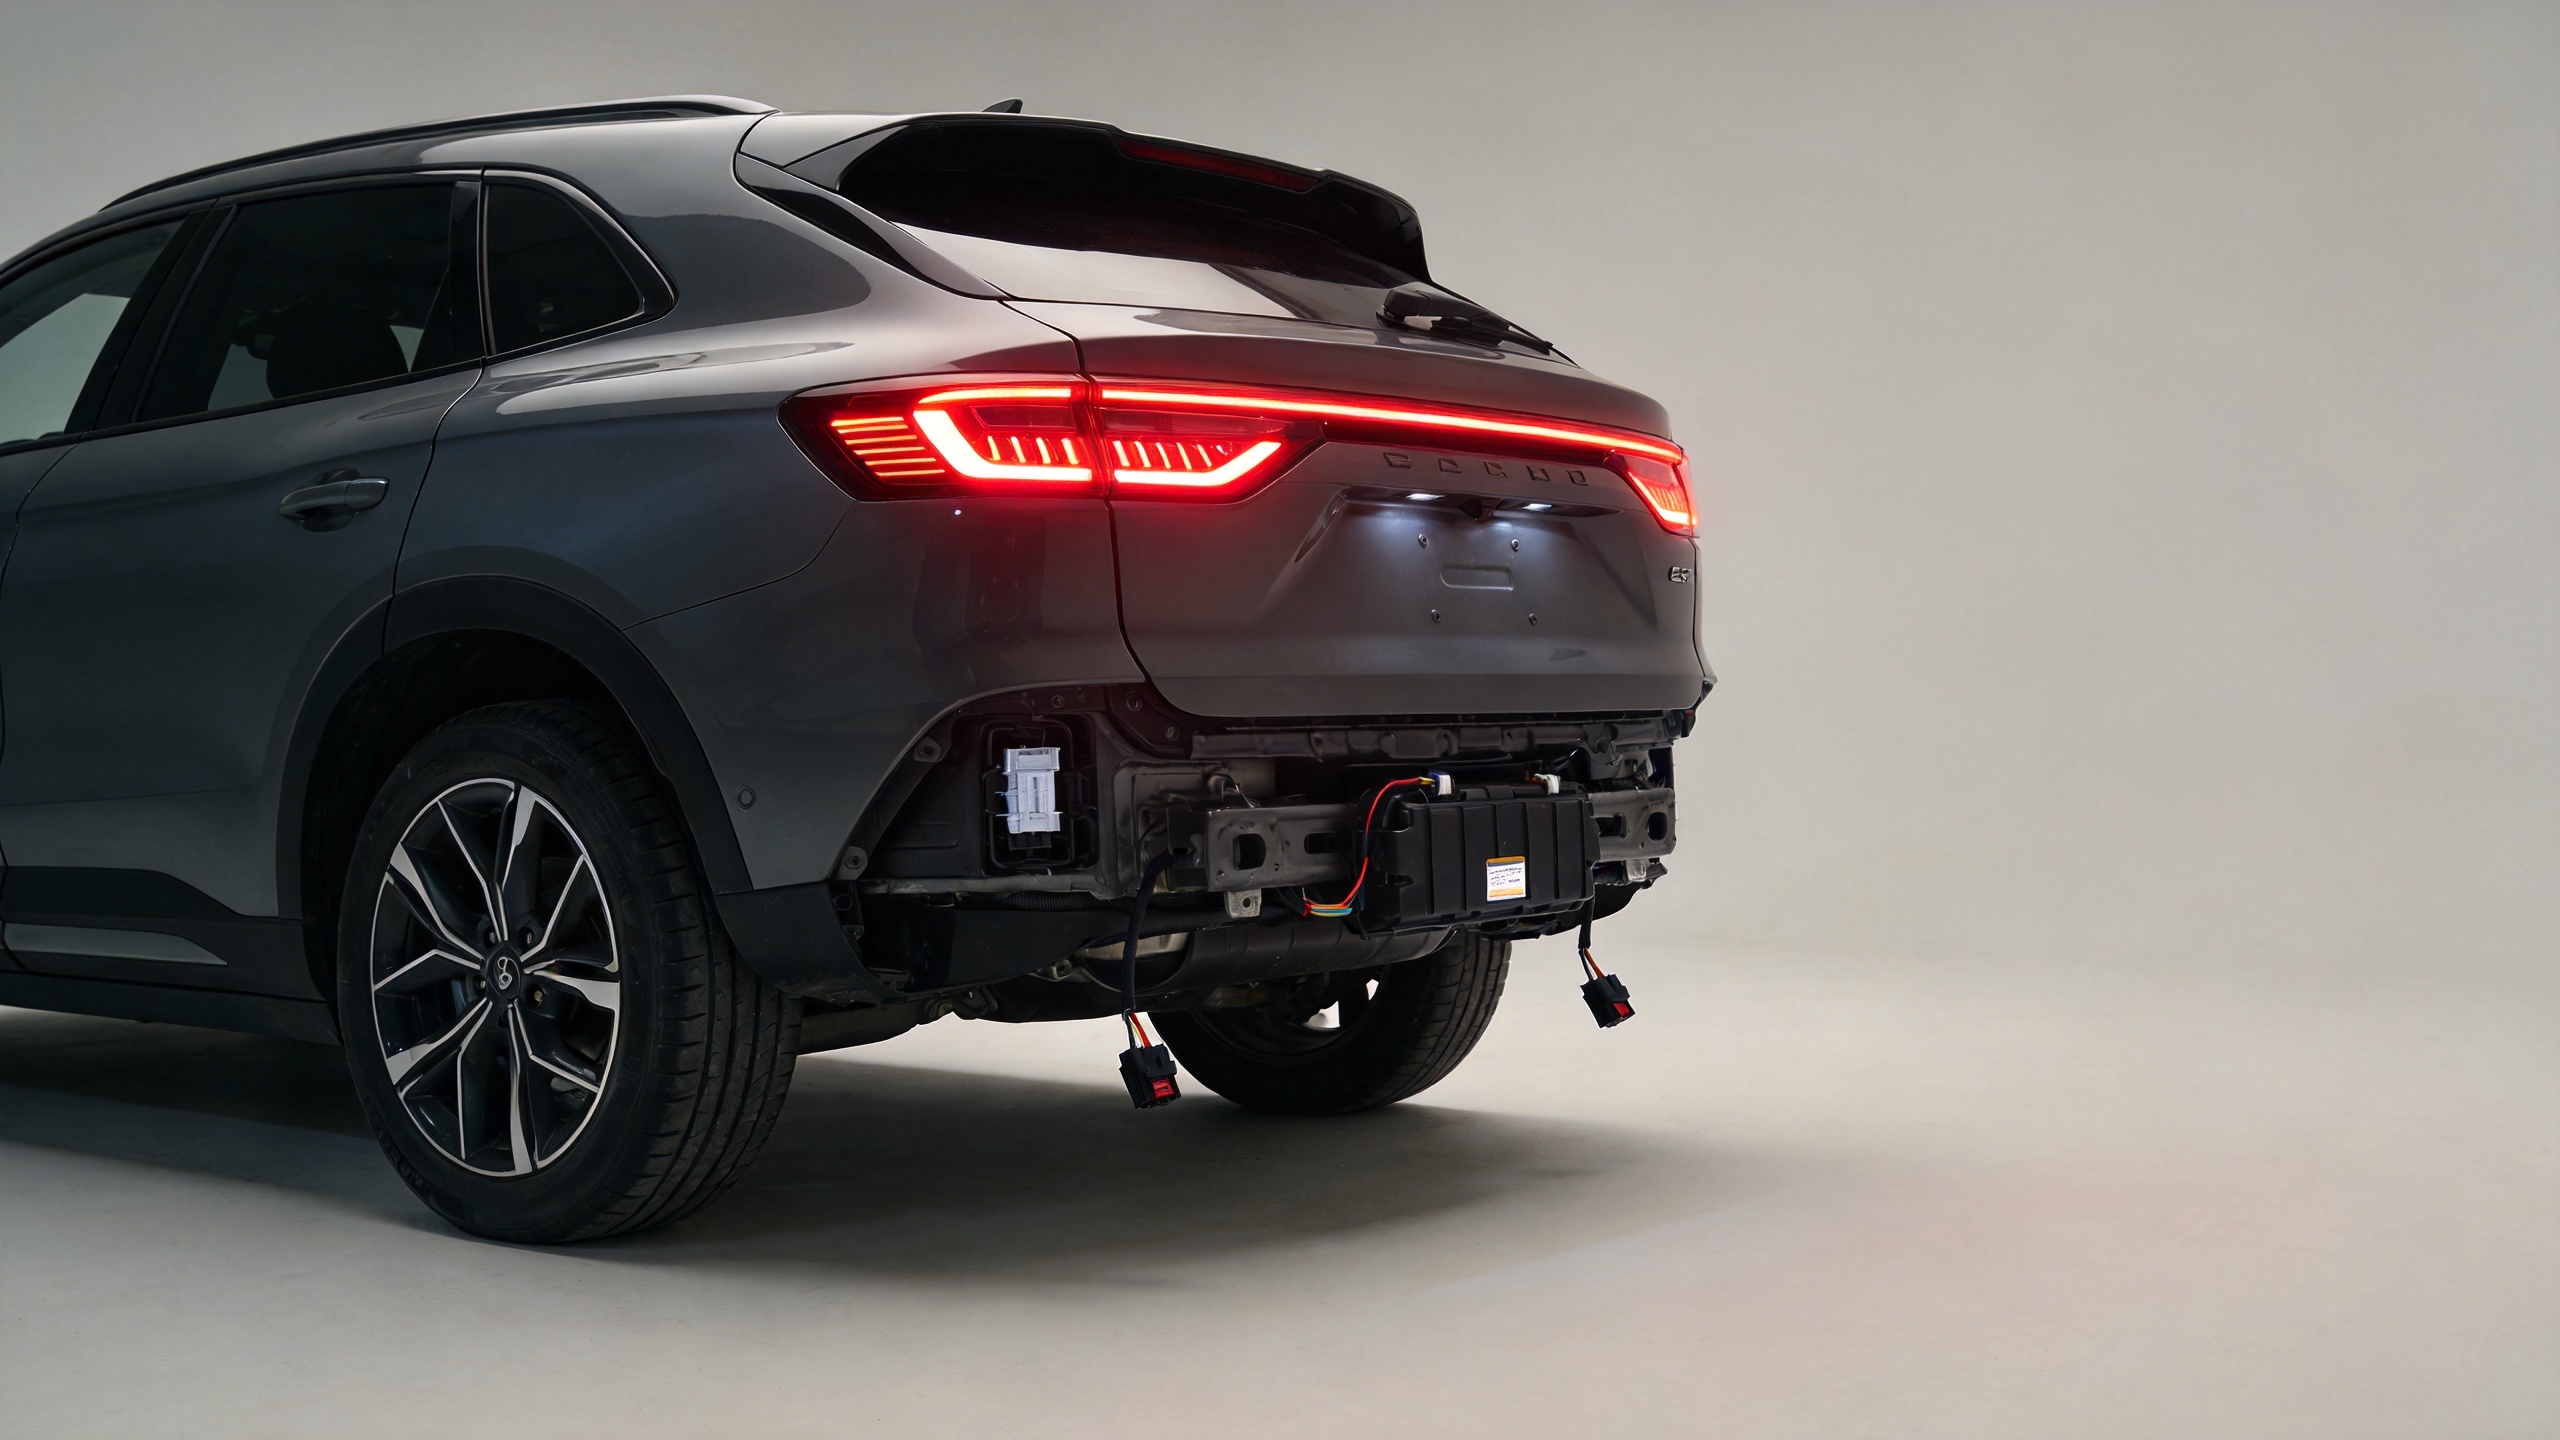
Use a Practical Vehicle-Fitment Checklist
Before approving a tail light assembly, run this checklist with the supplier and, if possible, against the vehicle:
- Vehicle record: Confirm make, model, chassis/platform, model year, body style, and VIN or OE part number.
- Position: Confirm left/right and inner/outer location; specify whether one unit or a pair is required.
- Physical interface: Compare housing profile, tabs, pins, fasteners, gasket line, and panel clearance.
- Connector interface: Verify connector type, pin count, pin assignment, voltage, and harness inclusion.
- Function map: Test parking/tail, brake, turn, reverse, fog, marker, and any animation or startup feature required for the version.
- Vehicle electronics: Check for bulb-monitoring, diagnostic warnings, coding requirements, or resistor/adapter needs.
- Market requirements: Confirm the destination-market lamp functions, markings, and documentation requirements.
- Sample approval: Install and test a sample before approving a production order or a distributor stocking program.
Choose the Right Sourcing Approach for Replacement or Upgrade
For collision replacement, OE-style physical and electrical compatibility normally takes priority. The purchase team should aim to restore the original function with minimum adaptation. For an LED styling upgrade, the decision can include lens color, dynamic indicators, or signature lighting—but only after fitment and function are confirmed.
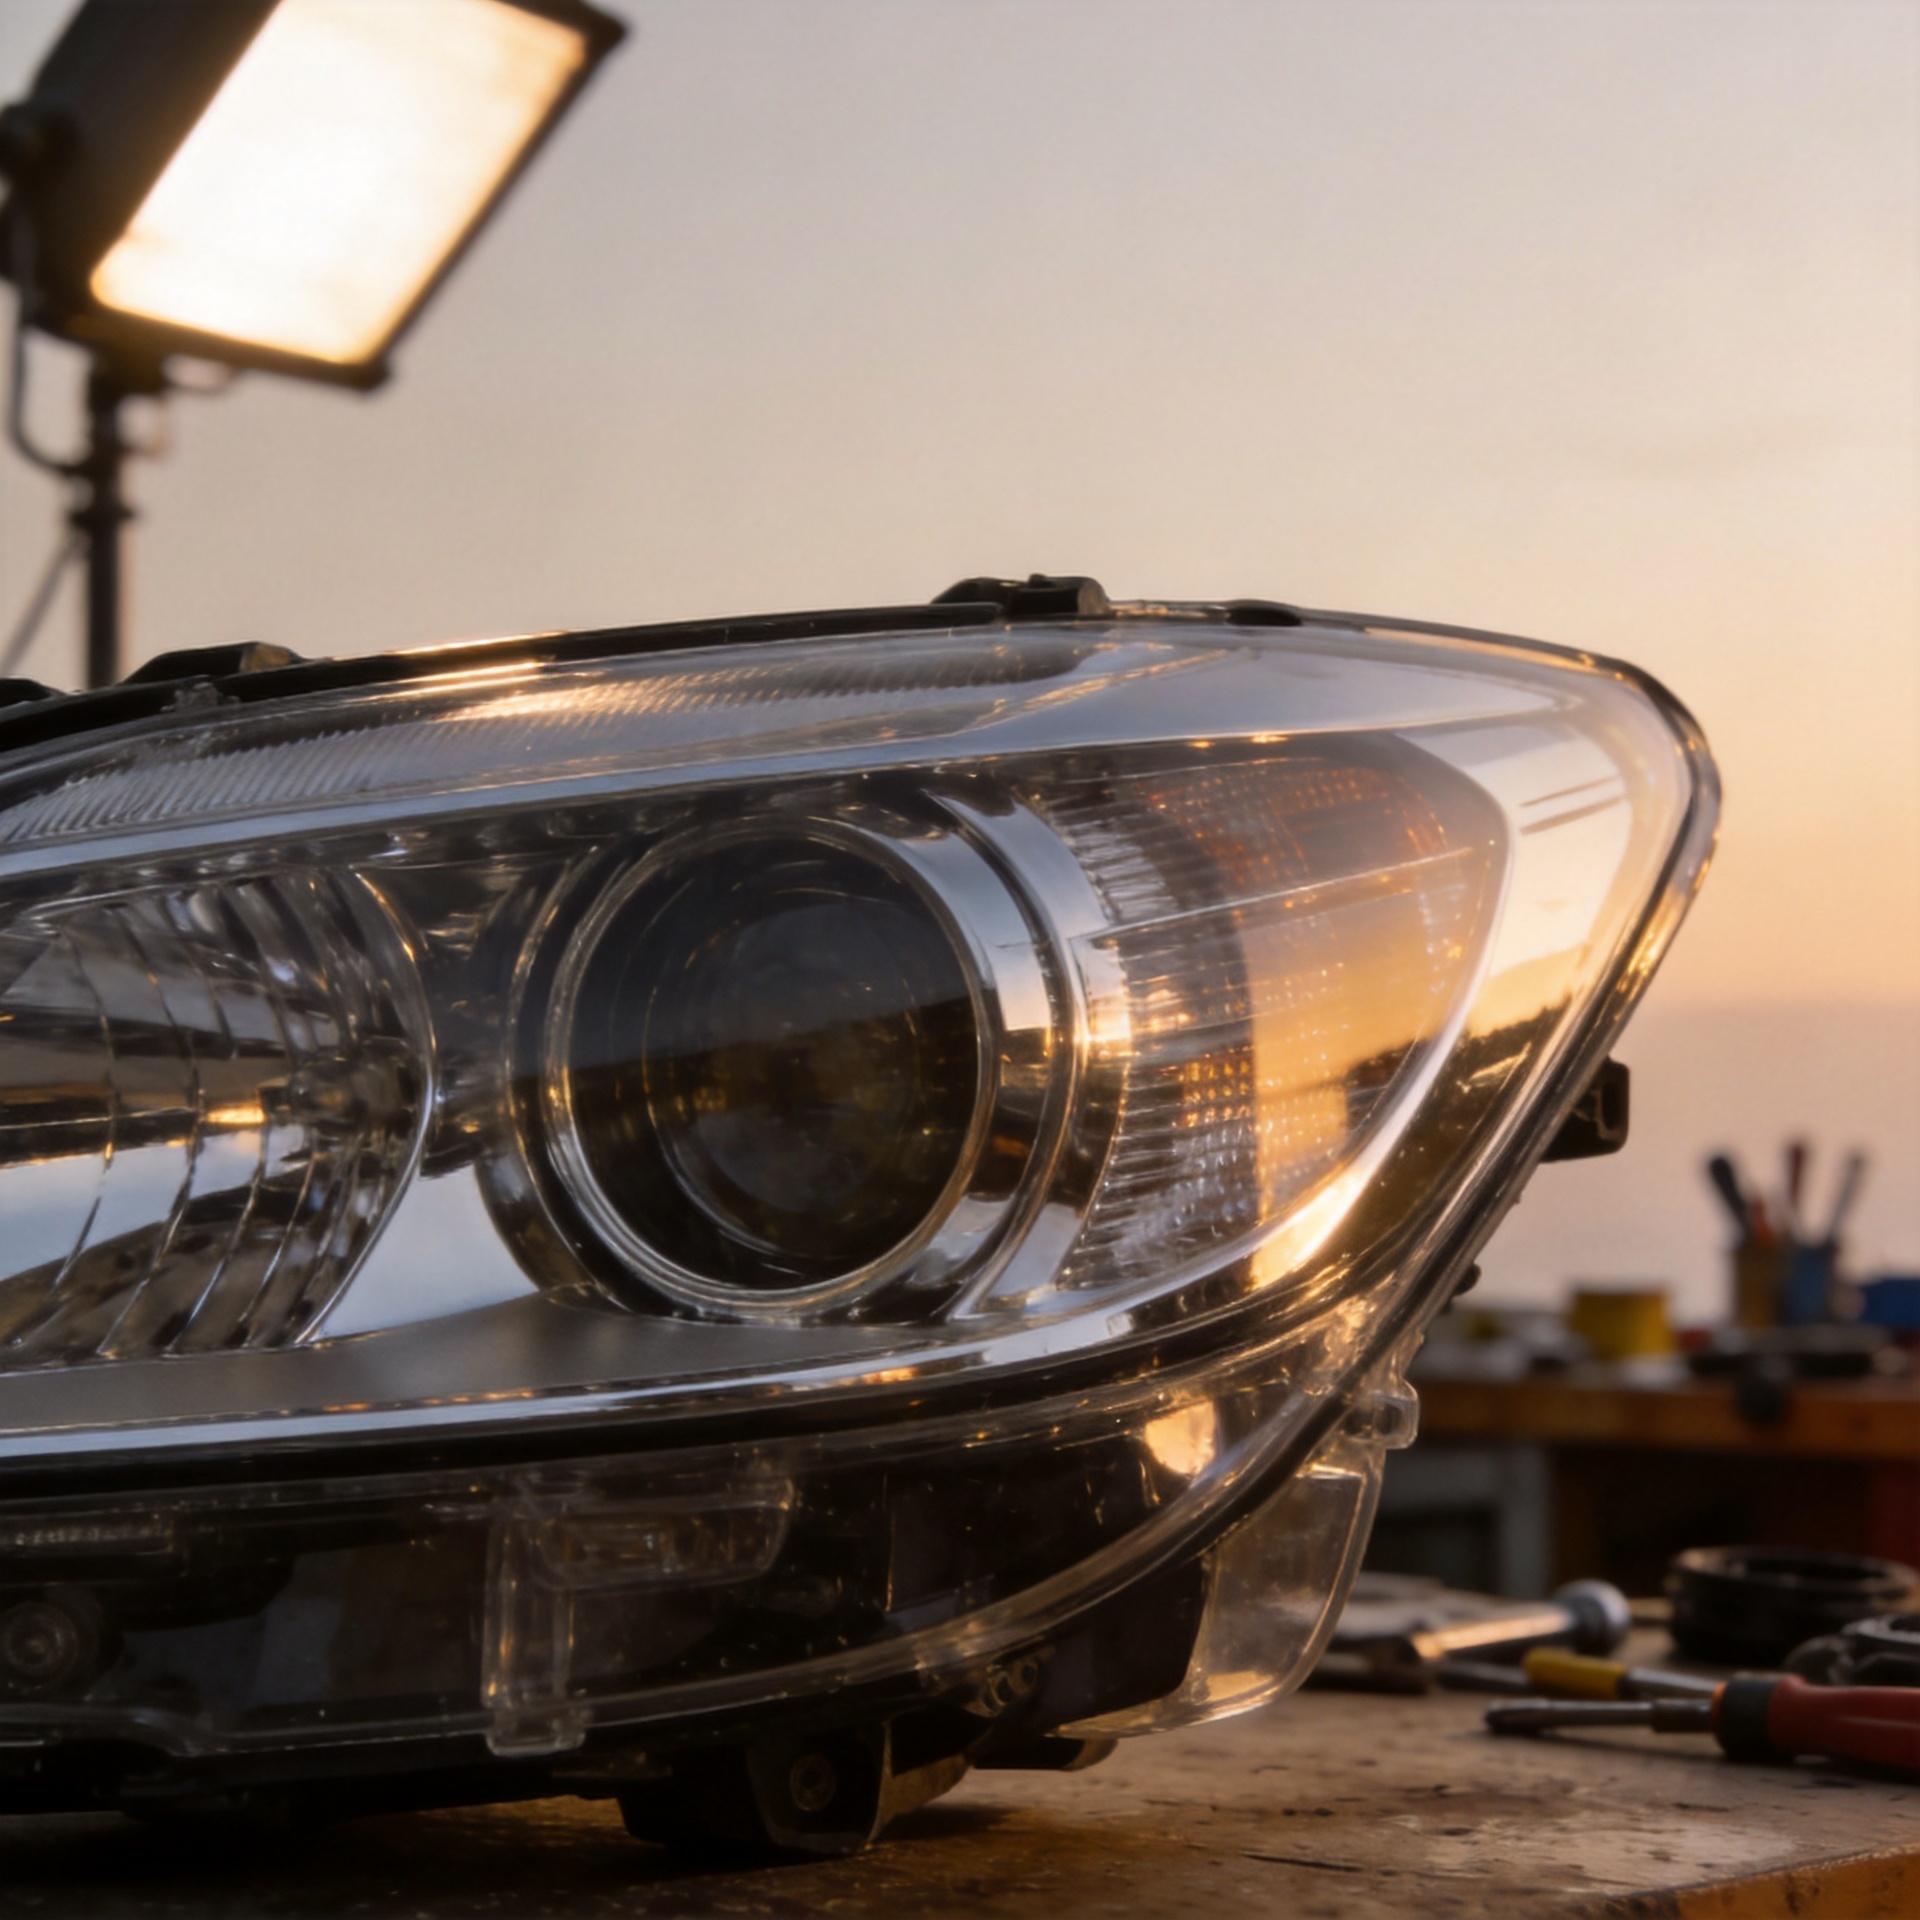
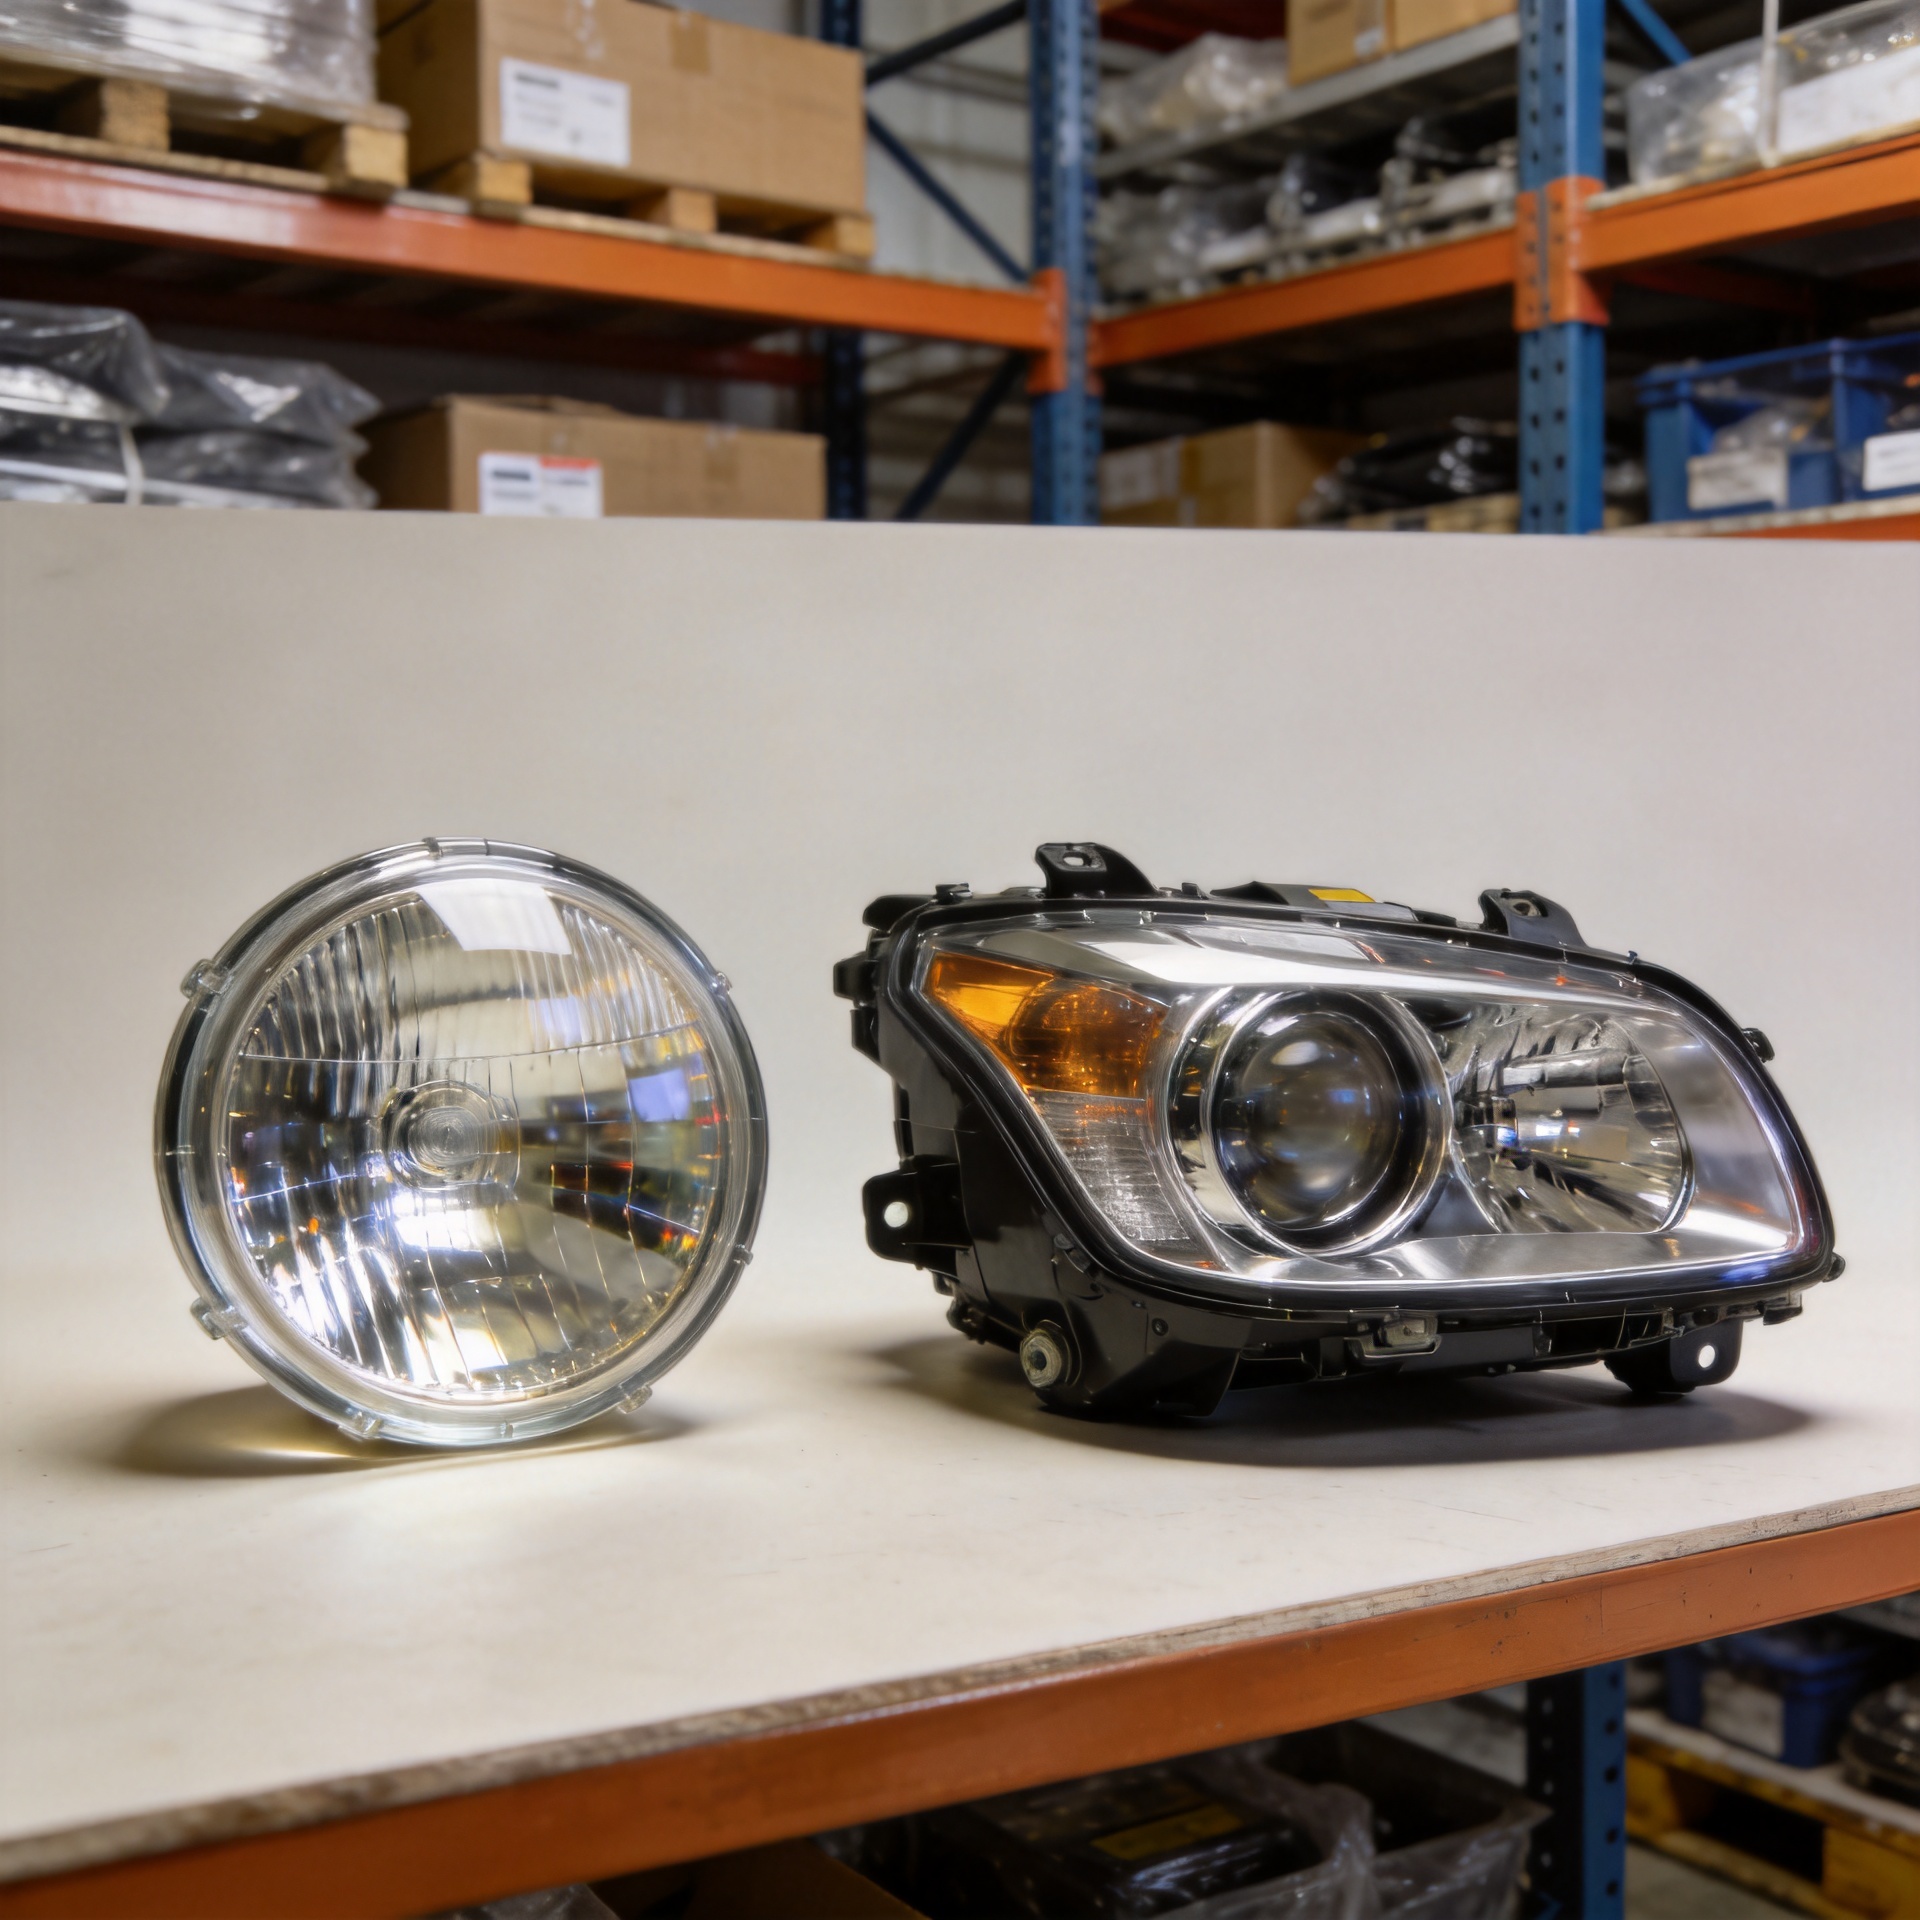
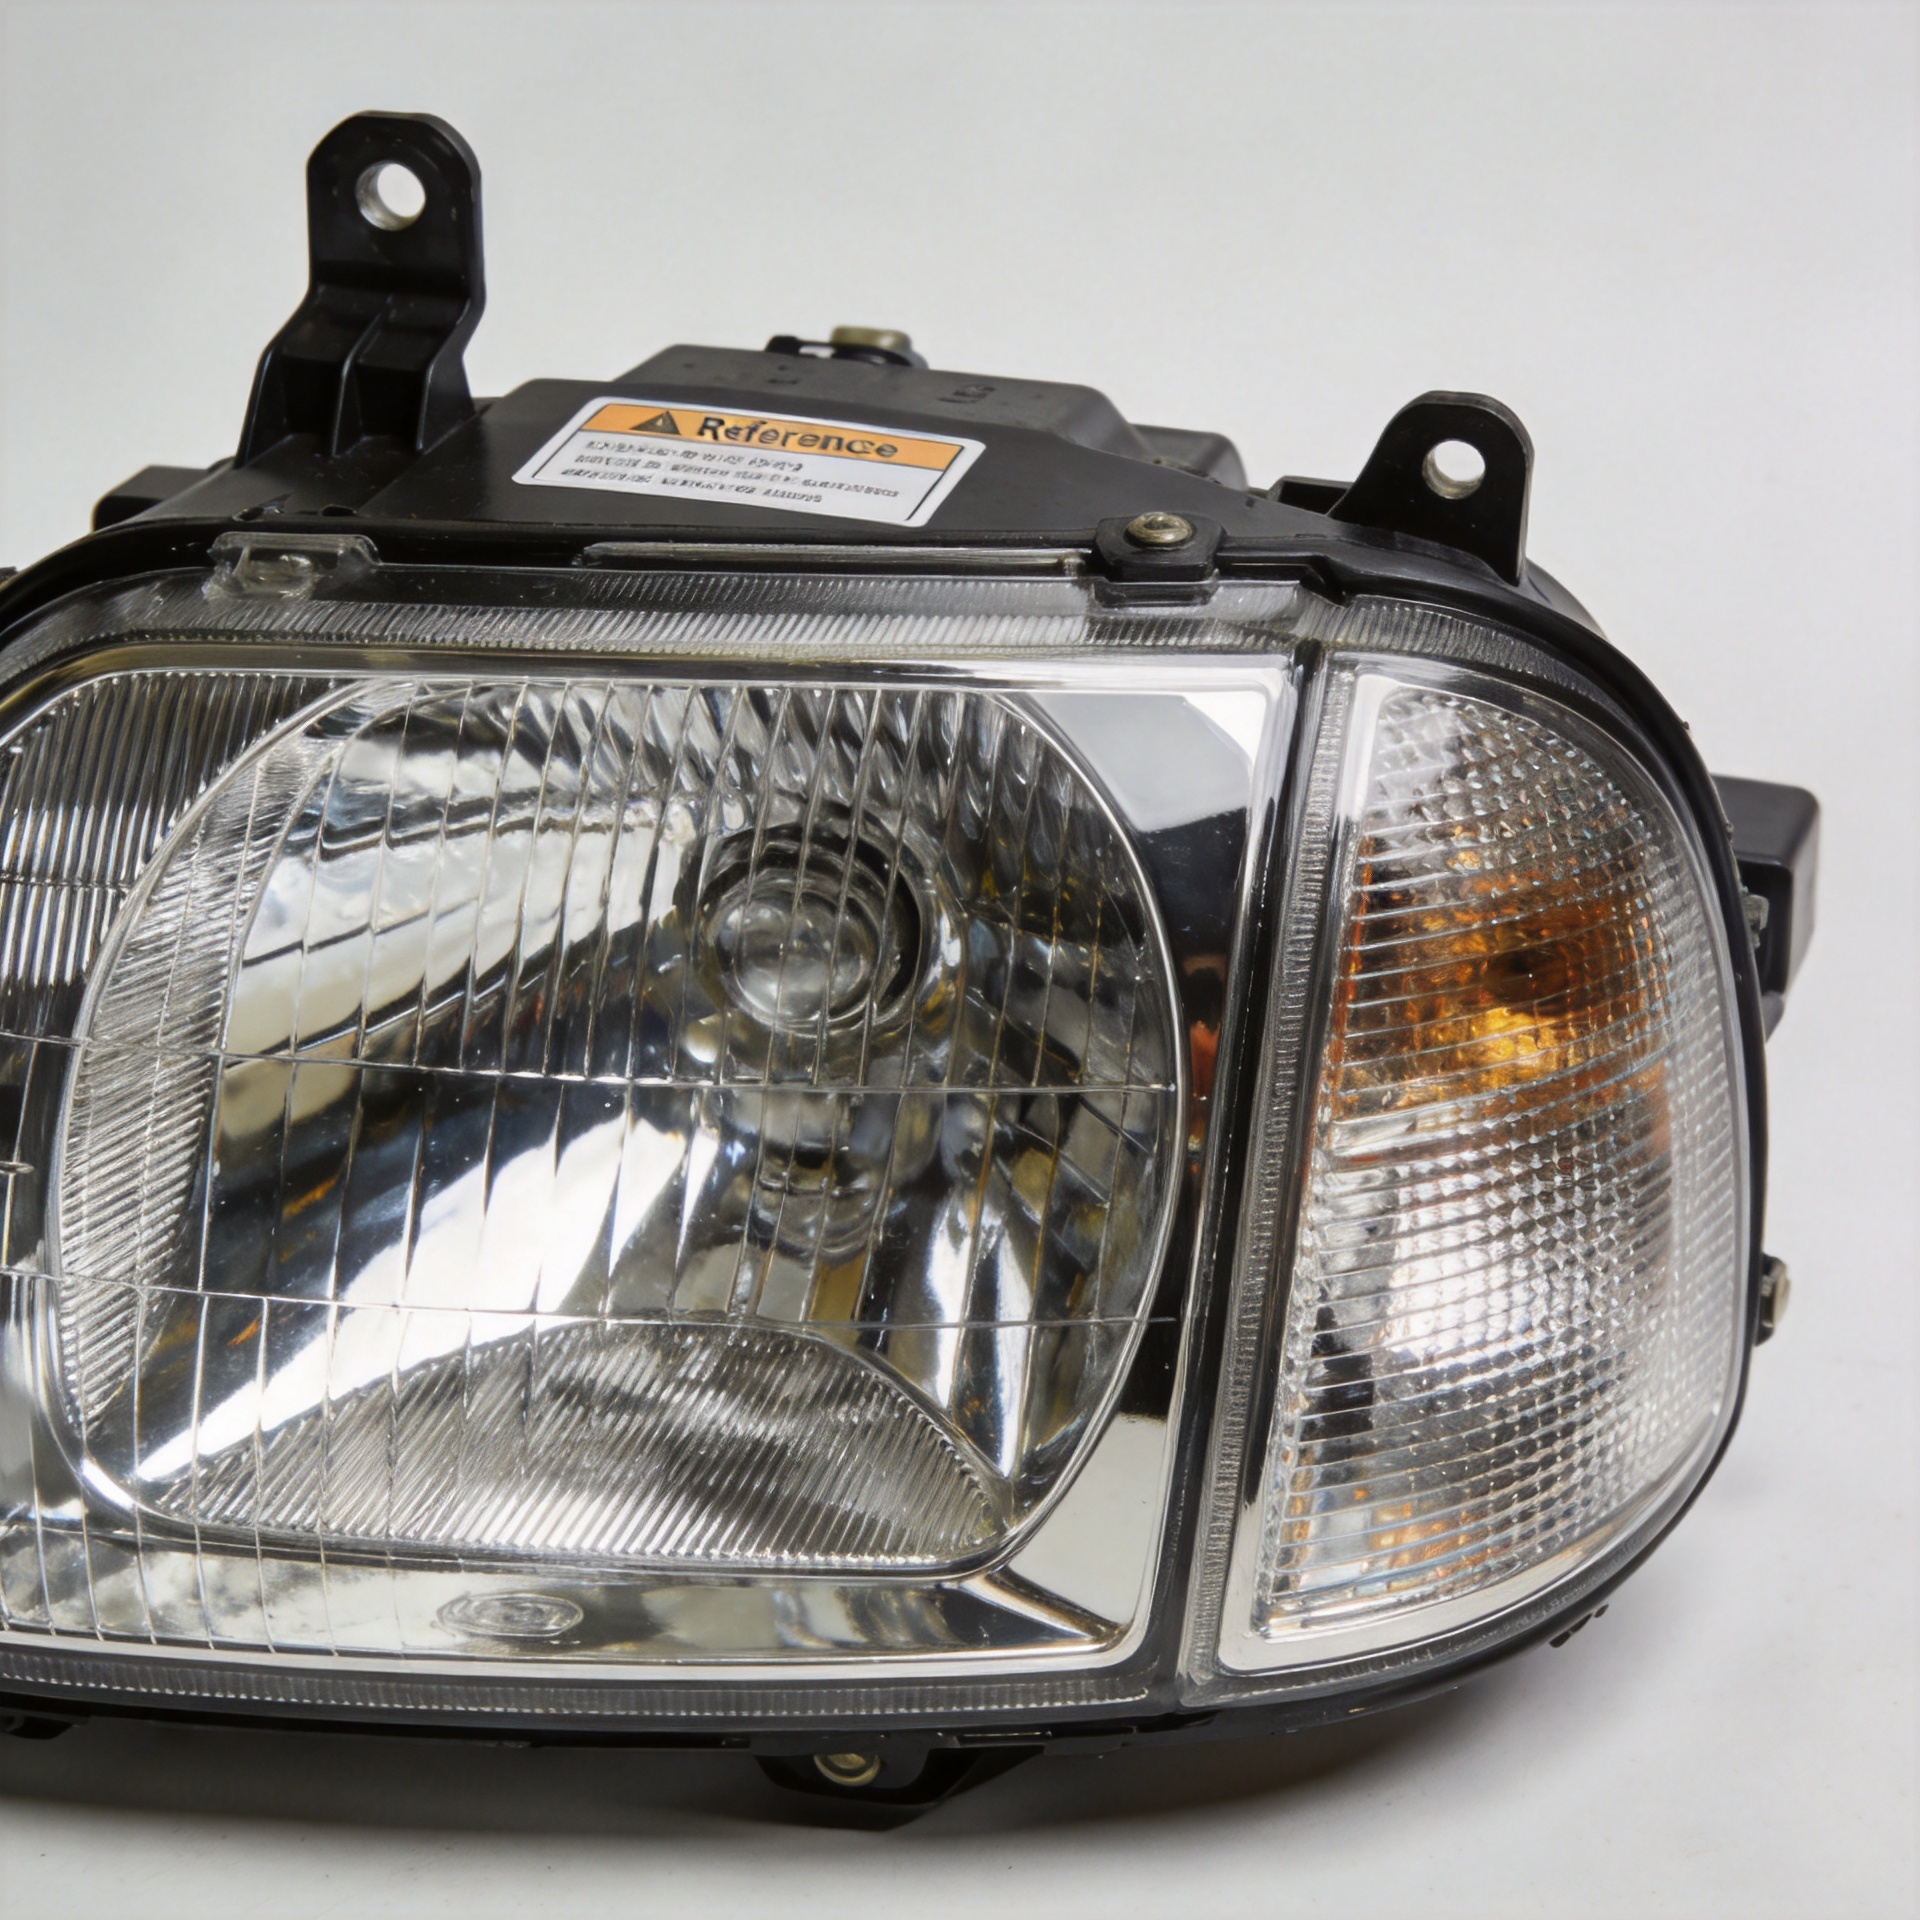
For B2B buyers, a useful sourcing package contains the application list, OE cross-reference where available, side/position designation, connector photos, installation notes, function list, and quality-inspection requirements. This reduces ambiguity between the catalog, the warehouse, and the installer. It also gives distributors a clearer basis for handling customer questions about whether an auto headlight replacement item is actually a rear-lamp assembly for a particular platform; headlight and tail-light fitment should be treated as separate categories.
Danyang Yeya Opto-Electronic Co., Ltd. serves automotive and motorcycle lighting buyers, including wholesalers and vehicle manufacturers, with product development and OEM/ODM support. For a vehicle-specific rear-light project, provide the vehicle data and target-market requirements early so the discussion can focus on the correct tail light assembly configuration rather than an approximate visual match.
Fitment Terms to Put on Every Purchase Order
To keep specifications unambiguous, record the tail light assembly part number, vehicle years, platform code, body style, side/position, connector photo, pin count, wiring map, voltage, market version, and required functions. Then verify mounting tabs, locating pins, gasket line, lens finish, and sample approval.
For stocking decisions, retain the tail light assembly application list, OE cross-reference, supplier drawing, inspection record, packaging label, and final vehicle test results for brake, turn, reverse, fog, and diagnostic functions.
Final Takeaway
A suitable LED tail light assembly is not simply the one with the most dramatic look or lowest unit price. It is the one that matches the vehicle’s physical mounting, factory electrical interface, required lighting functions, and target-market needs. Start with VIN or OE reference data, verify both sides of fitment, validate every lighting circuit, and approve a sample before scaling a purchase. That process protects installation quality, helps control return rates, and makes vehicle-specific LED tail-light sourcing more predictable.