EN
EN

Headlight Lens Maintenance Tips for Clearer Light Output
Clear headlight lenses do more than improve a vehicle’s appearance. They help the beam pattern reach the road as intended, make signs and hazards easier to see, and give drivers a better chance to notice when a lighting problem is beginning. As a practical rule, inspect the lenses whenever you wash the vehicle or check the oil. A few minutes of care can delay headlight lenses replacement and keep a small surface issue from becoming a larger lighting repair.
For most vehicles, the outer lens is a clear plastic cover rather than traditional glass. Road film, bug residue, winter salt, UV exposure, and abrasive cleaning can gradually leave it dull, yellowed, or scratched. The useful question is not simply “How do I make it shine?” It is “What condition is the lens in, and what action fits that condition?”
What to Look for During a Quick Lens Check
Start in daylight with the headlights switched off. Look across the lens from different angles rather than straight on. Light haze, fine swirls, and stuck-on dirt are usually surface issues. Yellowing or a chalky appearance often points to worn surface protection. Cracks, deep chips, loose edges, or moisture inside the lamp need more attention because cleaning the outside will not correct them.
- Surface film: grime, insects, and road residue that lifts with gentle washing.
- Light haze: dullness that may improve with restoration and a protective finish.
- Deep damage: cracks, missing material, or severe pitting that can justify headlight lenses replacement.
- Internal moisture: repeated fogging, droplets, or water lines that can indicate a sealing issue.
If the lens looks cloudy but the inside is dry and the plastic is intact, maintenance is often the sensible first step. If the beam pattern still appears weak after the lens is cleaned, check bulbs, aiming, wiring, and the reflector condition as separate issues.
How to Clean Without Making the Lens Worse
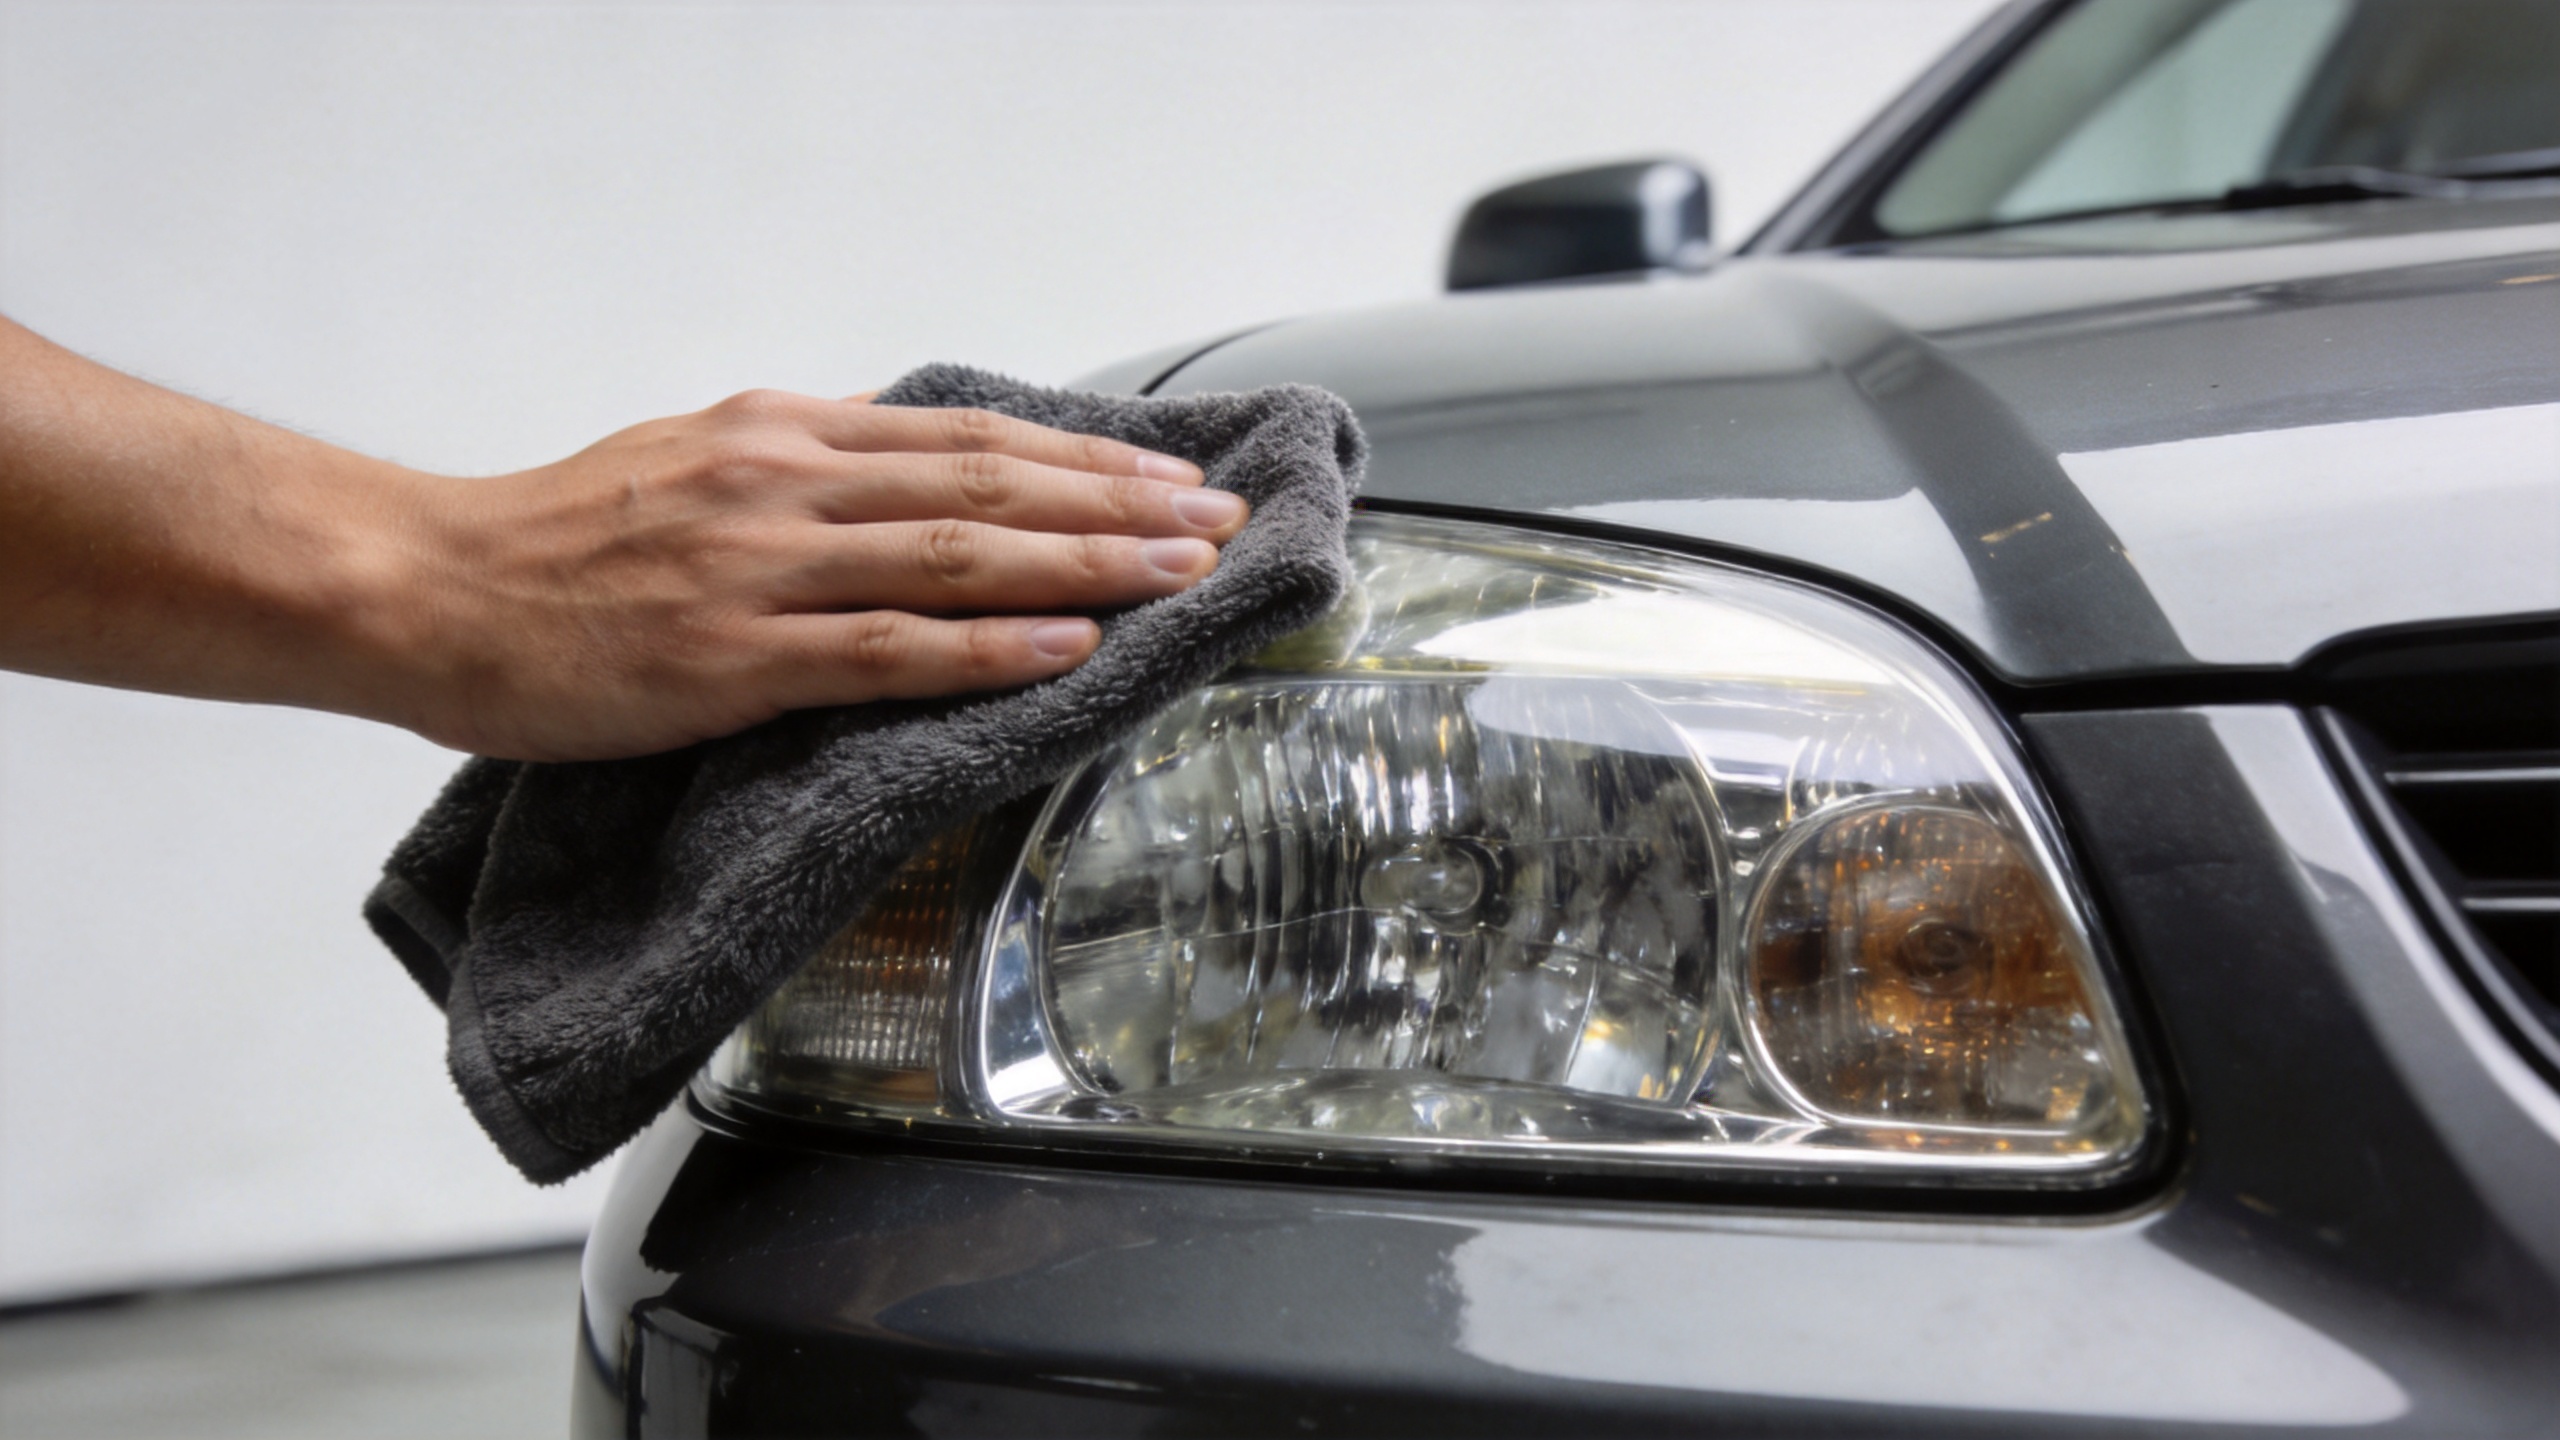
Use a pH-neutral car-wash solution, clean water, and a soft microfiber towel. Rinse first so loose grit does not become an abrasive. Then wash with light pressure, rinse again, and blot dry. Avoid household scouring pads, dry paper towels, or aggressive solvents; these can create fine scratches that scatter light and make future haze more visible.
For isolated tar or insect residue, use a product intended for automotive exterior surfaces and follow its label directions. Test it on a small, inconspicuous area first. The goal is to remove contamination, not to sand the lens every time it looks dull.
Why UV Protection Belongs in Routine Maintenance
Sunlight is a common reason clear plastic lenses lose clarity over time. Once the original protective surface has worn down, polishing can make a lens look better temporarily, but it may also leave the plastic more exposed if no protection is applied afterward. A headlight restoration process should therefore end with a compatible UV-protective sealant or coating, applied exactly as directed by its manufacturer.
Think of this step like protecting painted bodywork after cleaning: the finish matters as much as the cleaning pass. Parking under cover when practical and washing off salt or chemical residue promptly can also reduce the workload on the lens surface. These habits do not eliminate the possibility that headlight lenses replacement will be needed, but they can slow the progression from light haze to severe discoloration.
When Polishing Is Reasonable—and When It Is Not
Polishing is most appropriate for superficial oxidation or light scratches. Use a purpose-made kit, work in a shaded area, and follow the grit sequence and coating instructions rather than improvising with harsh abrasives. If a lens is already thin, heavily crazed, or visibly distorted, repeated sanding may not be a durable solution.
| Condition | First response | When to escalate |
|---|---|---|
| Dust, road film, bug residue | Gentle wash and microfiber drying | Residue remains after suitable automotive cleaner |
| Light yellowing or surface haze | Restore carefully, then add UV protection | Haze returns quickly or the lens is deeply pitted |
| Cracks, chips, or broken mounting edges | Inspect for water entry and safe fitment | Consider headlight lenses replacement |
| Recurring internal condensation | Have seals, vents, and housing condition checked | Resealing or component replacement is required |
Know the Signs That Point to Replacement
A headlight glass change is often used as a general phrase, but many modern assemblies use plastic lens covers. The decision should be based on the actual damage and the vehicle-specific design. Replacement becomes more reasonable when there are structural cracks, major impact damage, persistent water intrusion, severe crazing, or an optical surface that no longer responds well to restoration.
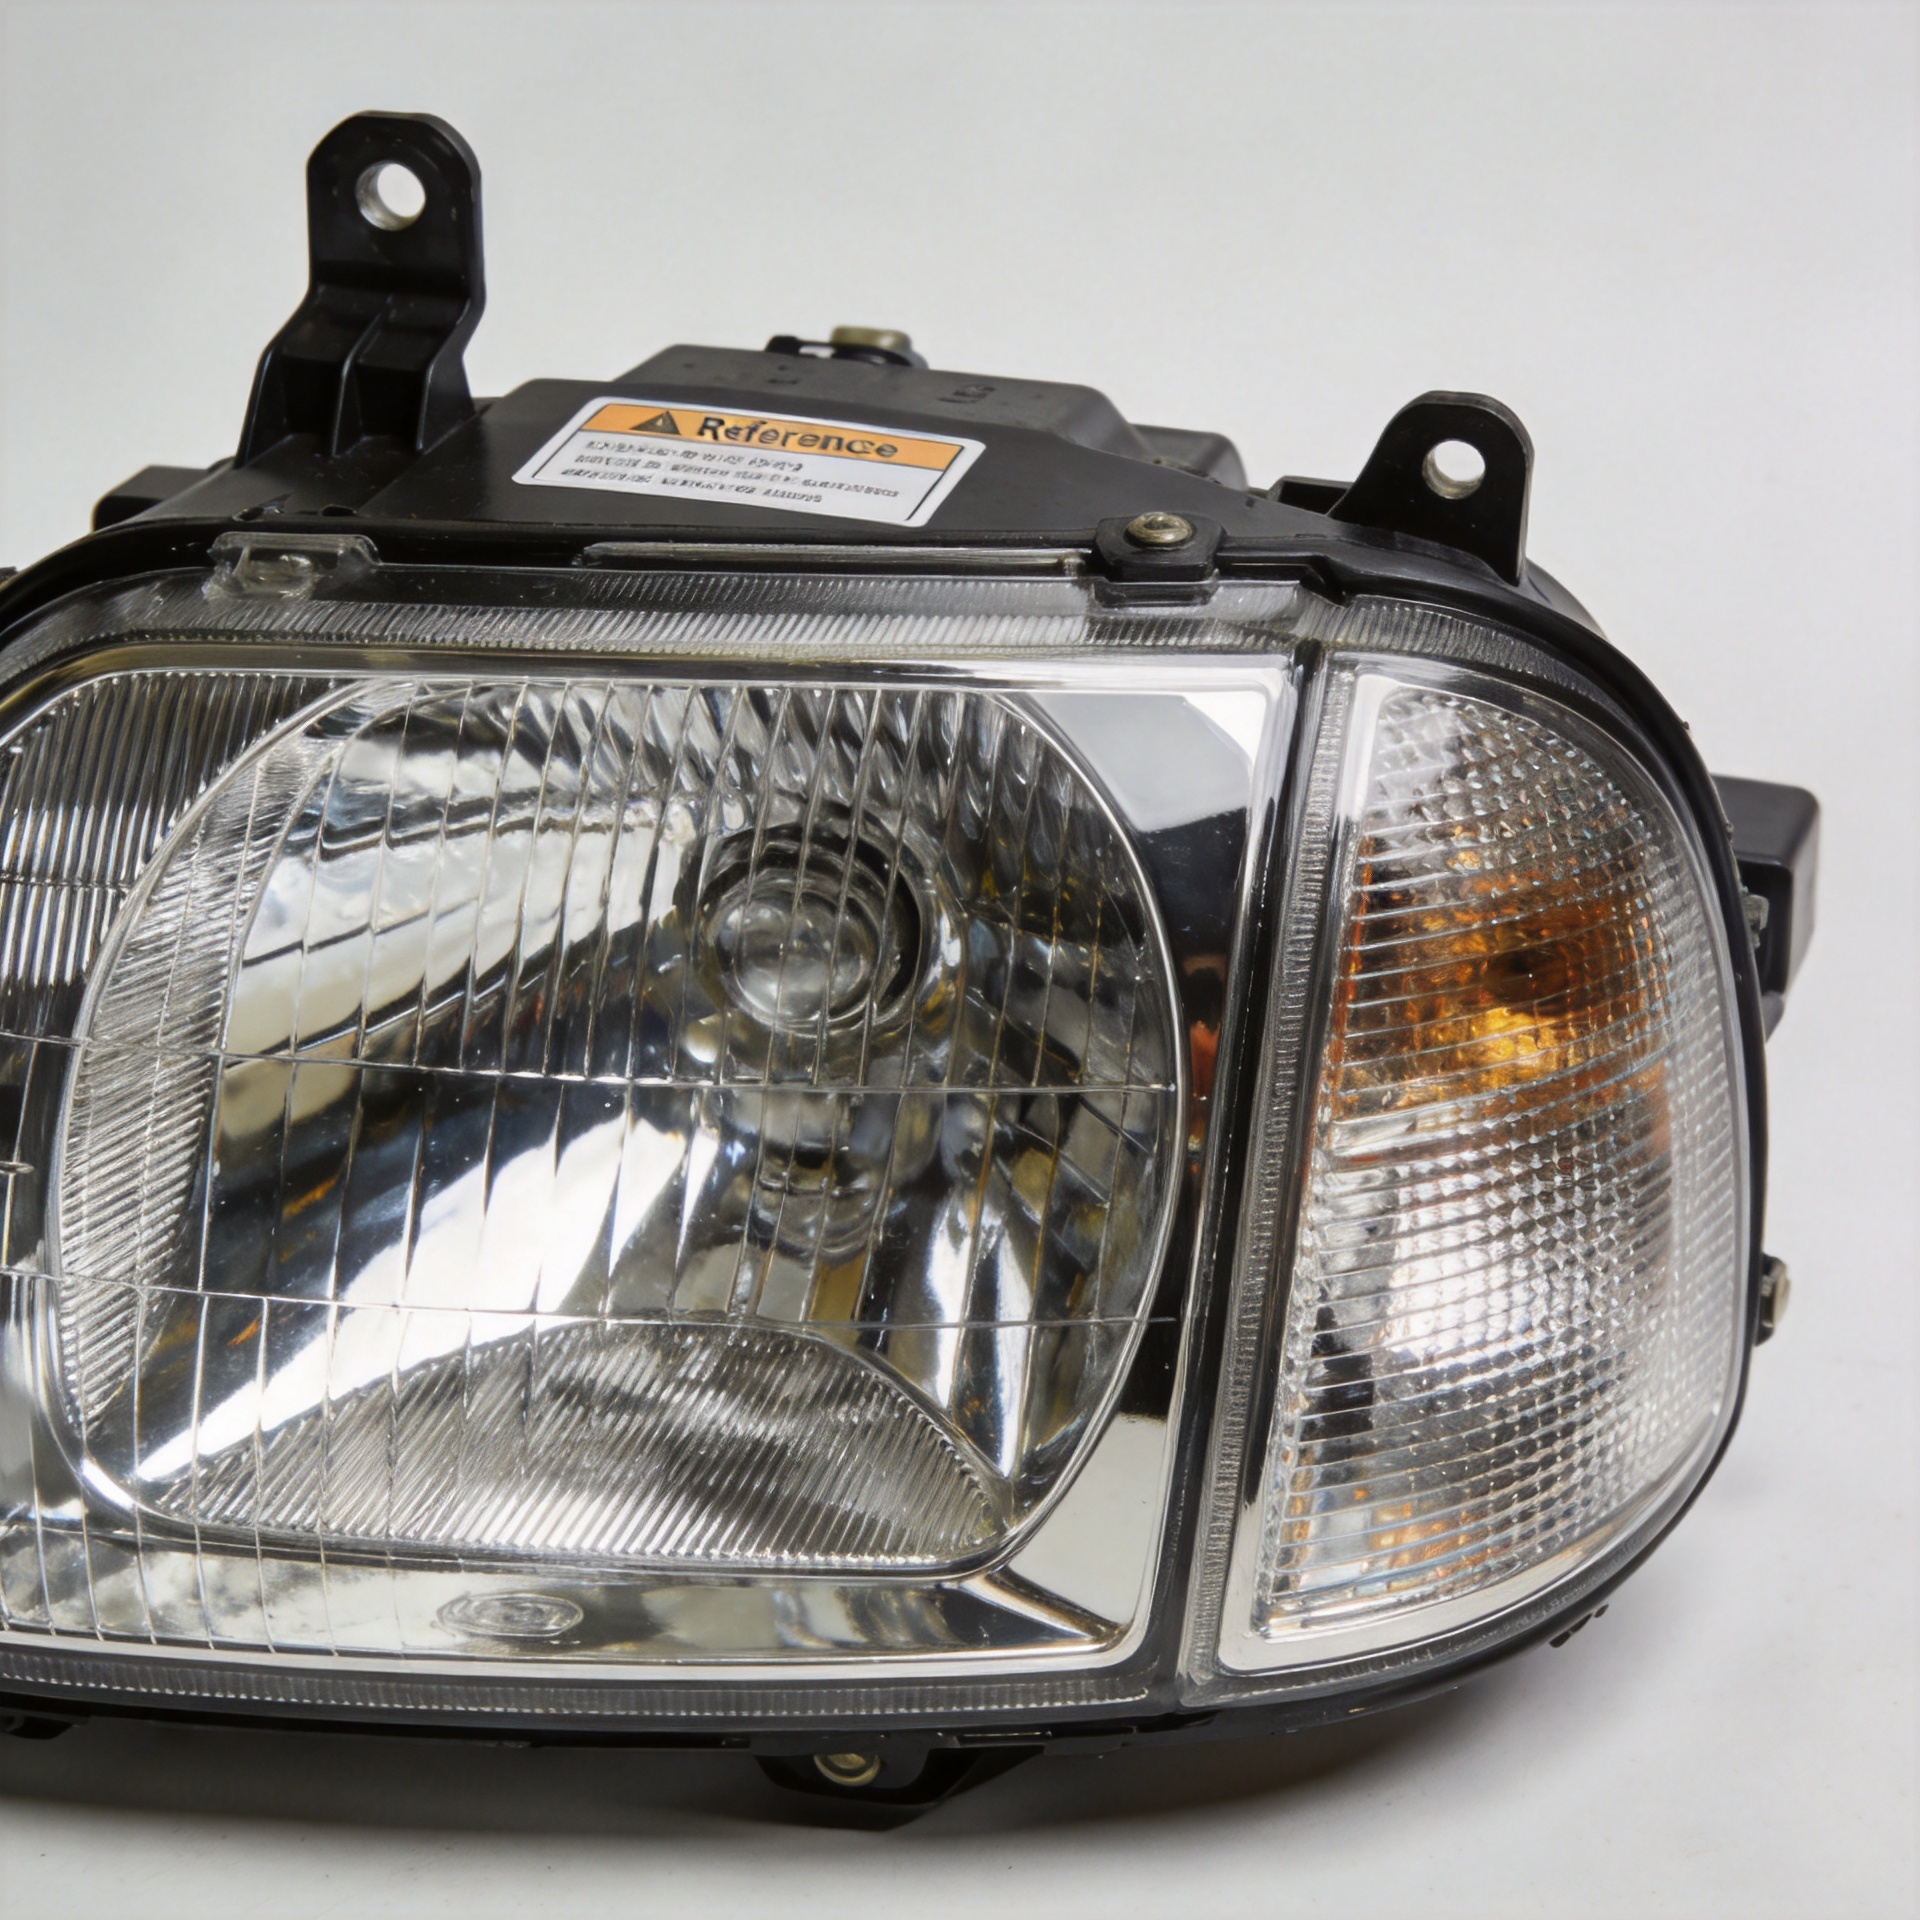
Before ordering a part, confirm the vehicle model, production year, side, and whether the lens cover is designed to be serviced separately from the complete lamp. When a compatible cover is available, the car headlight cover lens for selected Toyota applications is an example of a product page where fitment details should be checked against the vehicle before purchase. Do not assume a visually similar cover will seal or mount correctly.
A Simple Maintenance Schedule That Is Easy to Keep
Monthly, wipe away fresh dirt during regular washing and look for new scratches or yellowing. Seasonally, inspect the perimeter seal, lens edges, and lamp interior for evidence of moisture. After winter driving or long trips on dirty roads, clean off salt and grime rather than leaving deposits on the lens. If you restore a lens, add a reminder to inspect the protective coating a few months later.
Common Questions About Headlight Lens Care
How often should I consider headlight lenses replacement?
There is no fixed calendar for headlight lenses replacement. Start with an inspection: if cleaning and restoration leave the lens clear, dry, and structurally sound, continue monitoring it. If cracks, deep crazing, or water intrusion are present, headlight lenses replacement is usually the more reliable route.
Can a headlight glass change solve yellowing?
A headlight glass change may be the right answer when the cover is damaged, but mild yellowing can sometimes be restored first. A headlight glass change should follow verified fitment, not a guess based on appearance alone.
Does headlight lenses replacement improve light output?
When haze or damage is blocking or scattering light, headlight lenses replacement can help the lamp transmit light more cleanly. It will not fix a burned reflector, weak bulb, poor aim, or wiring fault, so inspect the full lighting system before choosing headlight lenses replacement.
Is a headlight glass change the same as replacing the full lamp?
Not always. A headlight glass change refers to changing the outer cover in everyday language, while some vehicles require a complete assembly. Confirm whether a serviceable lens is available before planning a headlight glass change.
Maintenance Checklist Before You Need a Repair
- Wash the lens gently and dry it with a clean microfiber towel.
- Look for yellowing, chips, cracks, and moisture at each routine wash.
- Use a compatible UV protectant after restoration work.
- Check beam aim and bulb condition if the road still appears dim.
- Document the vehicle year and lamp side before researching headlight lenses replacement.
This short checklist makes headlight lenses replacement a condition-based decision. It also avoids treating every dull cover as a reason for a headlight glass change. A careful inspection first is generally cheaper, safer, and more informative.
How to Prepare for Headlight Lenses Replacement
If your inspection points toward headlight lenses replacement, identify the exact vehicle application and compare the physical shape, mounting tabs, lamp side, and sealing method. Before any headlight lenses replacement, check whether the lamp must be removed, whether a replacement cover requires resealing, and whether professional installation is advisable.
During a headlight glass change, sealing quality deserves the same attention as the clear surface. A poorly sealed cover can invite condensation and turn a successful headlight glass change into another repair. Work with clean mating surfaces and follow the part or vehicle service instructions.
After headlight lenses replacement, inspect the beam pattern at night in a safe location. If the lamp was removed or disturbed, correct aiming may be necessary. The purpose of headlight lenses replacement is not only clearer appearance; it is restoring a protected optical surface that supports predictable light output.
When to Ask a Professional
Seek qualified help when a crack reaches the lamp edge, moisture returns after drying, electrical components show corrosion, or access requires opening a sealed assembly. A professional can help determine whether headlight lenses replacement, resealing, or a complete lamp repair is the appropriate next step. This is particularly useful when a headlight glass change could affect alignment or weather sealing.
One final point: a clearer lens is only part of good nighttime visibility. Keep the lamps correctly aimed, replace failed bulbs in pairs when appropriate, and seek professional help if the housing shows heat damage or recurring condensation. Consistent, gentle care gives you a strong chance of preserving clear output—and helps you make headlight lenses replacement a planned decision instead of an urgent one.